...
| Info | ||
|---|---|---|
| ||
Before you can take advantage of Product Variant functionality in the CMS, you'll need the feature enabled. Contact Commerce Vision to have us switch this on for your website. |
How to Set Up Product Variants
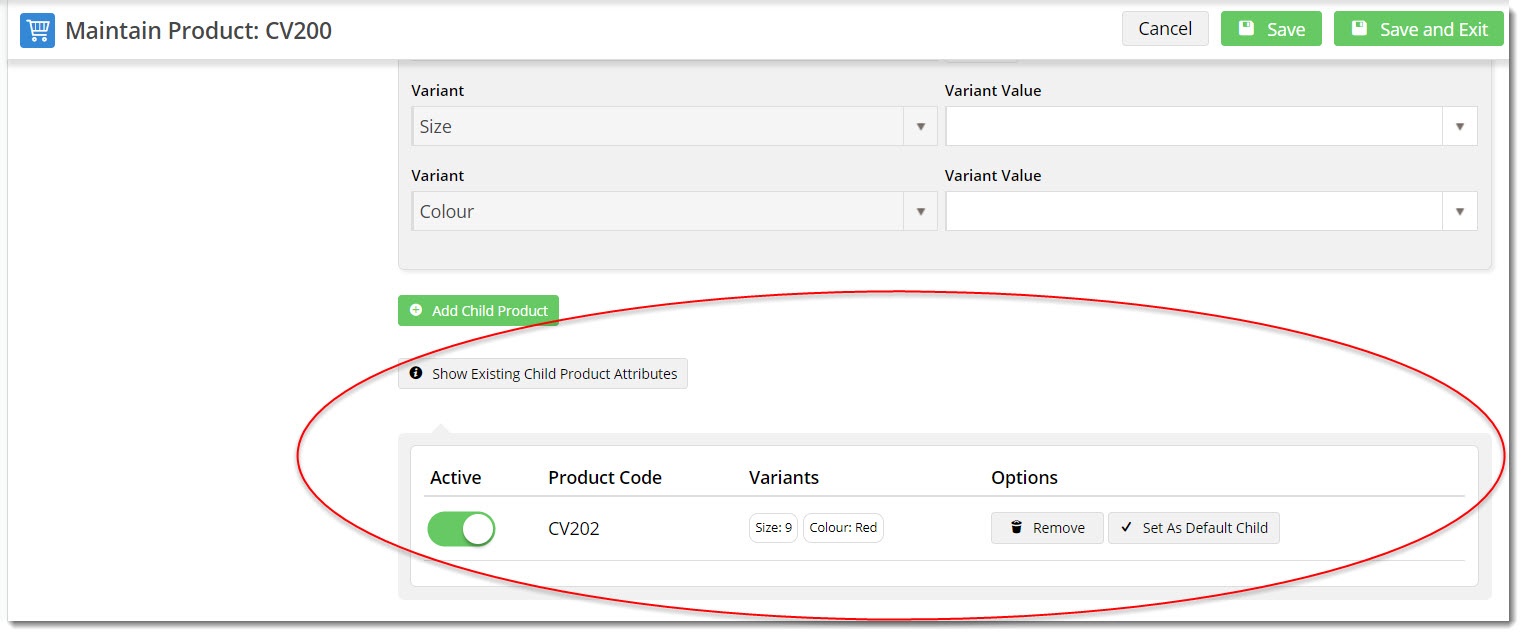
1. Configure Product Variant Settings
...
- Navigate to Settings → Feature Settings and Edit the Product Variant feature.
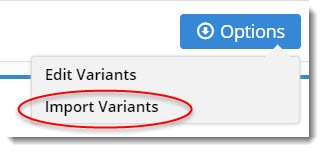
- Select Options → Import Variants.
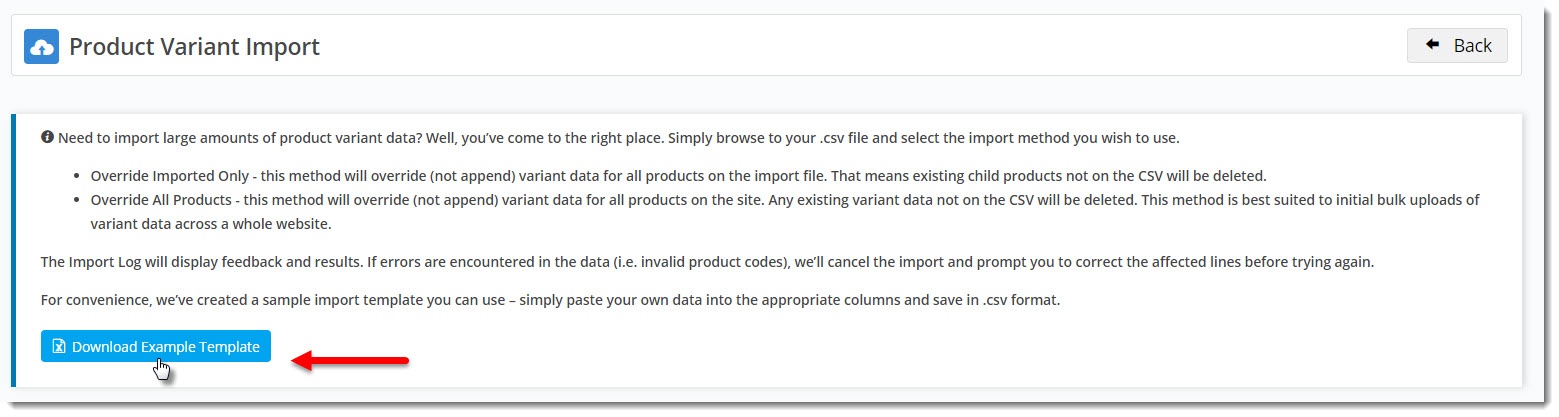
- If you would like a CSV file template to work with, click Download Example Template.
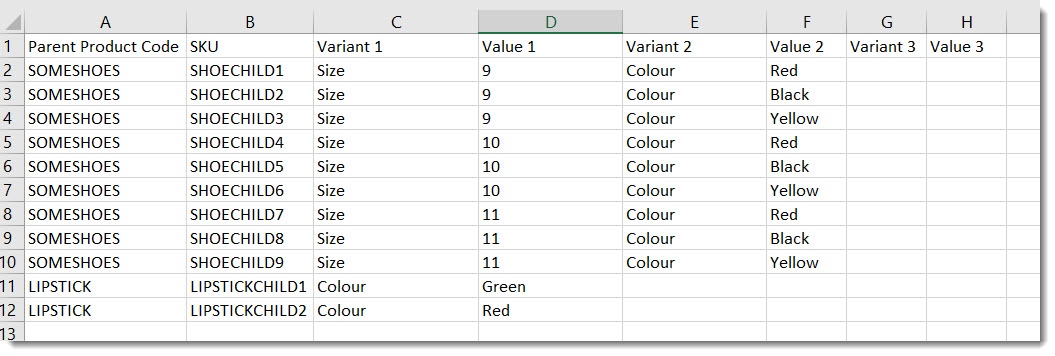
- Paste your data into the spreadsheet, re-entering the master product once for every variant combination available.
- Save the file somewhere locally as .csv format.
- Select your Import Type from the dropdown:
a. Override Imported Only - all master products in the spreadsheet will have their variant data replaced with what's in your spreadsheet. No other products will be affected.
b. Override All Products - the product data in in the spreadsheet will become the COMPLETE product variant data for your site. Current variants not in the spreadsheet will be deleted.- Click 'Select files...' to browse to your saved .csv file.
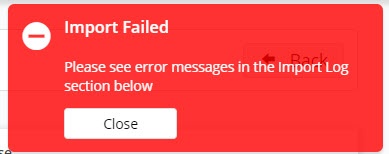
- The import will process and a notification will advise whether the import was successful. If errors occurred, fix the data and try again.
- To verify a successful import, navigate to Product Maintenance and search for one of the master products on your .csv file.
- Check the variant data to ensure it matches up with what you've just imported.

Hide Child Products from Product Searches (
...
optional)
When a site visitor performs a product search on your site, the default option is to list the master product and any child products with their own product codes:
...