...
Click
- Login to your website and click 'Dashboard'.
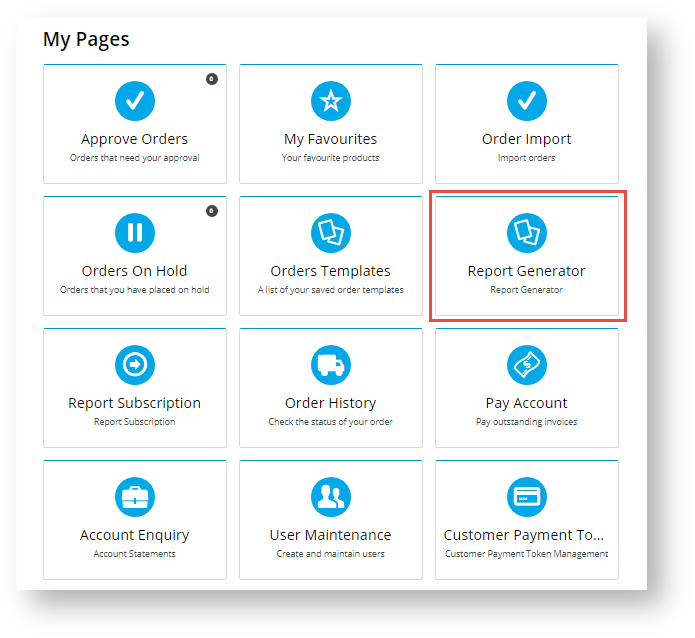
- In your Dashboard, scroll down to the 'My Pages' section and click Report Generator.
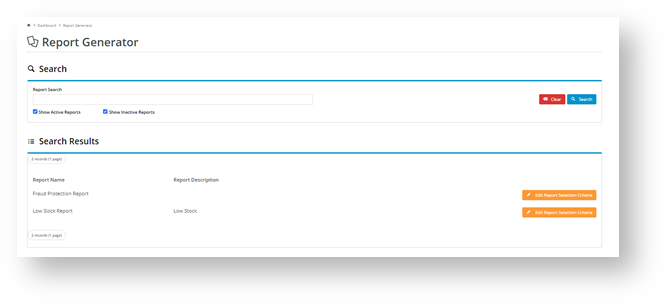
- By default, the Reports list displays all active reports you have access to. Find the report you wish to generate. You can search by name or scroll down the list. If you want to find an inactive report or view all reports in the system, tick the 'Show Inactive Reports' checkbox and click the Search button.
- For the selected report, click the Edit Selection Report Criteria button. The Report Selection Criteria section is displayed.
- In Report Name, edit the name so it is more meaningful for your purposes, if required.
- The Search section contains the report's fields. Note - These will be different for each report. If available, select preferences for grouping and sorting the report.
- To generate the report, click the Generate button. The report will be downloaded to your computer as a CSV file unless the PDF option has been set up for your website.
- Open the file to view it.
- (optional) If available, once the report is generated, you can click Subscribe for the system to generate an updated version the Subscribe button appears. If you want to schedule for an updated version of the report to be emailed to you or other users on a daily, weekly or monthly basis, click Subscribe. Refer to Report Subscription help for details.

- If you did not select to subscribe (Step 9), click Close when you have finished with the 'Report Generator' facility.


Related help
Content by Label
showLabels false showSpace false cql label = in ("report-subscription","reporting_landing_page")