...
- Before you start, have your Payright account credentials handy.
- In the CMS, navigate to Settings → Feature Management → Payment & Checkout.
- Ensure Buy Now, Pay Later is toggled on, then click Configure.
- In the Buy Now, Pay Later screen, click the 'Payright' tab.

- To switch on Payright for your site, toggle on Payright Enabled.
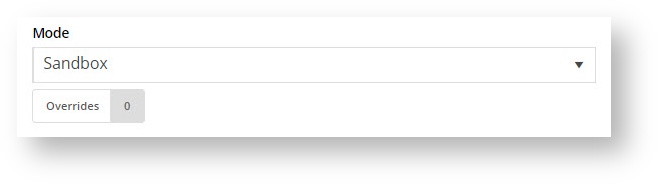
In Mode, select 'Sandbox' if you are setting up Payright on your testing site (Stage), or 'Production' for your 'Live' site.
- Payright Activate Plan Immediately allows you to set when the user's Payright plan starts. Ensure the toggle is OFF for the Payright plan to be activated only when the order is shipped. If ON, the plan will be activated immediately after the order is placed. Note - 'OFF' is recommended by Payright.
Enter your Settings and account details integration credentials provided by Payright in either 'Production Settings' or 'Sandbox Settings' depending on whether your site is Live or Stage.
Set the following options:
- New Loan URL - .
- API Base URL - .
- Client ID - ID
- Client Secret
- API User Name
- API Password
- Merchant User Name
- Merchant Password
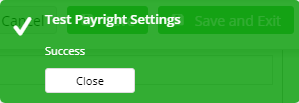
- Once you have finished entered the Settings, click Test Settings. A message telling you whether the settings are correct or not will appear. Continue if you see the Success message:
- Once all settings have been configured and tested, scroll back to the top and click Save.

...
- In Min. Price of Products to Show Content, enter the minimum amount before Payright branding informing the user they can use it as a payment option is displayed:
Notice if a product is less than this amount, the Payright branding is accompanied by this message:
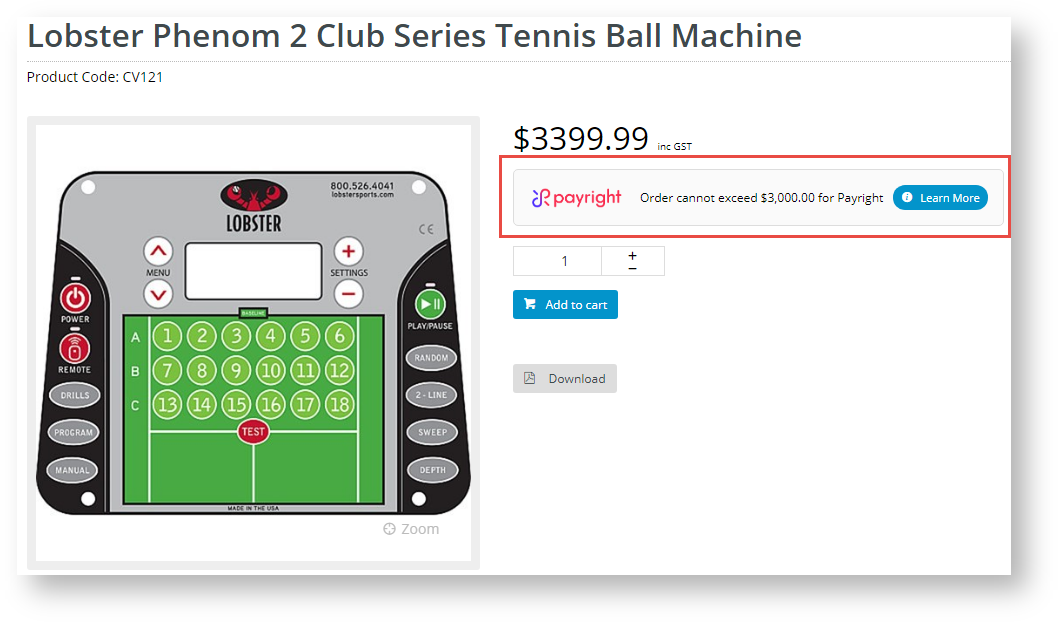
- In Max. Price of Products to Show Content, enter the maximum amount your site allows for Payright payments. If a product is over this amount, the accompanying message is displayed:
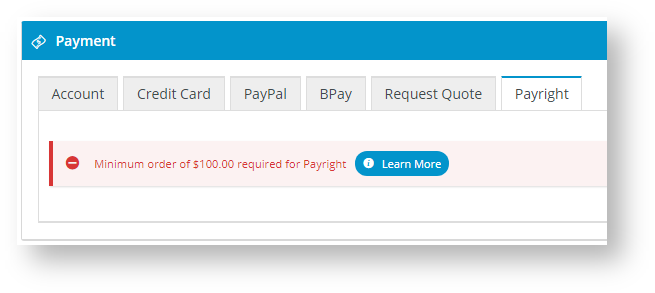
- In Min. Order Total to be Available, enter the minimum amount before your website will allow Payright to be used as payment. If an order is below this amount, the user will see this message when they click on the Payright tab during checkout:
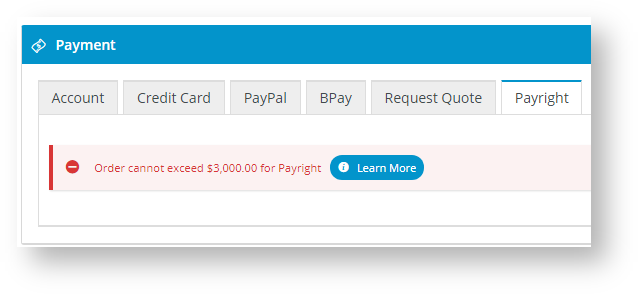
- In Max. Order Total to be Available, enter the maximum amount your website allows Payright to be used as payment. If an order is above this amount, the user will see this message under the Payright tab during checkout:
- In Deposit Percent, enter the percentage of total order ...
- Toggle on Display Content in Product Detail ...
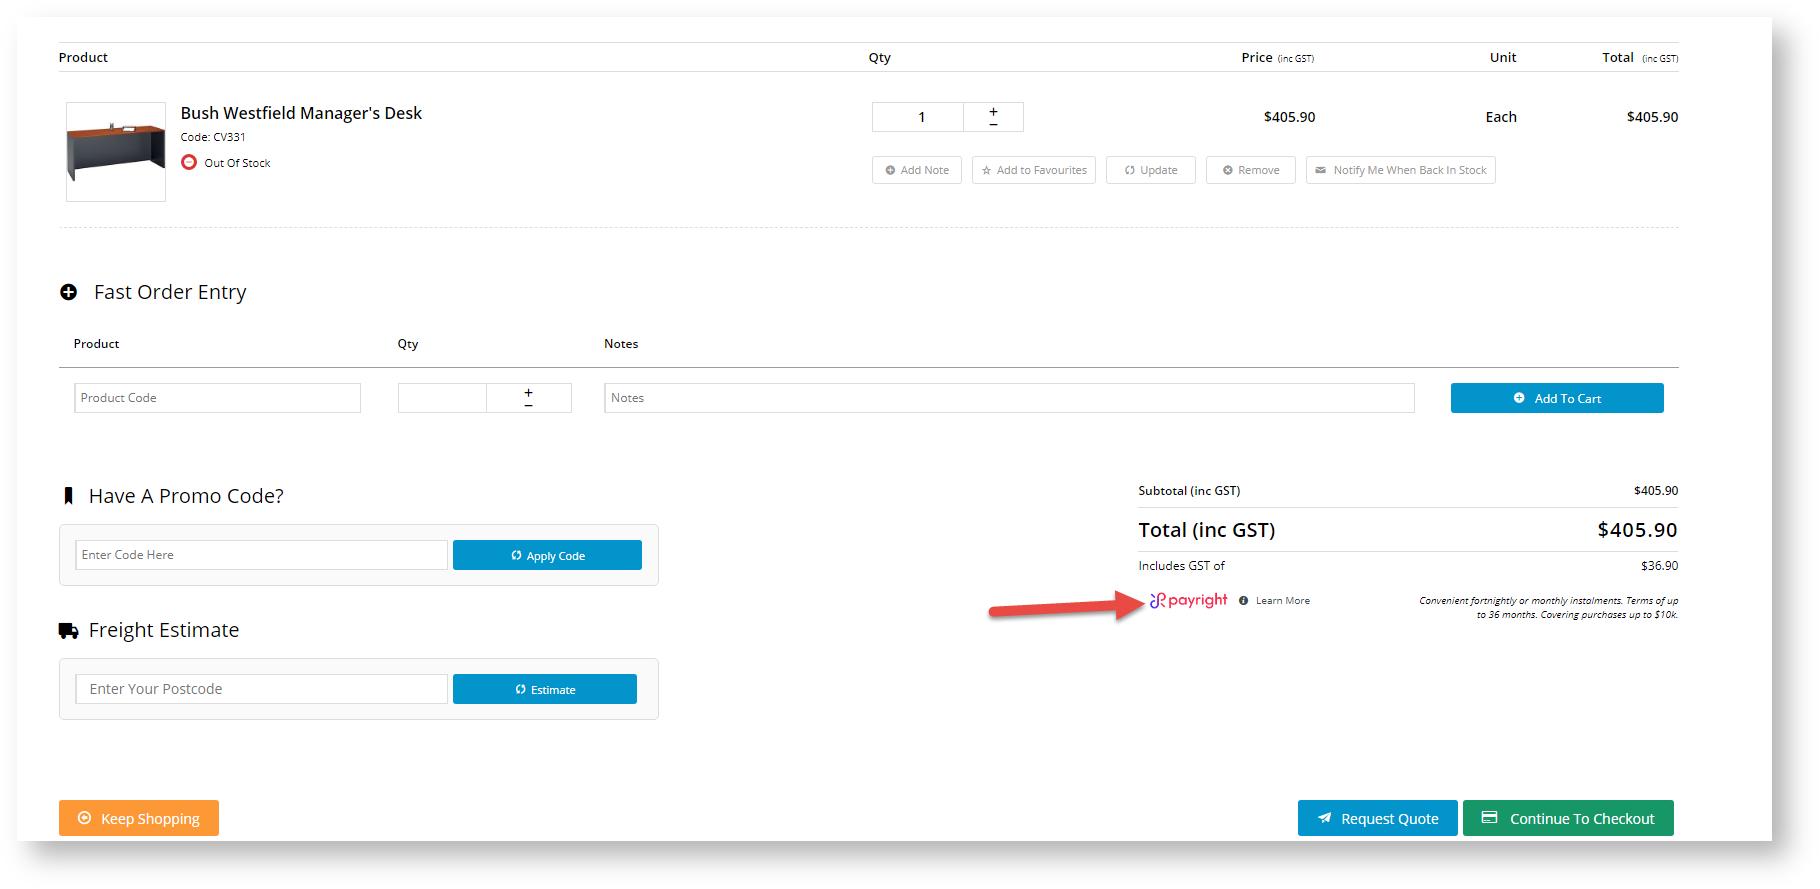
- Toggle on Display Content in order and cart summary ... if you want Payright branding to display in the order and cart summary:
- To save your settings, click Save or Save & Exit.

What your customers will see
When Payright has been configured correctly on your website, Payright branding will be displayed on your site (which locations depend on display settings) and Payright is offered as a payment option during the checkout process. If the user with a valid order total selects Payright for payment, the system will connect to the Payright server and return a summary of the Payright loan. At this time, they can click the Pay with Payright button to be taken to Payright to complete the payment. 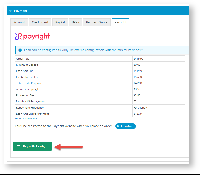
Additional Information
| Multiexcerpt | ||
|---|---|---|
| ||
...