| Table of Contents |
|---|
Overview
NOTE - To use this feature, it must first be switched on for your site by Commerce Vision.
| Multiexcerpt | ||
|---|---|---|
| ||
|
The Customer Self Service eCommerce Platform provides choices for guest user checkout settings. You know your customers and business best. You can decide to:
- let guest users select to create an account or remain unregistered, or
- automatically create an account with provided details after order submission.
...
Guest Checkout view
For sites on 4.24+, the expanded Guest Checkout view form can be set as defaultto the expanded view by default. This means the user does not have to click the Guest Checkout button to start entering their details during checkout.
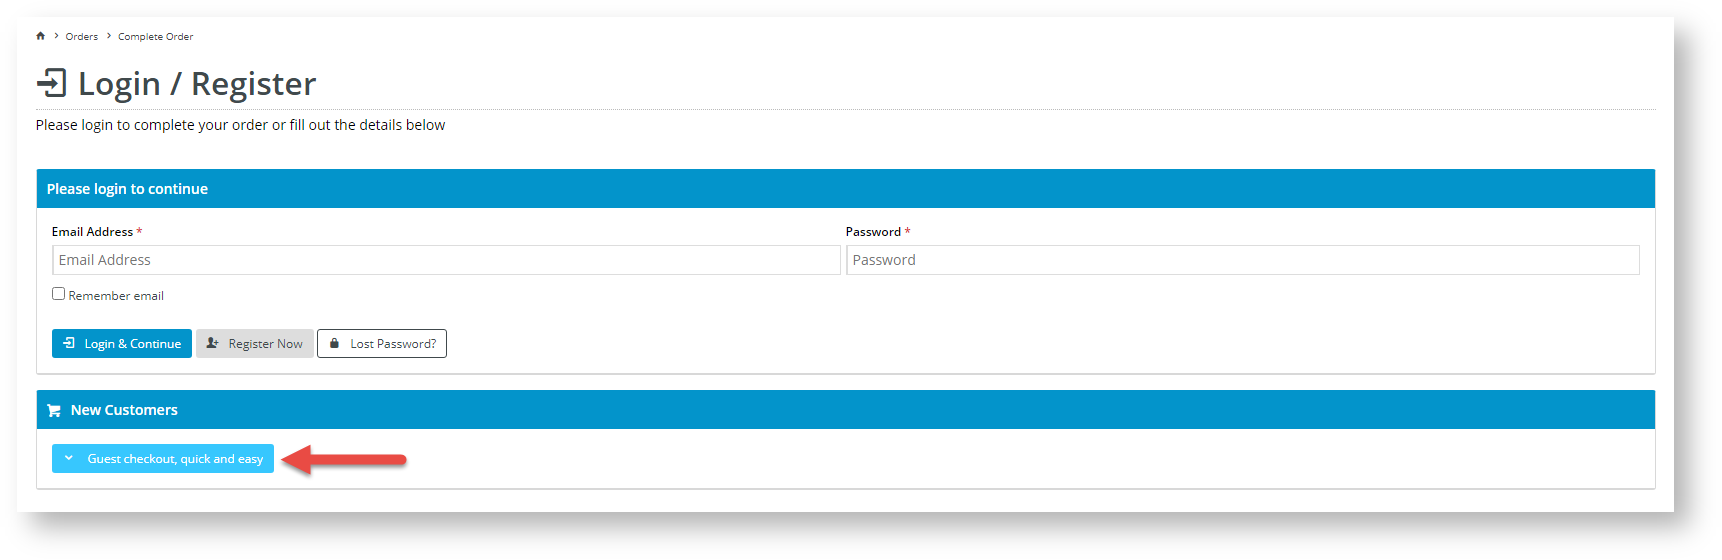
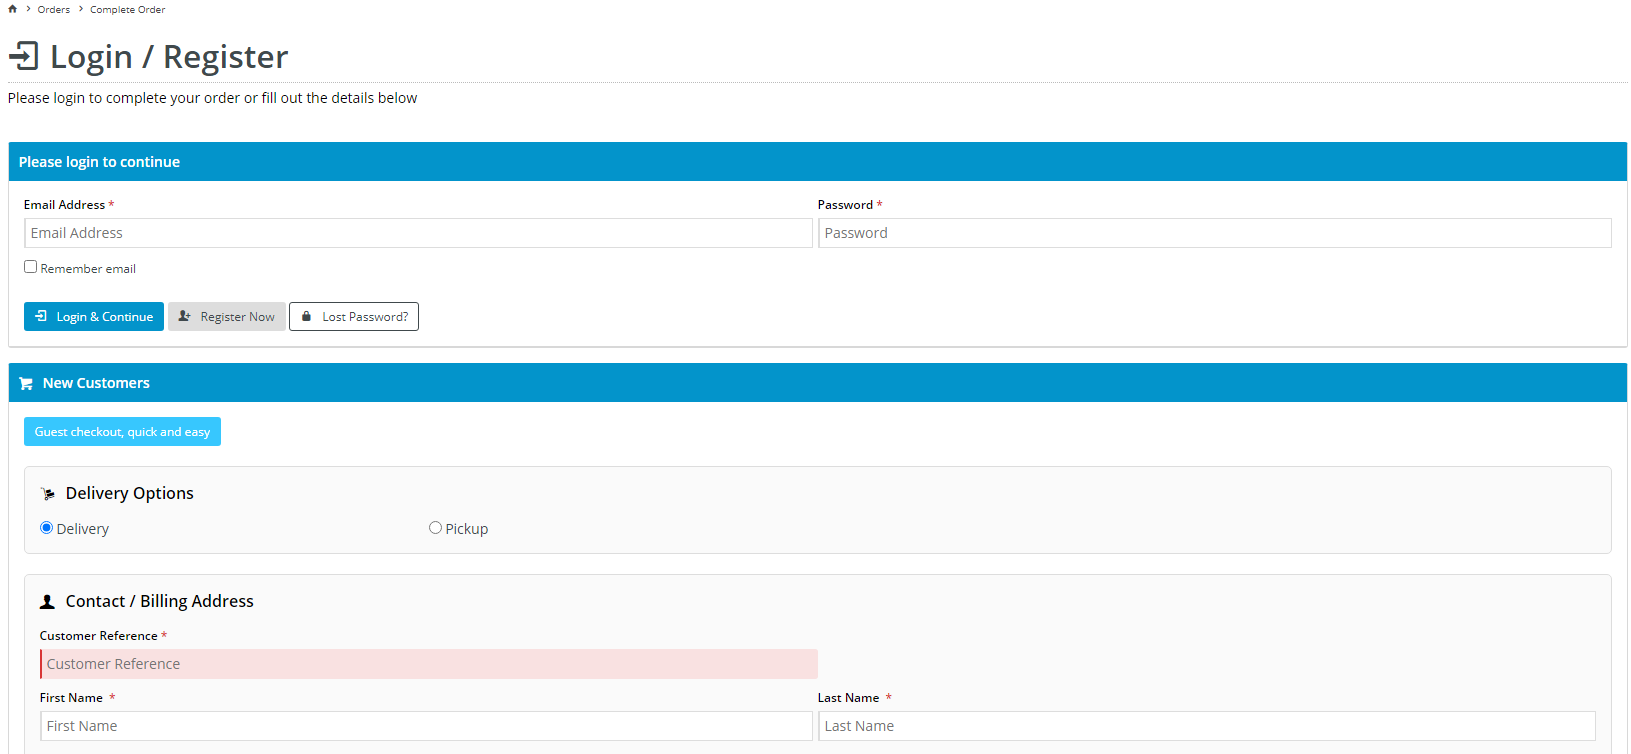
| Unexpanded Guest Checkout view | Expanded view with Guest Checkout view | |
|---|---|---|
Users click the Guest Checkout button to open the Guest Checkout | contentform.
| The Guest Checkout form is displayed automatically. Users do not have to click the Guest Checkout button.
|
Guest Checkout can be is enabled and configured for your B2C site or users quickly and easily in the CMS.
Step-by-step guide
...
1. Configure Guest Checkout
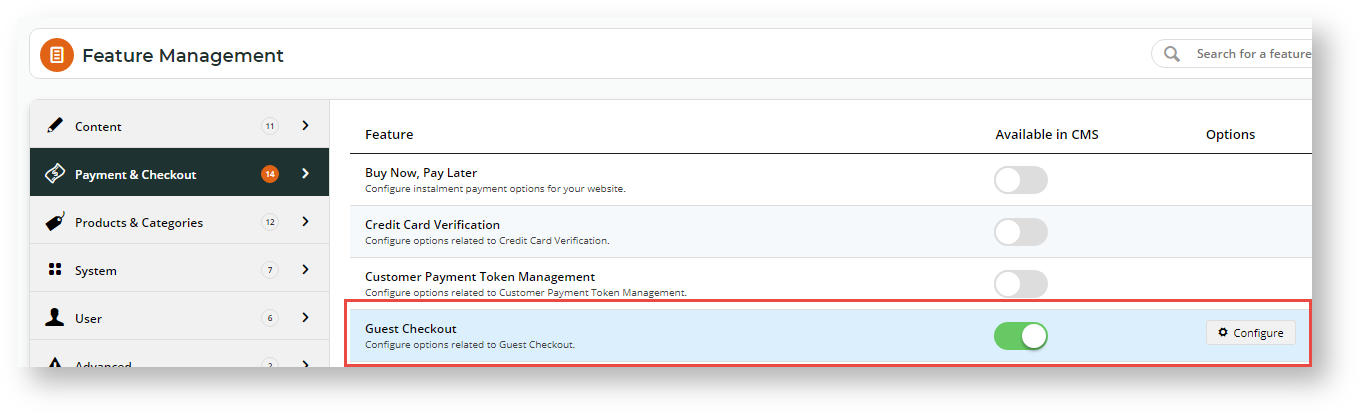
- In the CMS, navigate to Settings → Feature Management → Payment & Checkout.
- Toggle on ON Guest Checkout, then click Configure. NOTE - This toggle is available only if Commerce Vision has switched on the feature.
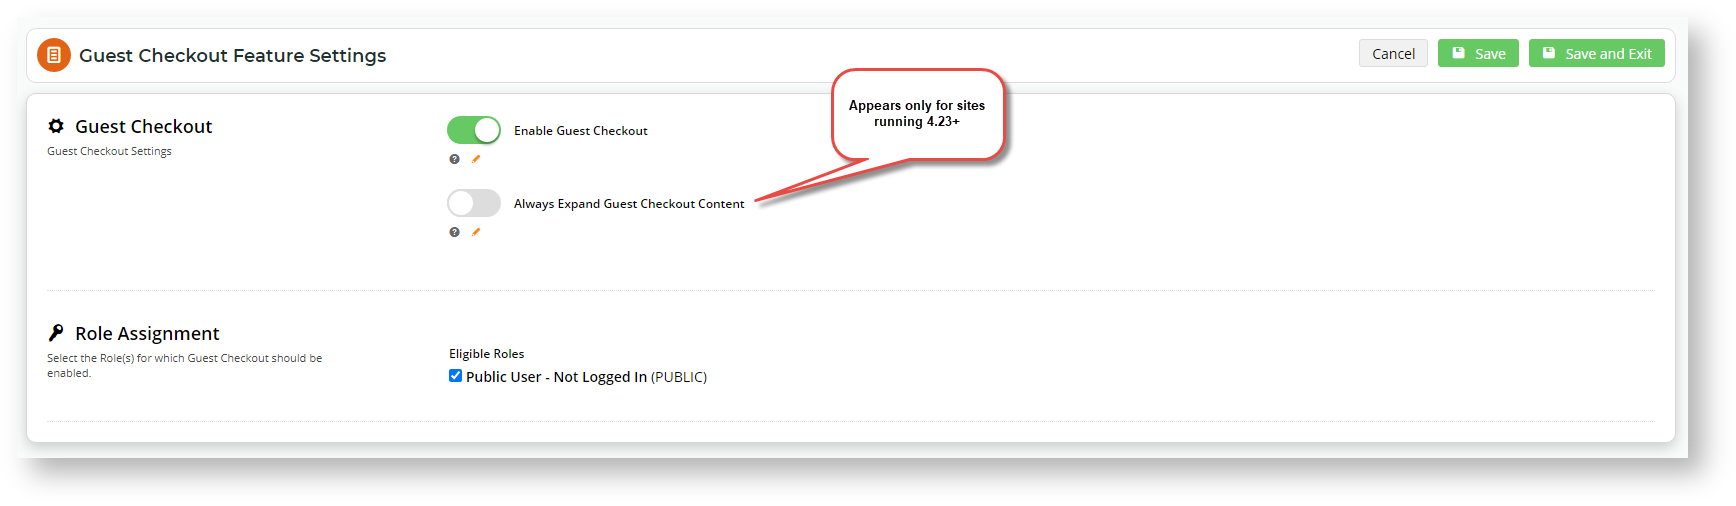
- In 'Guest Checkout Feature Settings', toggle on ON Guest Checkout.
- If your site is on version 4.24 or higher, setting expanded Guest Checkout view as +, you can set the Guest Checkout form to be expanded by default on the Checkout page is available. For this option, Toggle on toggle ON Always Expand Guest Checkout Content. Leave it off OFF if you do not want checkout fields to be displayed automatically.
- In Role Assignment, select the role(s) that apply to Guest Checkout. (The most common is the 'Public User', a pre-login role). Note - Guest Checkout should not be enabled for B2B, Accounts or Administrator roles.
- To save your changes, click Save or Save & Exit.
...