Overview
Product images can be tagged in the CMS so that the image in the gallery changes on selection of an attribute.
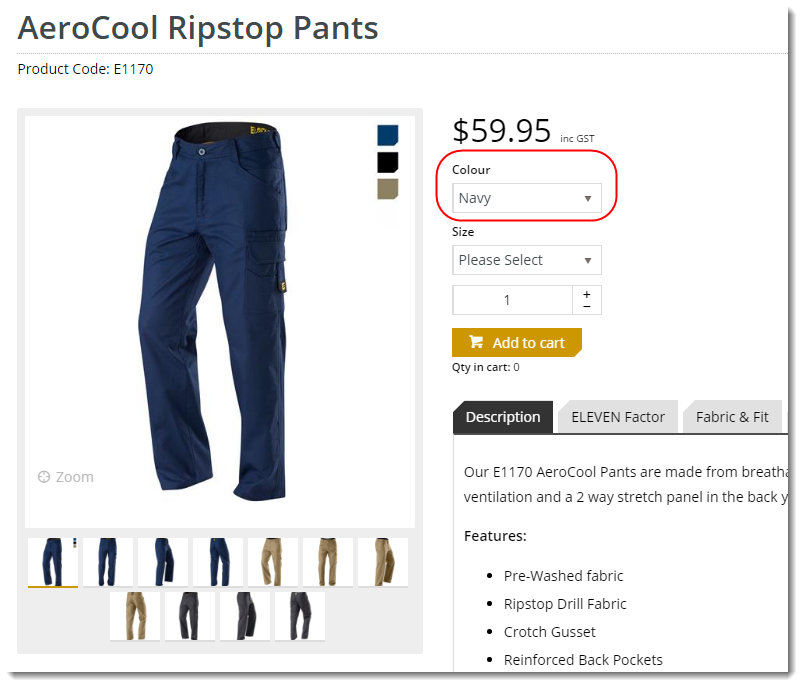
To see an example of this, go to https://www.elevenworkwear.com.au/men-s/pants/pant-cargo-cool-ripstop and select a colour option from the dropdown list.
You'll notice the image in the gallery updates according to the colour you choose.
|
|

To enable this functionality, a product must have multiple images loaded, tags added, and a trigger created. This guide details the steps required.
The creation of a trigger is only required until such time as the Product Variant functionality is available via CMS. Once that is released, a public-facing document will be created for customers to set this up themselves.
1. Create the Trigger
You'll need to create a trigger against the ProductAttributeProduct table.
Copy the code below, replacing 'XXXX' with the name of the database.
2. Upload and Tag product images
Next, upload images against the product and add tags to each image. The customer can be completing this step while you set up their trigger.
- Login to CMS.
- Navigate to Products & Categories → Product Maintenance.
- Search for a product and click 'Edit'.
- Scroll to the Media section and click 'Upload Image' to add a new image.
- Browse to the image file and select it. Once it's 100% loaded, click 'Add'.
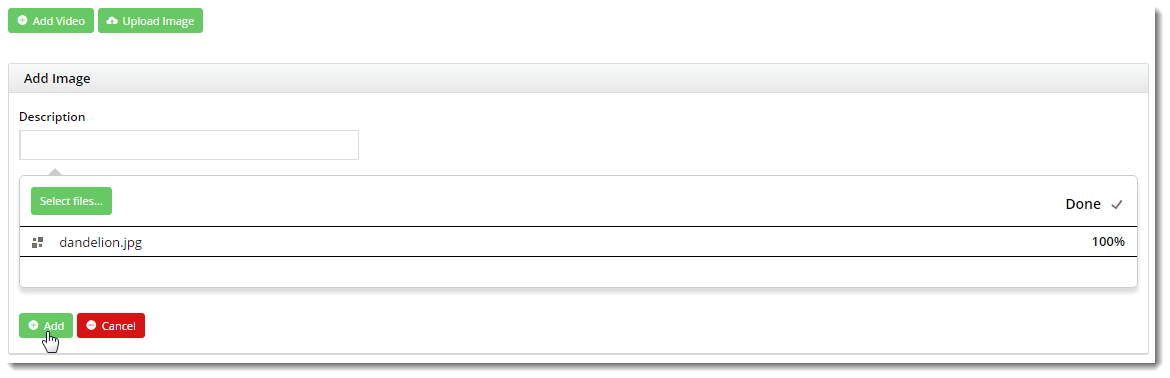
- The image should now appear in the list.
- Add a Tag to differentiate the image (e.g. 'Navy' or 'Khaki').

- Repeat Steps 4-7 as necessary for additional images.
- Click 'Save' or 'Save and Exit'.
3. Add the Product Gallery widget
This was most likely done during build, but in case not...
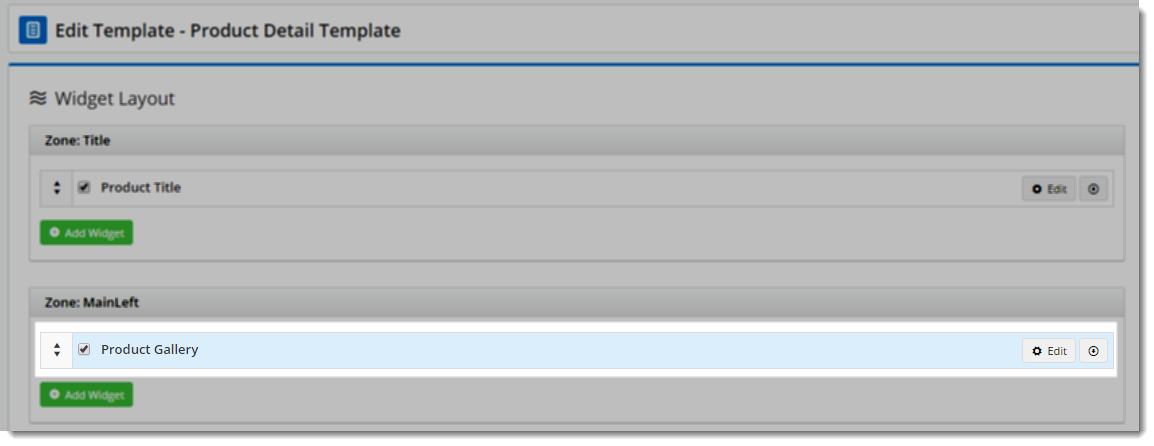
Add the Product Gallery widget to the Product Detail Template.
4. Test
Check that the AttributeTitleTagSeq field has been populated by your trigger:
SELECT AttributeTitleTagSeq, * FROM ProductAttributeProduct- Navigate to the detail view page for a product with tagged images.
- Select an attribute option and verify that the image updates.