Use Case
As we've discussed before, Layers are powerful tool for targeting your content to particular audiences or customer segments.
For example, you may have 3 different banner images advertising current promotions on your home page. Using Static Content widgets with layers, you might show one banner to your Government customers, another to Education users, and still another to users in the B2C space.
In some scenarios, you may have users who fall into more than one of these customer groups. When this occurs, the default behaviour would be to display each Static Content widget to the user, according to the layers that apply to them.
But what if you only want one banner to be shown? This is where Layer Groups come in.
How It Works
From version 3.94+, you can group layers together so that only the first layer from a group gets applied to a user. In other words, by grouping the Government, Education, and B2C layers together, you could ensure that only one promotional banner image was displayed to each user, even if they belonged to all 3 of those customer segments.
In a group of layers, only the first relevant layer gets applied, resulting in only one widget being displayed.
Confused? Let's go through an example in a bit more detail.
Enabling The Feature
Before you begin, contact us to enable the 'Additional Layer Filters' feature for your site. Once this is done, you can turn on the Layer Group Filtering Option.
In the CMS, navigate to Settings → Feature Settings.

- Edit the feature and toggle the Layer Group Filtering option on.
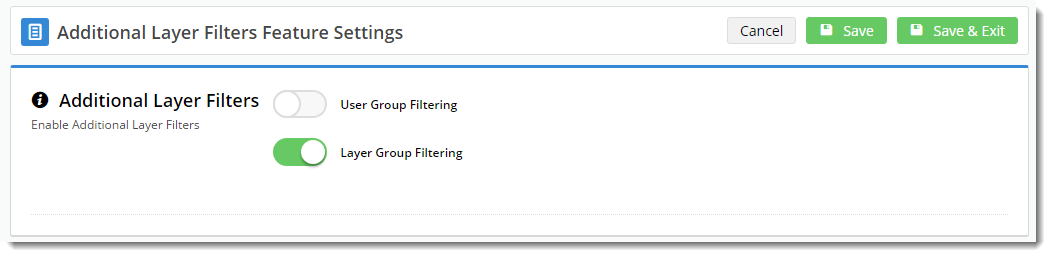
- Click 'Save & Exit'.
Grouping Layers
- Navigate to Advanced Content → Layers.
- You'll see a new 'Group' column on your list of Layers. You can both search and sort by Group, allowing you to see at a glance which layers are related by group.
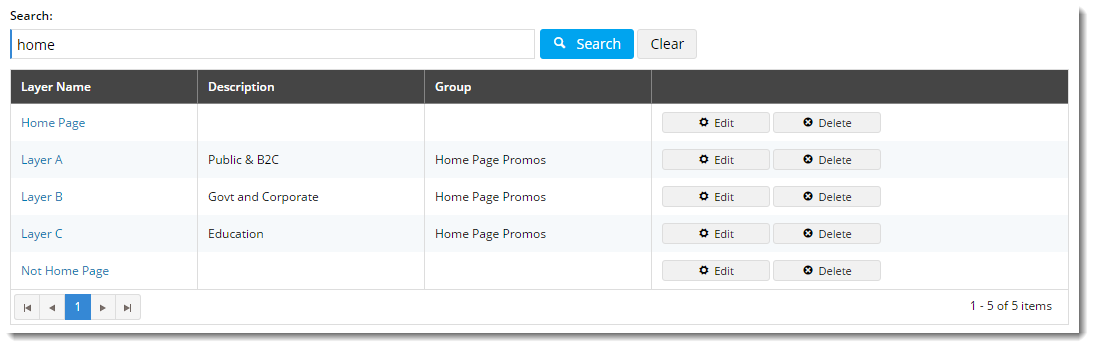
In the example above, you can see that Layers A, B, and C are all in the 'Home Page Promos' group.
- Locate the first Layer you wish to group, and click 'Edit'.
- Scroll to the 'Layer Group' section and enter a name for your group.
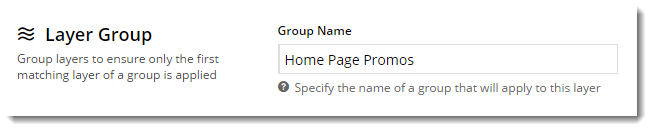
- Click 'Save & Exit'. You've now created a Layer Group (consisting of just one layer at this point).
- Edit the next layer you want to group, enter same Group Name as previously, and Save & Exit.
- Repeat for all remaining layers you wish to add to this group.
Displaying Content
Now that our layers are grouped, we can add widgets to a page, apply a layer from the group to each widget, and know that only one widget will display, even if more than one layer applies to a user.
For example, on my home page template below, I've added 3 Static Content widgets, each containing a targeted promotion message for different segments of my customer base.
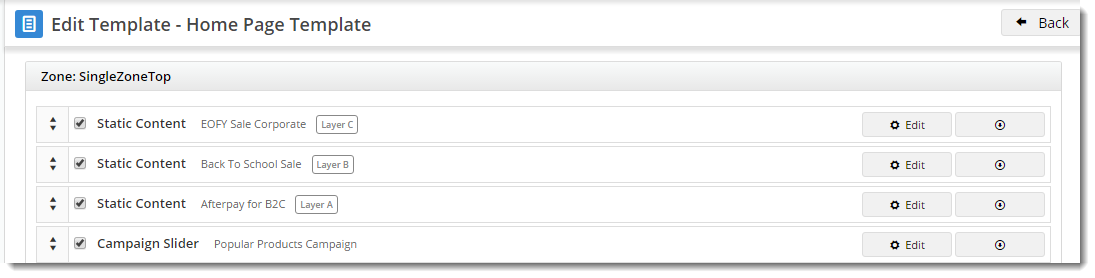
So who sees what?
- If Layer C applies to a user, they'll see the widget with the "EOFY Sale" messaging only.
- Education users in Layer B will be treated to our "Back To School" promo.
- Users who fall under both Layer C and Layer A will still only see the "EOFY Sale" message, because that widget is first on the page, and those 2 layers are grouped.
Have a play with this functionality on your Stage site. Once you're confident grouping layers, you'll be personalising content in no time!