Extend the Point of Sale (POS) functionality of your website by connecting your online application to a physical in-store payment terminal. In this example, we show you how to integrate a physical POS terminal with your online application using SignalR technology. SignalR allows your e-Commerce system to push web content to connected clients in real-time; in this case, a CommBank Albert Payment Terminal to process payments. You don't have to use SignalR; you can use another web library to open a communication channel between your web application and server. We found SignalR was the most robust to meet our requirements.How does it work?
Step-by-step guide
These steps assume that an Albert Terminal is connected and operating correctly in your environment.
Log into your CMS.
Navigate to Settings → Feature Management.
Click on Payment & Checkout.
Locate Terminal Payment.
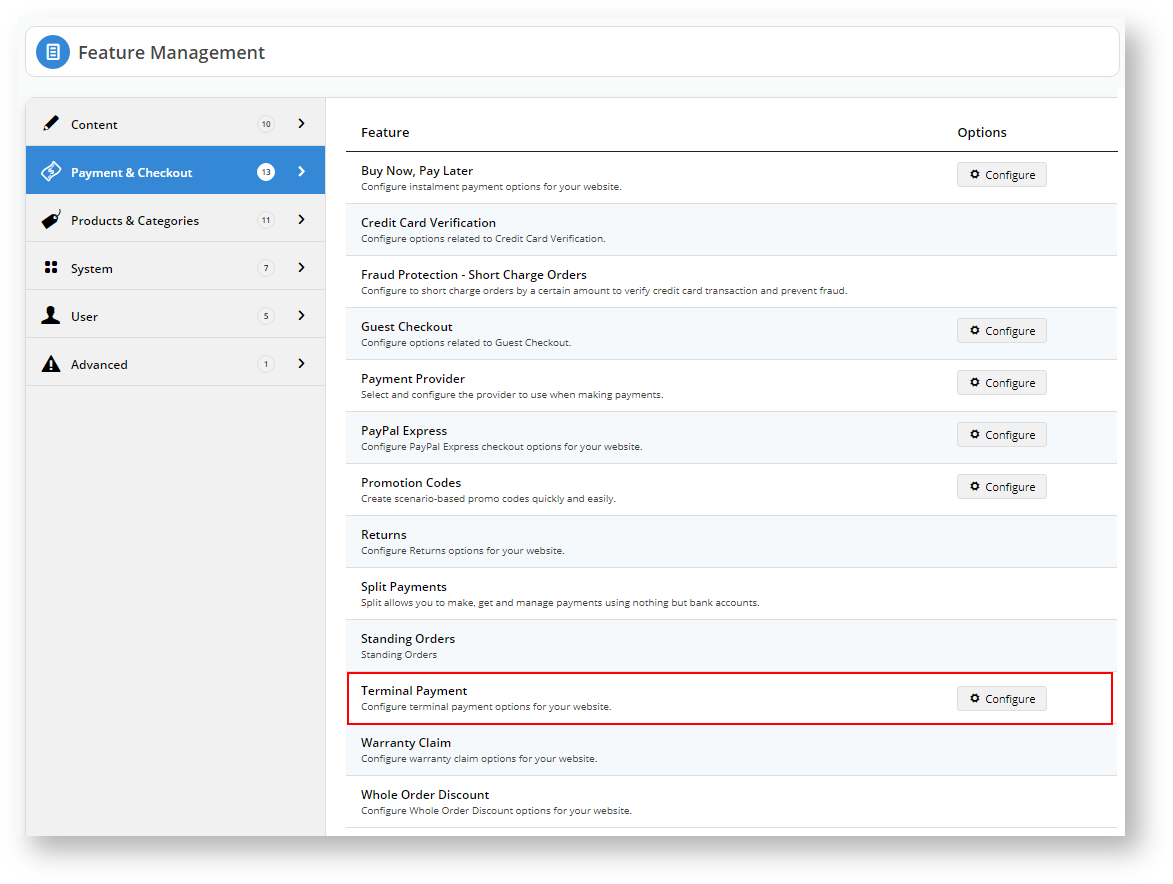
Click Configure.
Turn on the options: Enable Terminal Payment and Enable Terminal Payment for Trade Docket.
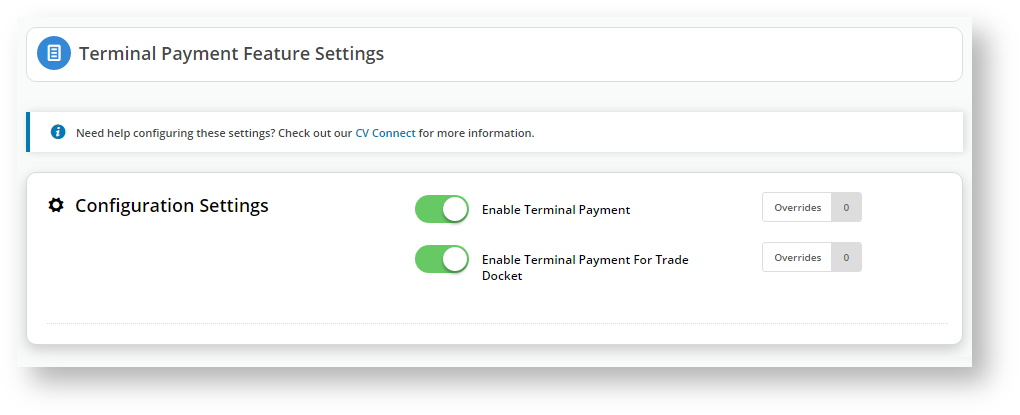
You can control what customers will see the Terminal Payment option by configuring Overrides.
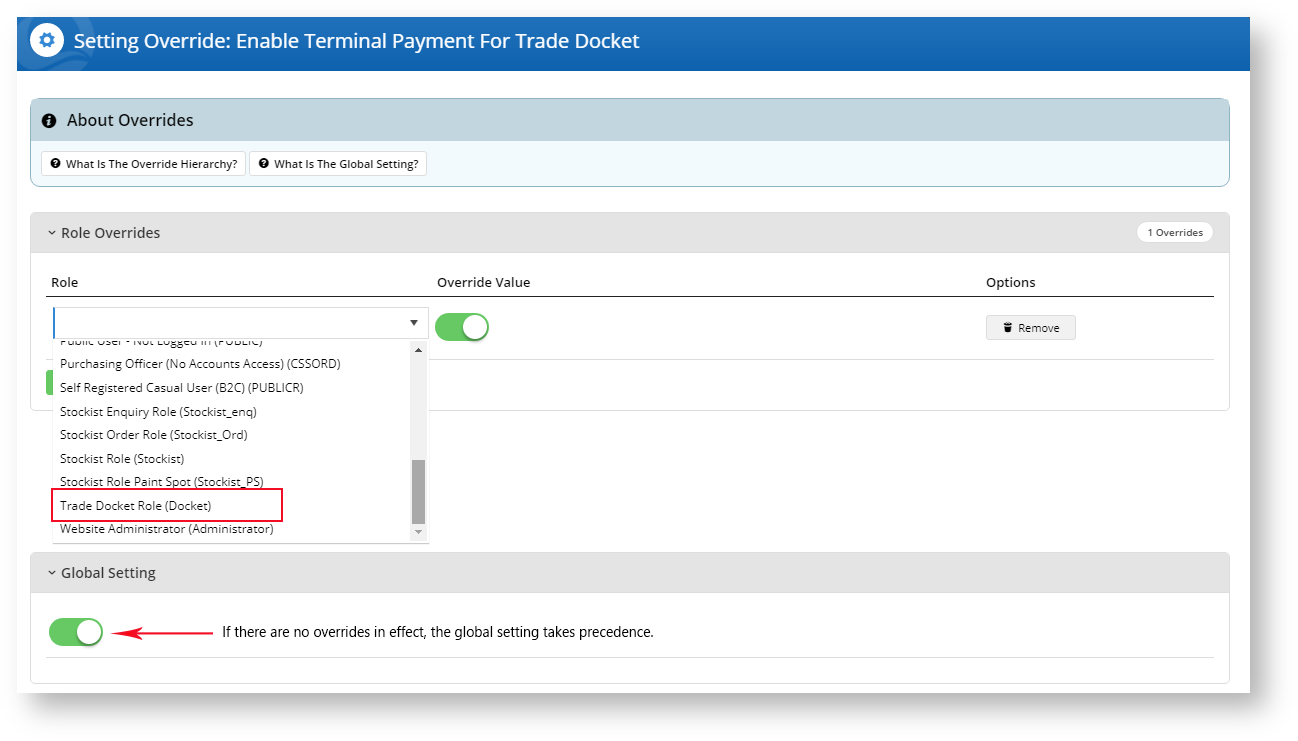
For instance, you may want to restrict the Terminal Payment for Trade Dockets to a select Role. In which case, you would click the
 button and add in one or multiple roles that can use this functionality.
Click Save and Exit to effect your changes.
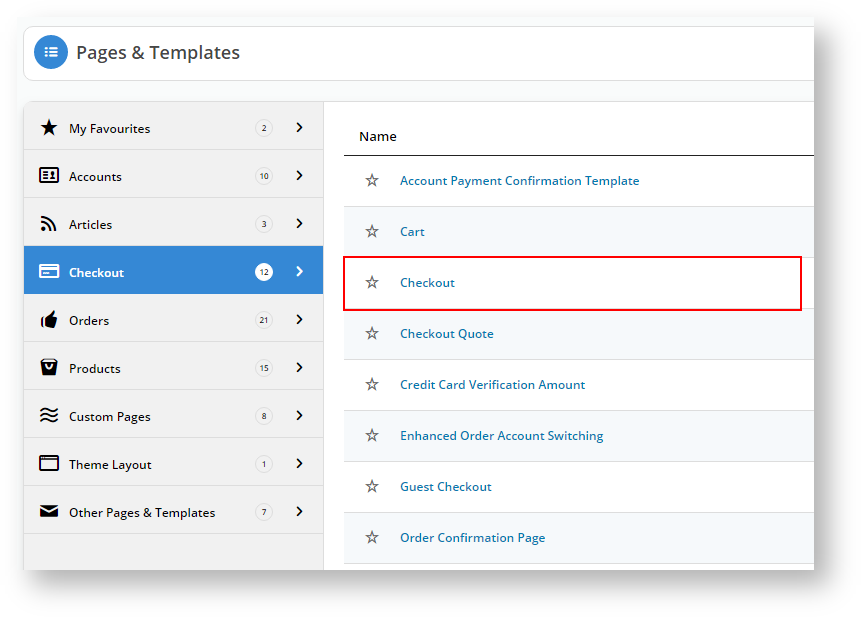
Navigate to the Checkout Template: Content → Pages & Templates → Checkout.
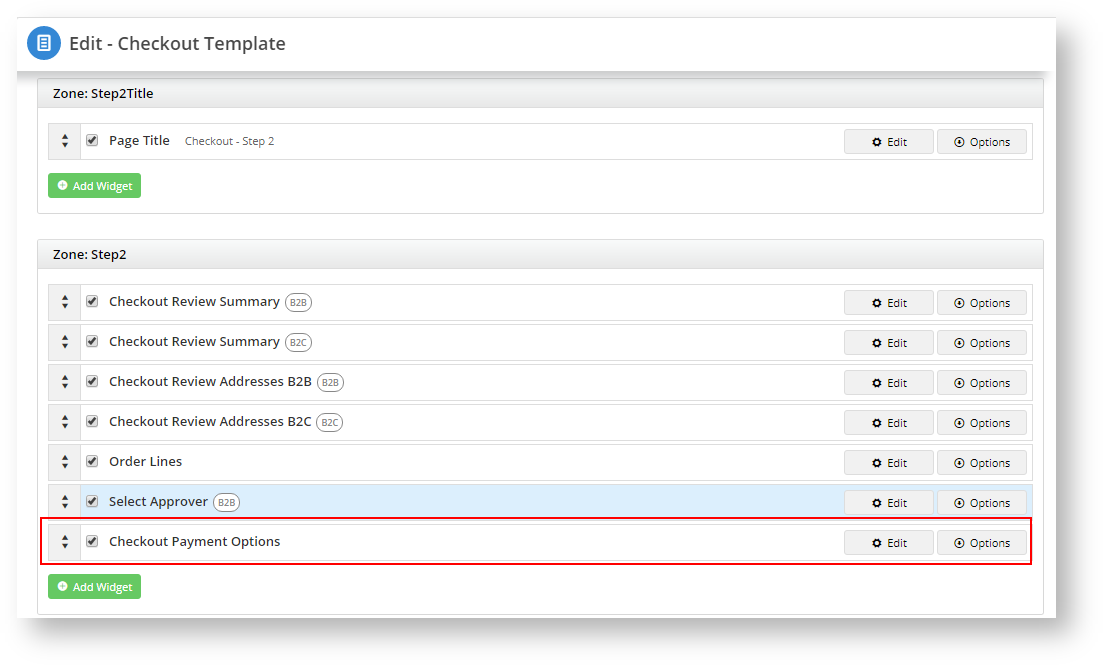
Locate the Checkout Payment Options widget and click to Edit. In our example, it is in the Step2 Zone.
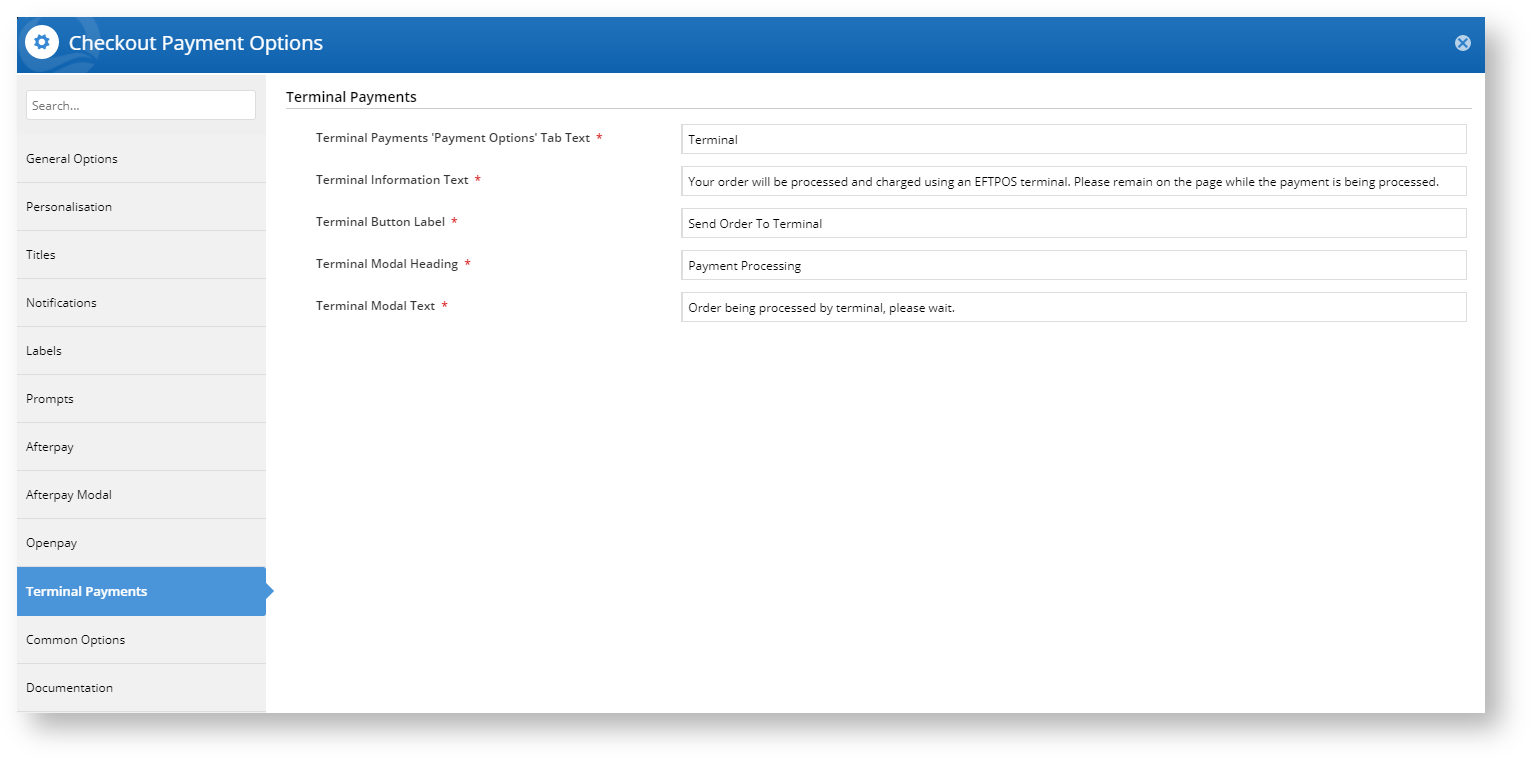
You should see a Terminal Payments tab in the Checkout Payment Options widget. If you don't see it, review Steps 2 to 6 to ensure you have enabled Terminal Payments.
Although you don't need to alter any parameters within this tab for the Albert Terminal functionality to work, you may want to customise the messages.
We will now head over to your website and purchase a product to test the Albert Payment Terminal Functionality.
Follow your standard procedures to purchase a product and head to the checkout.
When you get to the payment area, you should see a new Terminal option.
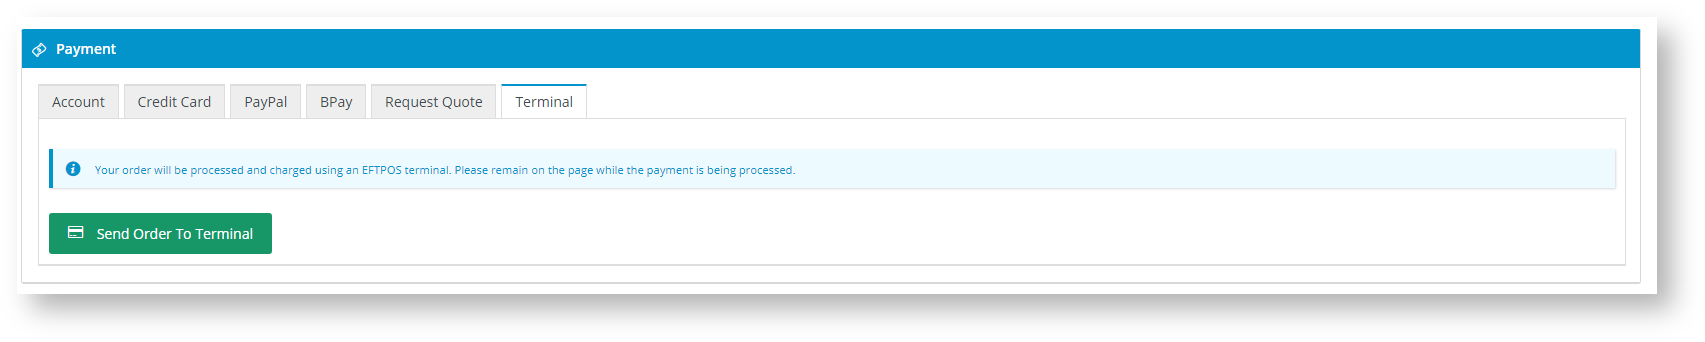
Ensure your Albert Terminal is turned on and connected to your provider.
Click Send Order to Terminal.
A Payment Processing message will display. Follow any prompts on your terminal.

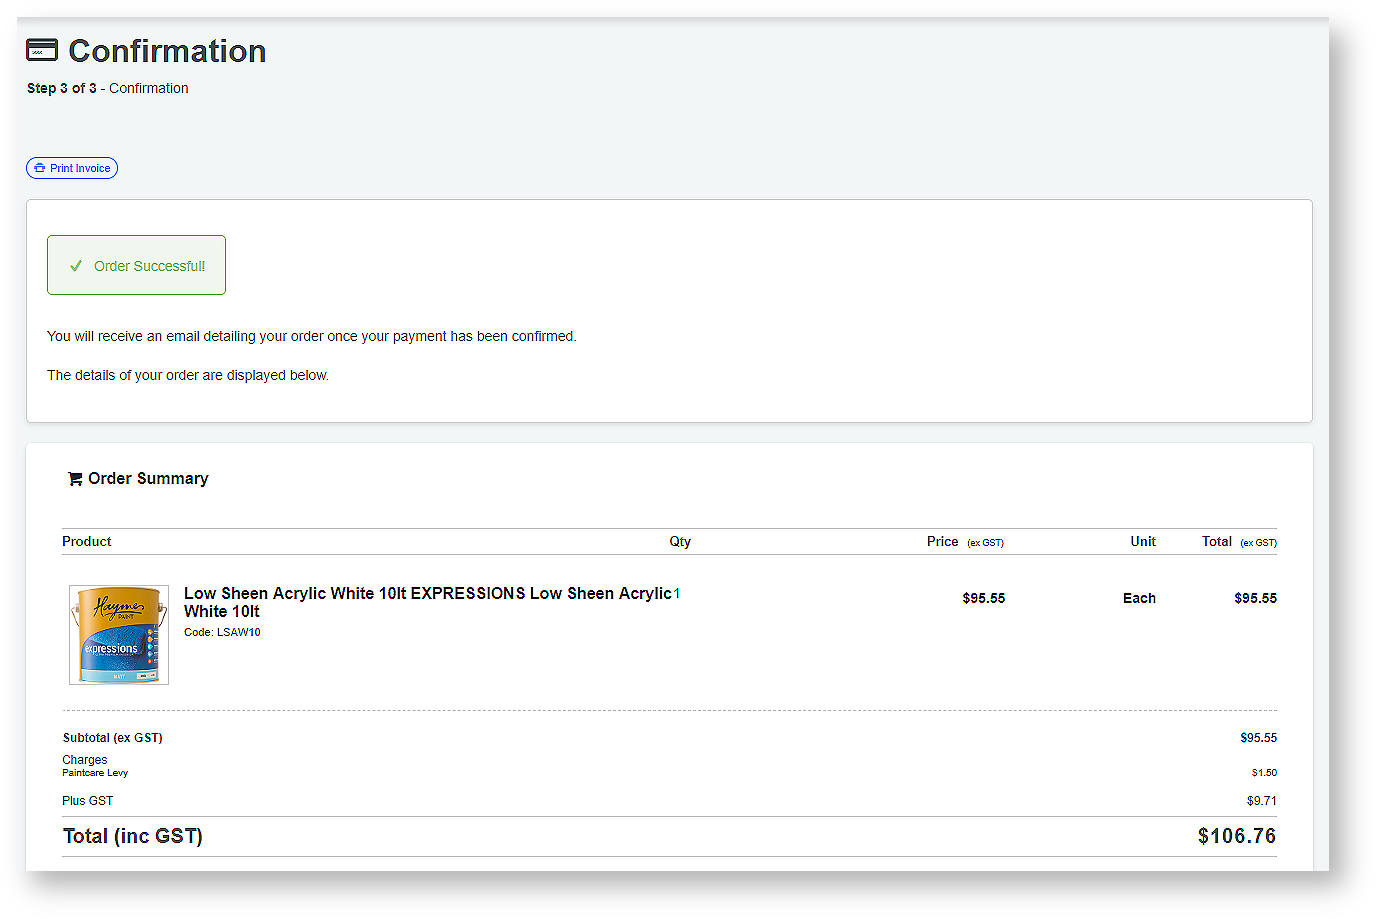
The system will display a Successful Order Confirmation message if the payment processes correctly.
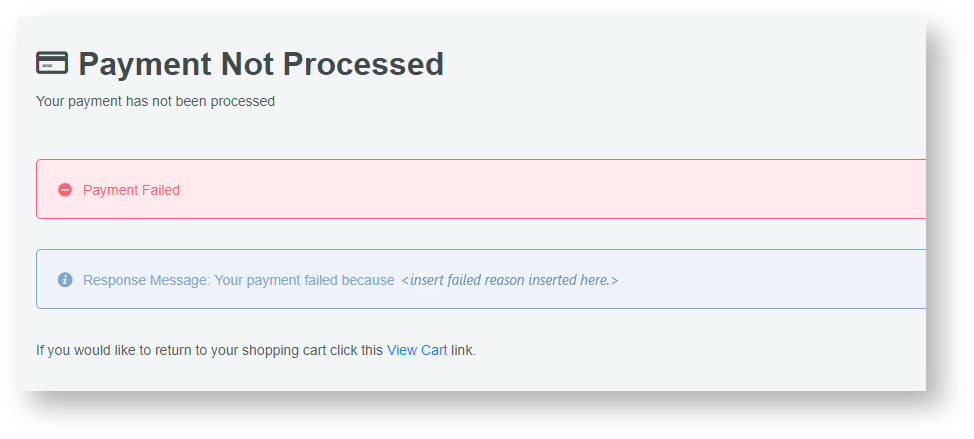
Should the payment fail, you will receive a Payment Not Processed message.
You can click the View Cart link and retry your payment.
Additional Information
We recommend testing this functionality in your staging site before taking it live.
Contact CV Support if you want to configure this functionality for your e-Commerce site.
| Minimum Version Requirements | 4.13.00 |
|---|---|
| Prerequisites | POS Terminal and SignalR functionality configured and working. |
| Self Configurable | No; needs API development; CV can provide send & receive requirements. |
| Business Function | Payment Types |
| BPD Only? | Yes |
| B2B/B2C/Both | Both |
| Ballpark Hours From CV (if opting for CV to complete self config component) | Contact CV Support |
| Ballpark Hours From CV (in addition to any self config required) | Contact CV Support |
| Third Party Costs | Fees apply |
| CMS Category | Content |
Related articles