Customer Client Projects must be switched on by Commerce Vision.
Customer Client Projects lets your B2B customers place and track orders against specific client projects ('jobs').
Use case: A Commerce Vision site sells office furniture and decor. Many of their customers buy products to fit out commercial premises. They use Customer Client Projects to manage and track orders for each fitout project. Each Project created includes the client's name, start/end dates, and a budget. When an order is submitted against a project, the budget is automatically re-calculated. Some projects need several orders placed at different stages. At any time, a customer can go to the Client Projects Maintenance page to check what has been purchased for a project. Handy especially when more than one staff member is involved. Project details can be edited if needed.

On this page:
How it works for your customers
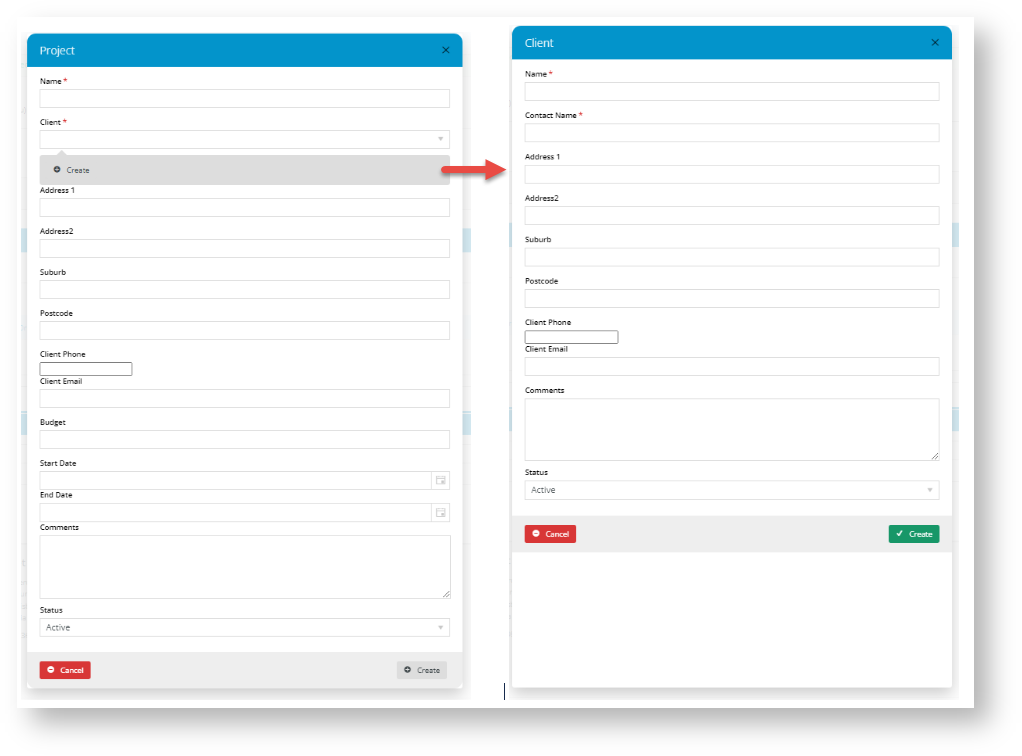
Every Project is linked to a Client. Your customer user can pre-add a Client and then a Project against the Client on your website on the Client and Client Project maintenance pages. Or before submitting an order at Checkout, in the Project panel, they have the option of adding it against an existing project or creating a new one.

If the user chooses to create a New Project, they can add a new Client first if needed.
Once the Project is linked, the user just submits the order the usual way. The submitted order is now linked to the Project. TIP - It is also treated as a normal order so the usual order notification emails are sent and it can be tracked in Order History.
Client and Project Maintenance
1. Maintain Customer Clients
This page lets your customers manage their clients.

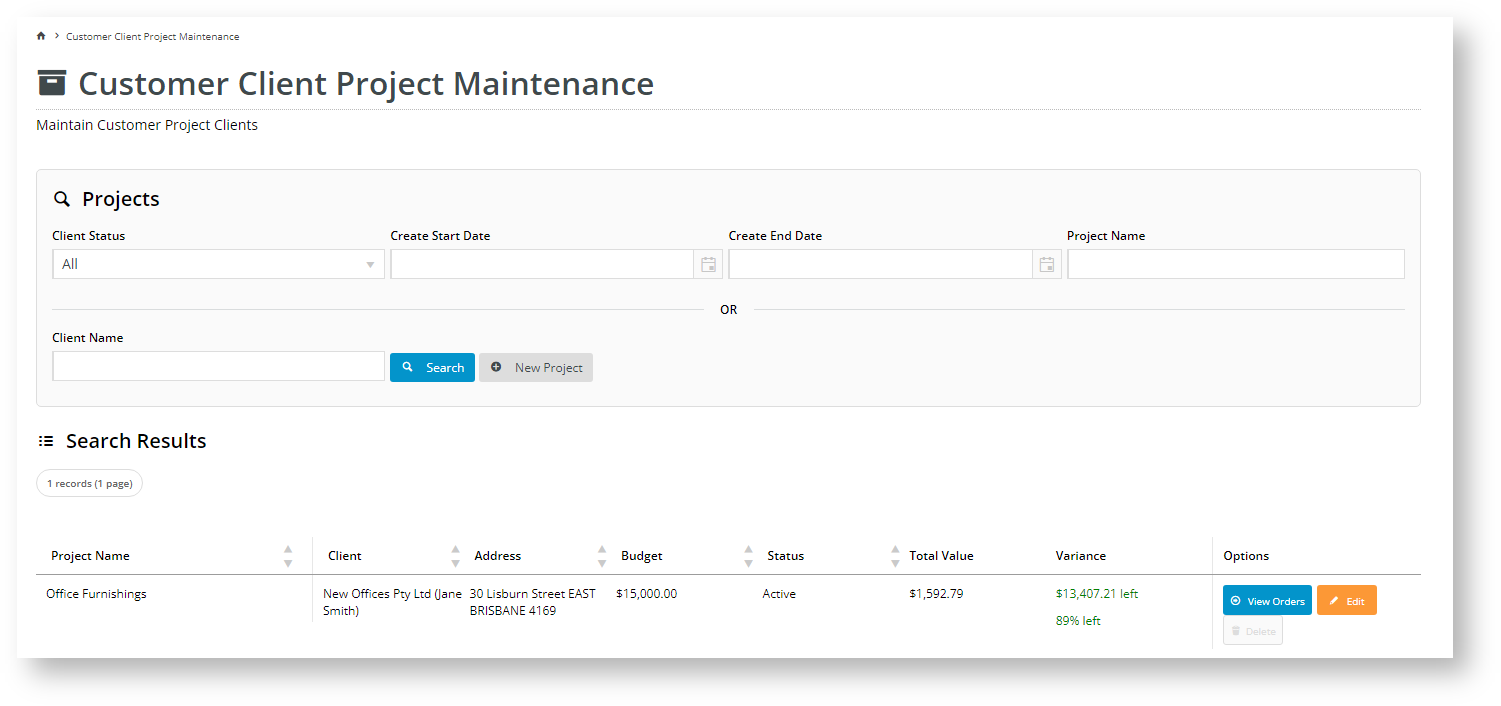
2. Maintain Customer Client Projects
This page lets your customers manage their clients' projects.
3. Add/Edit a Client Project
Step-by-step guide (Admin)
1. Enable Customer Client Projects
Once the feature is switched on for your site, Administrators can enable/disable it in the CMS.
- In the CMS, go to Settings → Feature Management → Content.
- Ensure Customer Client Projects is toggled ON.

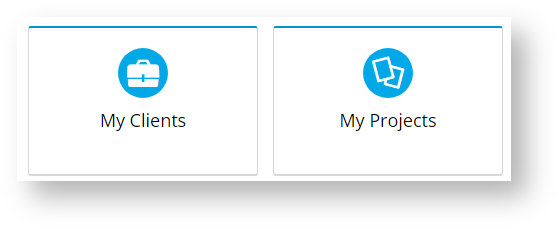
Your customers will have access to Customer Client Maintenance and Project Maintenance. Links to these pages can be added to the Dashboard menu or somewhere else on the Home page. (NOTE - Access is Role-based.)
2. Edit Display Options
You can edit text for headings, fields and other labels in the widgets that render the pages and windows.
- Customer Client Maintenance page - Maintain Customer Clients Widget, Customer Client Project Dialogs Widget
- Customer Client Project Maint page -Maintain Customer Client Projects Widget, Customer Client Project Dialogs Widget
- Checkout page - Order Project Selector Widget, Customer Client Project Dialogs Widget
Related help