Step-by-step Guide
Some or all of these steps may have already been done during initial setup.
1. Configure Azupay Settings
- In the CMS, go to Settings → Settings → Feature Management → Payment & Checkout → EFT, BPAY & PayID Payments.
- Click Configure.
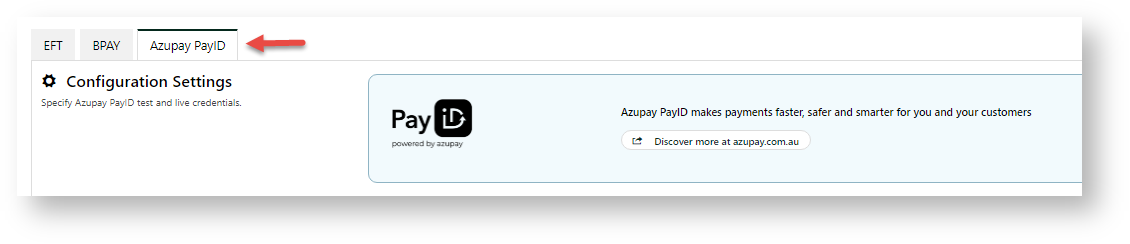
- In the EFT, BPAY and PayID Payment Settings page, click on the Azupay tab.
- To enable Azupay for order payment, in Payment, change from Disabled to Orders Only.
- In Mode, set to Sandbox if testing (stage) or Production (live).
- In Azupay Webhook End Point, enter the webhook end point address supplied by CV.
- Depending on what was entered in step 6, go to Production Settings or Sandbox Settings.
Enter the Settings for either Production or Sandbox. NOTE - These details come from Azupay.
- Client ID
- API Secret Key
- API Distributable Key
- URL - NOTE - Sandbox URL is: https://api-uat.azupay.com.au/v1Production API Secret Key
The Production API Secret Key must be stored and handled carefully. Azupay recommends that the key be visible only to authorised users in your organisation. The Secret Key can be used to make outbound payments to any Australian bank account.
In Order PayID Expiry, enter how long (in minutes) a generated PayID is active before it is deactivated. Once deactivated, a PayID cannot be used for payment.
- The default is 2880 minutes (48 hours).
- A minimum of 1440 minutes (24 hours) should be entered. This ensures the PayID remains valid, in cases of payment confirmation delays. Example: Payment response may be delayed due to security checks by the customer's bank.
- Azupay automatically deregisters a PayID after 48 hours of no response.
- Regardless of the PayID Expiry, the CV ecommerce platform will request PayID deactivation if the user's session on your platform ends (before a response from Azupay).
- Save the settings. At the top of the page, click Save.
- To test the settings can successfully communicate with Azupay, click Test Settings.

2. Email Templates & Settings
PayID payment notifications are automatically sent to customers when their payment is in a specific status.
- PayID Payment Successful - Payment is confirmed by Azupay as 'completed'; a pending payment changed from 'waiting' to 'completed' via the webhook, API or manually in Release Payments.
- PayID Payment Pending - The customer clicked the 'Confirm Payment' button in the Azupay popup during checkout BUT Azupay has not verified payment as 'completed'.
- PayID Payment Unsuccessful - A pending PayID was deregistered by Azupay and never updated to 'completed'; the payment was changed to 'Reject' manually in Release Payments.
Access each email template from the Azupay Settings page or from the Email Templates page (Content → Content → Emails).

Set General Email Defaults
In the Azupay settings page, you can set general email defaults:
- Default Payment Email Subject - Subject line of all PayID payment emails. Default: PayID Payment for {0}
{0} - placeholder for Sales Order Number- Default Payment Refunded Email Subject - Subject line of the PayID refunded email. Default: PayID Refund for {0}
{0} - placeholder for Sales Order Number- BCC Emails to Internal Recipients (optional)
- Toggle ON Send PayID Emails to Internal Recipients
- Type in an email address, then press Enter. TIP - Multiple email addresses can be added.
- To save changed settings, at the top of the page, click Save.
3. Edit PayID Checkout Labels and Text
PayID text and button labels displayed to customers during checkout and in the Azupay popup (CV-controlled text only) can be edited in the Checkout Payment Options Widget.
PayID description (Checkout page → Payment section → PayID tab)

PayID popup
(1)-(4) can be edited in the Checkout Payments Widget.

- Go to Content → Content → Pages & Templates
- Search for the Checkout template.
- Click Edit for the template.
- Find the Checkout Payment Options Widget.
- Click the PayID tab.

- For a guide: see: Checkout Payment Options Widget
Related Resources
-
:
-
-
-
-
-
-