Overview
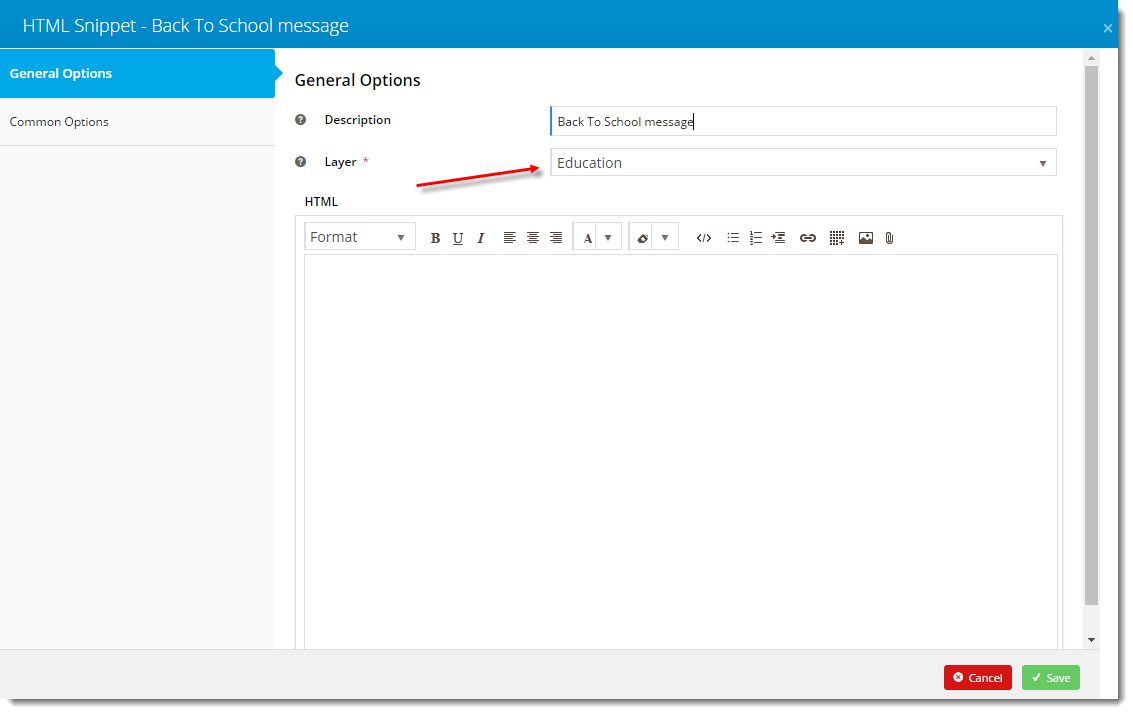
Layers are used by all widgets to filter or restrict the widget's content to a particular audience. A layer can be based on conditions such as the user's authentication status (logged in vs. public), their role, and/or their customer code, just to name a few.If you've ever edited a widget in the CMS, you may have noticed the Layer selector on the General Options tab:

Use Case
Let's imagine you have a banner image advertising an exciting promotion, but it only applies to your B2C customers. In this case, you'd place the banner on the page using an HTML Snippet widget or a Static Content widget, then use a layer to restrict that widget to users on a B2C role. As a result, B2B users would not see the banner at all.
Best Practice Design websites come equipped with several standard Layers out of the box. You are free to edit, remove, or add to these Layers as required.
You can find Layers under the Advanced Content menu in the CMS.
How To Create a Layer
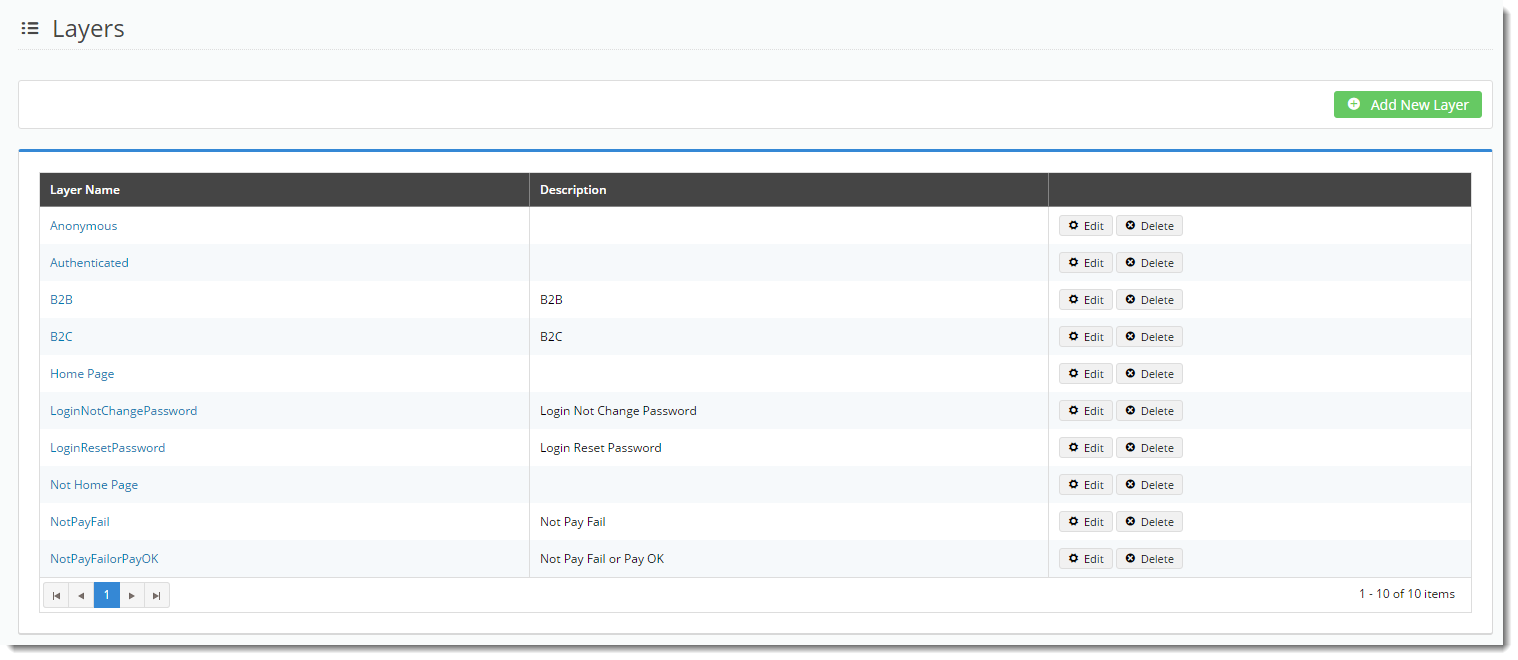
- In the CMS, navigate to Advanced Content → Layers.
- Click 'Add New Layer'.
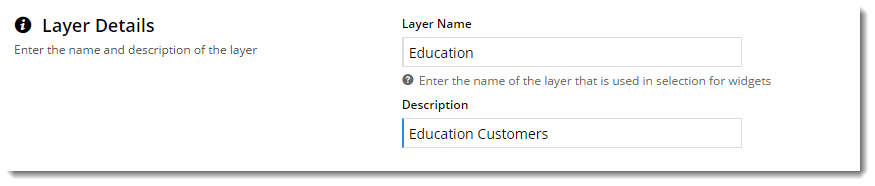
- Give your new layer a Name and a Description; anything that's meaningful to you.
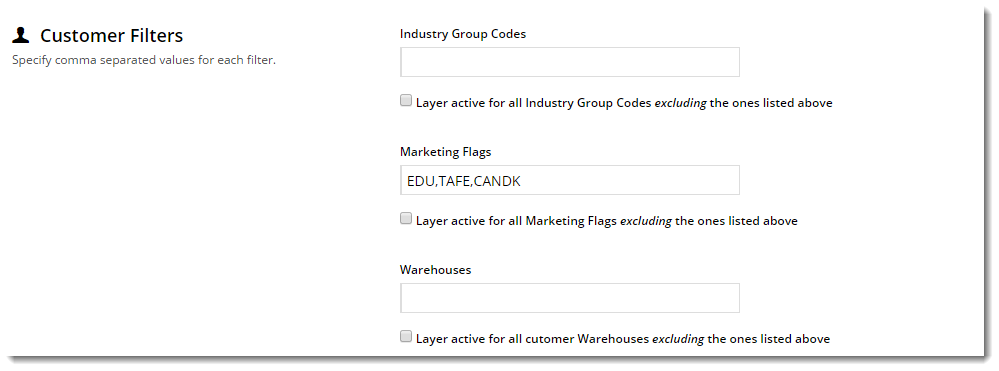
- Next, specify the conditions under which this layer will 'activate'. It could be for particular roles, accounts, or marketing flags, for example.
(For further information on layers and examples of use, see our blog post on Personalisation here!)- Click 'Save & Exit'
- Your new layer is now ready to use! Add it to any widget on your site - it's that easy.