Overview
Static content pages are an essential part of your website. You might have Customer Service pages for FAQs or a size chart, or Marketing pages for promotions and blog posts... the possibilities are endless!
When your BPD site was implemented, we probably equipped you with a few classics hits such as 'Terms & Conditions', or 'About Us'. But what if you want to create something new and exciting? Luckily, creating custom pages is easy with the Commerce Vision CMS. Read on for a step-by-step guide on how to do it.
Creating The Page
- Login to the CMS.
- Navigate to Content → Custom Pages.
- A list of existing custom pages will be displayed. Click 'Add Page' to create a new one.

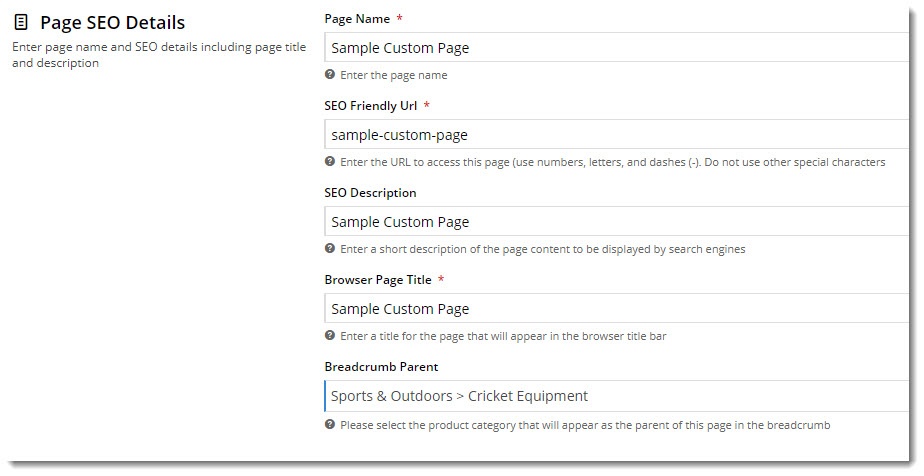
- Enter your Page Name and other SEO information. Once you enter the Page Name, the fields below it will auto-populate. Edit any of them as required.
- SEO Friendly URL - the page's user- and search engine-friendly URL.
- SEO Description - the blurb that displays under the Title and URL on a search engine's results listing.
- Browser Page Title - the page title that will display at the top of the browser window (or on the browser tab).
- Next, click 'Add Menu' to allow users access to this page.
- Select the required menu from the dropdown list. The top level menu code will be listed in brackets after the menu name.
- Tick 'Authentication Required' if you want users to be logged in before they can access this page. Otherwise, leave blank.
- Tick 'Hidden' if you don't want the page to appear as a link on the menu (say, for example you want the page to be accessed via a promotional email link only). Otherwise, leave blank.
- Repeat steps 5-8 for any additional menus the page should be on.

- Select the page content type you require:
- Simple - all page content is added via the WYSIWYG content editor you see here. The editor allows you to format text, add links, images, and other html.
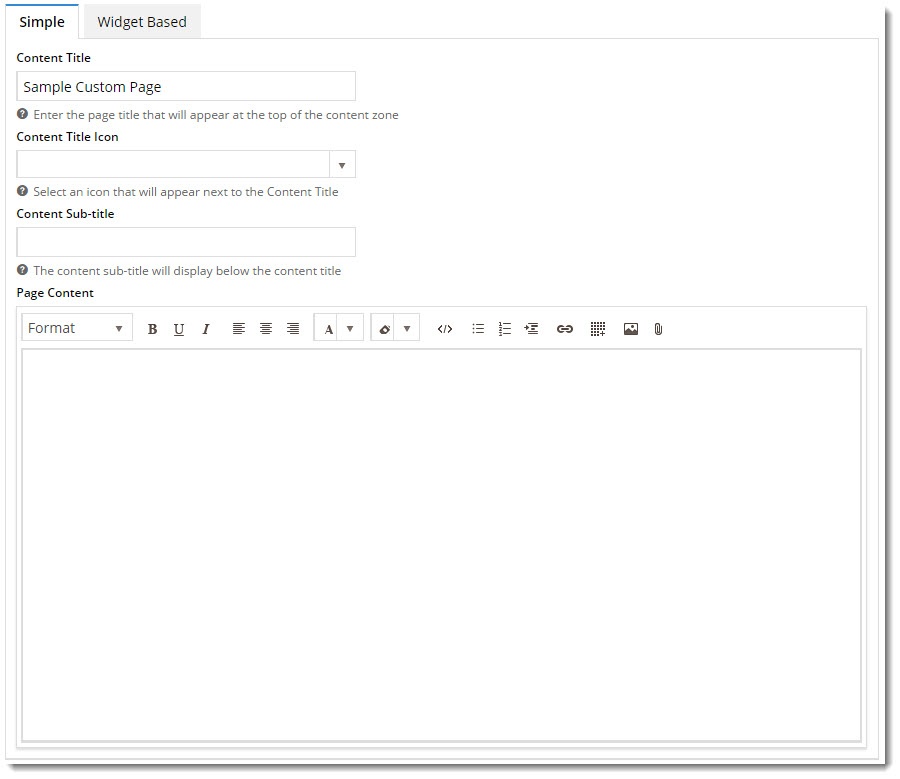
- Widget Based - all page content is added via widgets on a template. Add widgets to display dynamic content such as product campaigns, banner sliders, and more.

- Click 'Save & Exit'.
Adding Content - Simple Pages
If you selected the Simple option, click 'Edit' on your page in the list. This will load the WYSIWYG (What You See Is What You Get) content editor.
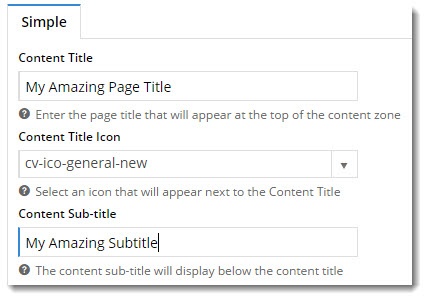
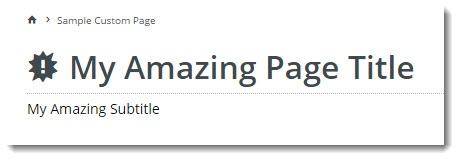
Start by giving the page a Title, Icon, and Subtitle.
Data input Resulting output
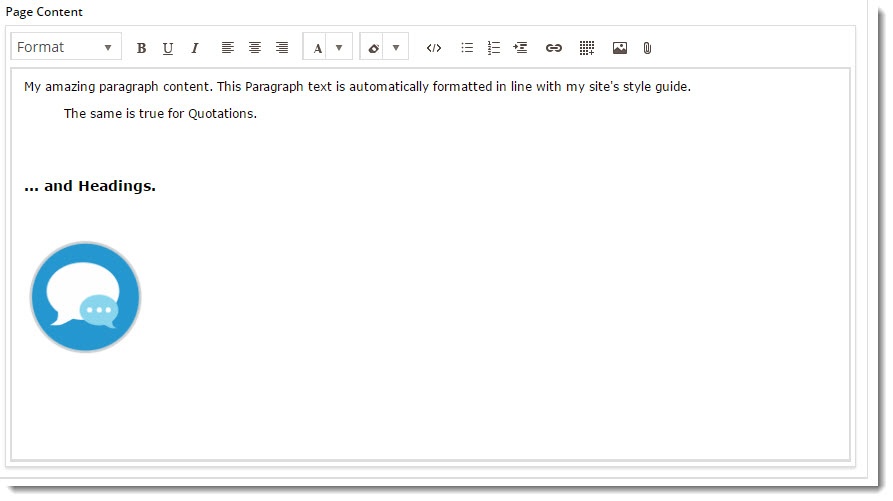
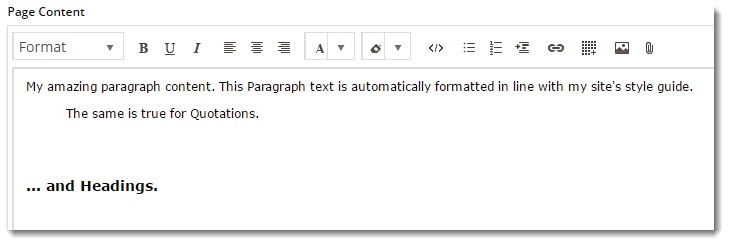
Next, add some text to the Page Content area.
Below is obviously a very simplified example, but you can play with font sizes, colours, and formats. The editor is very much like what you've probably seen in Microsoft Word or OpenOffice.
Text input Resulting output
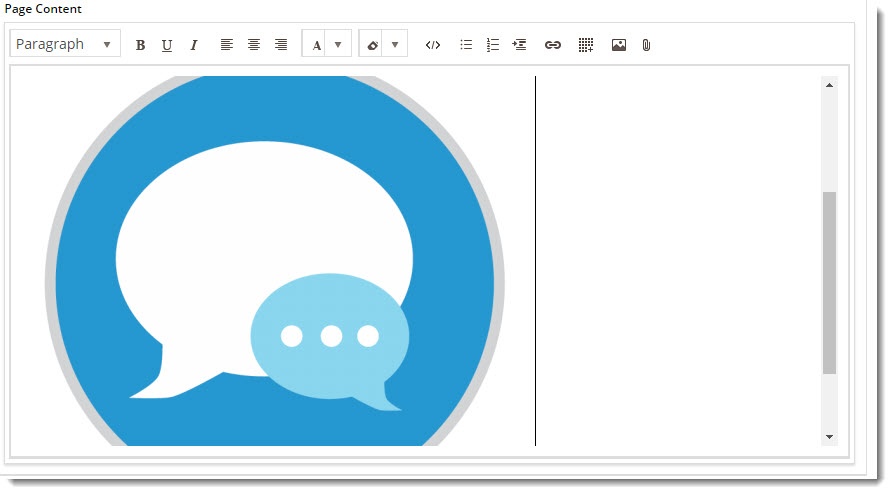
Now, add some images to your page content. Click the image icon to begin.
- The Image Selection window will open, where you can browse images already loaded to the image folder.
- Alternatively, click 'Upload' to load a new image from your local directory.
- Then, highlight the image you require and click 'Select'.
- The selected image will now be inserted into your page content.
- For greater control, edit your content via html code editor:
- Click the </> icon to access the code view.
- Here you can edit text formatting tags, resize images, or add other content directly into the html.

- Click 'Save' to return to content editor mode, where you can see a preview of your slick coding skills.
- Once you're happy, click 'Save & Exit' to save the page.
- Load your page in another browser or incognito tab and admire your work!


Adding Content - Widget Based Pages
If you selected the Widget Based option, you should be redirected to an empty template on first save of the page. You have a blank canvas, ready to go.
By default, your page was created with a single column layout with one row. Before adding widgets, you may wish to create a custom layout for your page. See our Custom Layout Creator article for information on how to do this.
Once you're ready to add content, simply click 'Add Widget'! You can add an unlimited number of widgets to any content zone on the page.
If you really want to get tricky, try targeting your content by audience using Layers.
Happy Creating!
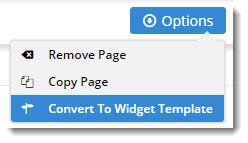
If you created a Simple page and have changed your mind, never fear - you can easily convert it to a Widget Based page. Simply edit the page, then select 'Convert To Widget Template' from the Options menu.