Contents
Overview
Facebook Sign-In is a secure (OAuth 2.0) login method that aims to reduce friction and "login fatigue" for your users. Instead of signing in to your website with an email address and password, your customers can login using their Facebook account.
This article will guide you through the implementation of Facebook Sign-In for your site.
< image goes here >
Prerequisites
Before continuing, you'll need to be running version 4.00+ and have the 'Third Party Login' feature enabled in the CMS. Contact us to switch this on for you.
1. Create a Facebook App ID
To enable Facebook Sign-In, there's some set-up required on the Facebook side. Follow the steps below.
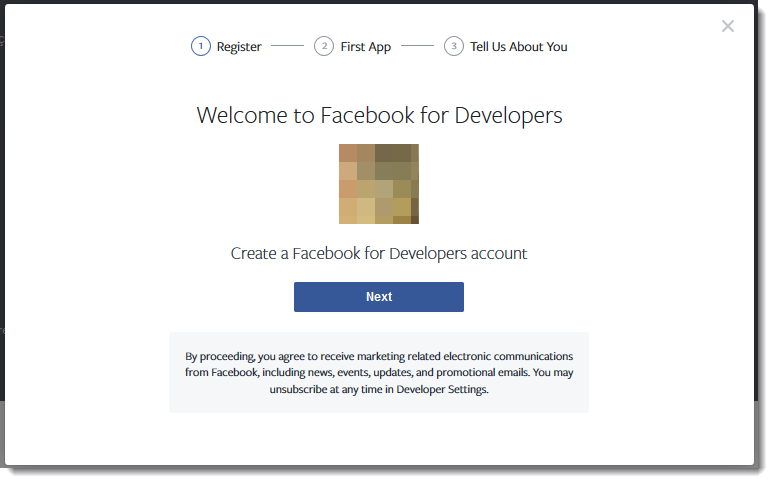
- Navigate to the Facebook for Developers page https://developers.facebook.com/ - and click 'Get Started'.
- You'll be prompted to login with your Facebook account, then you'll be prompted to create a Facebook for Developers account.
- Follow the prompts to create your account, then once you're in your dashboard, click + Add a New App.
- Enter your website name and contact email address, the click Create App ID.
- This will generate your App ID and Secret (password).
- Next you'll need to enter the Domain and URL details of your site and Save Changes.
- Once your site settings have been saved, you're ready to configure the feature in Commerce Vision's CMS.


2. Configure Facebook Sign-In
Now it's time to set up your website.
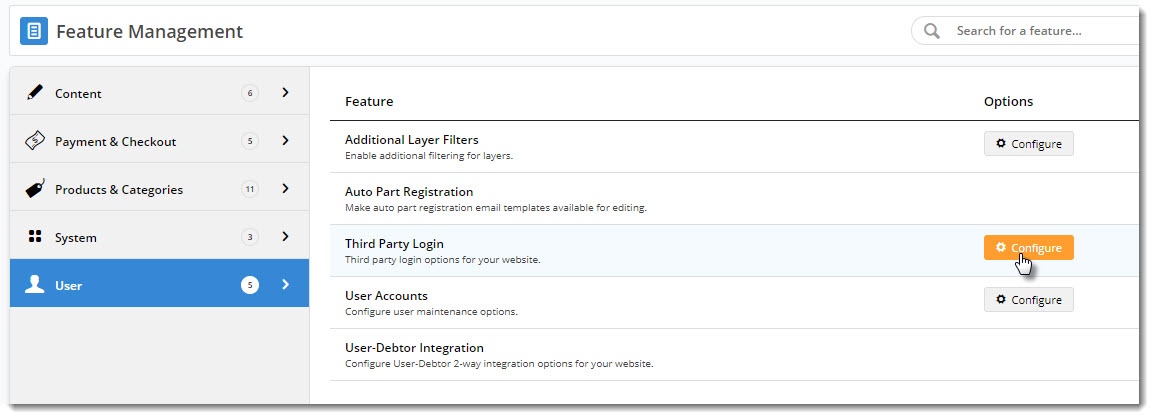
- In the CMS, navigate to Settings → Feature Management.
- Configure the Third Party Login feature.
Toggle the Registration Page and Allow Linking options on/off as required for your website. (If your site is also using Google Sign-in, these options will already be configured. Leave them as they are.)
The 2 options are explained in the table below.
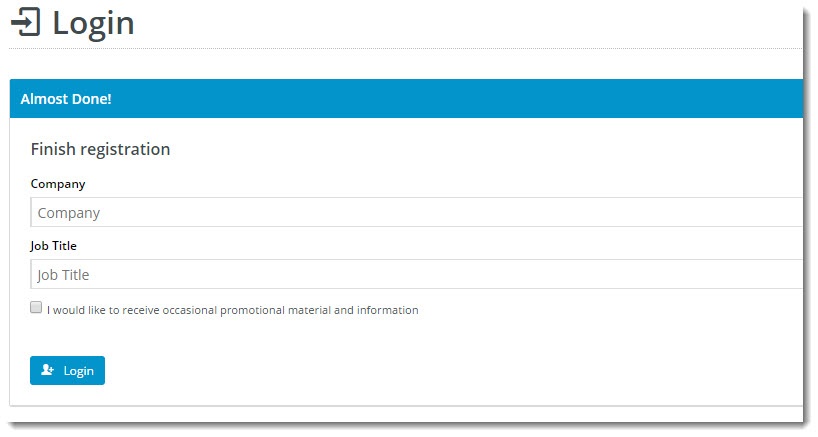
Option Description Example Use Registration Page Displays additional registration fields to the user after they've signed in with Facebook. You can use this to request more info from your customer before they click Login.
(This screen is only shown on the user's first login.)
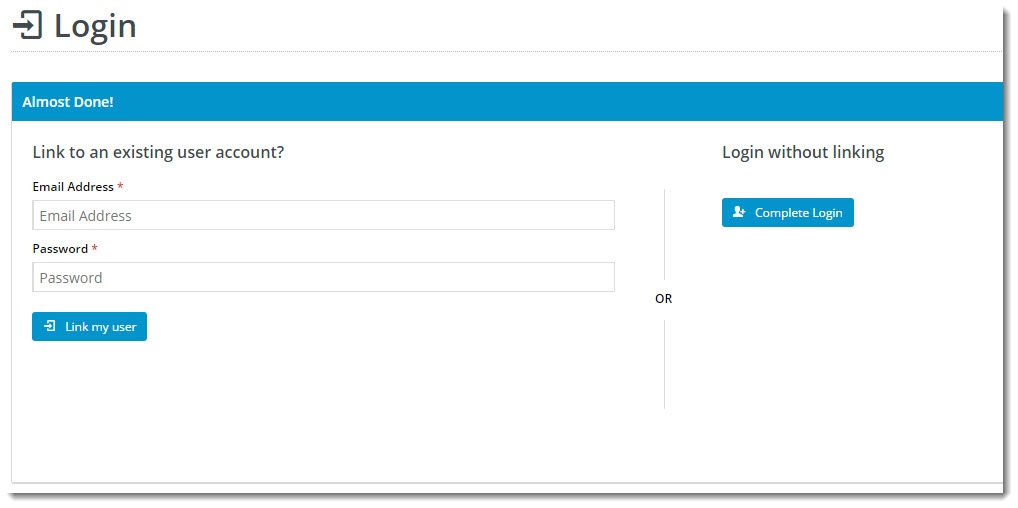
Allow Linking To Existing Users Allows a user to login with Facebook, then link that login to an existing account on your site (if they have one).
This retains all of the user's order history, favourites, etc, with the benefit of a quick Facebook sign-in.
(This screen is only shown on the user's first login.)
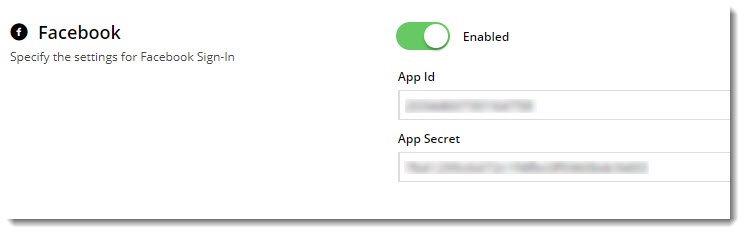
- Enter your Facebook App ID and Secret into the appropriate fields.
- Enable Facebook Sign-In with the toggle, then click Save!

3. Optional Customisations
Don't like the button text on the Registration page? Wish the login pop-up didn't use the phrase "social network"?
No worries - you can customise this via the widgets!
Change the text on the Registration / Link User page here:
Navigate to Content → Standard Pages.
- Search for and select the Third Party Login Registration template.
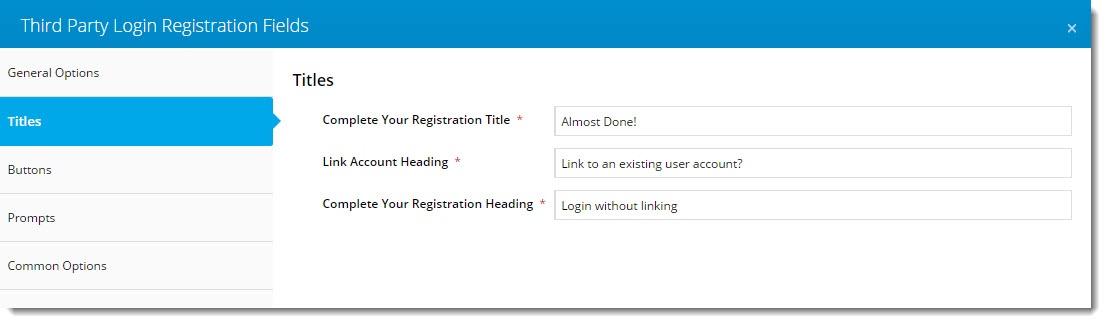
- Edit the Third Party Login Registration Fields widget.
- Update the headings, button labels, and prompts here.
Change the headings on the Login pop-up here:
- Navigate to Content → Theme Layout.
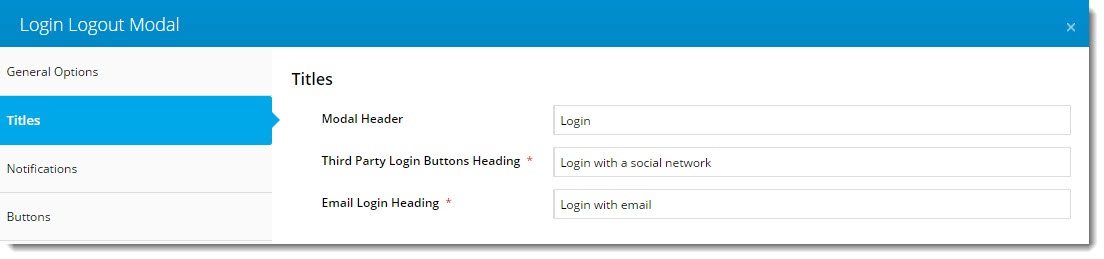
- Edit the Login Logout Modal widget.
- Select the Titles tab to update the headings.
Facebook Sign-In is a great way to get your customers logged in and shopping with you faster. And your users will no doubt appreciate not having to remember yet another password!
Related Articles