Contents
Overview
With PayPal's Express checkout, users are able to complete their purchase in fewer steps. Customers can use the delivery and billing information they have stored with PayPal, rather than re-entering it all again on your website. This makes checkout quicker and easier, thereby increasing conversion rates.
Configuring PayPal Express
This guide covers the implementation of PayPal Express checkout on BPD websites.
1. Configure PayPal Express settings
- Contact Commerce Vision to enable the PayPal Express feature on your site.
- Login to the CMS with your PayPal Merchant credentials handy.
- Navigate to Settings → Feature Management.
- Configure the PayPal Express feature.
- In the Configuration Settings section, enter your PayPal Express credentials:
| Field | Value |
|---|---|
| PayPal Express Endpoint | https://api-3t.sandbox.paypal.com/nvp |
| PayPal Express Login URL | https://www.sandbox.paypal.com/cgi-bin/webscr?cmd=_express-checkout |
| PayPal Express Username | [Your PayPal Merchant username] |
| PayPal Express Password | [Your PayPal Merchant password] |
| PayPal Express Signature | [Your PayPal Merchant signature] |
2. Position the PayPal button on your site for express Paypal checkout
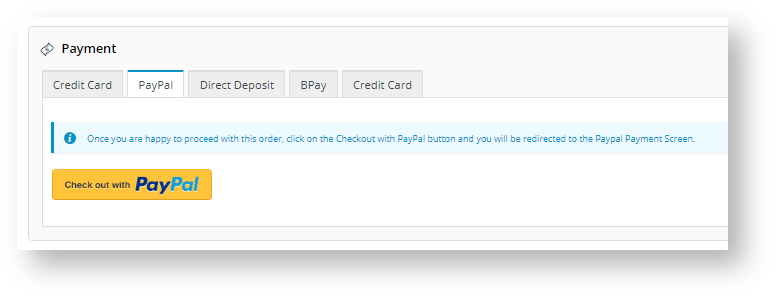
If PayPal is enabled on your site, at the Checkout page, it will be offered as a payment option.
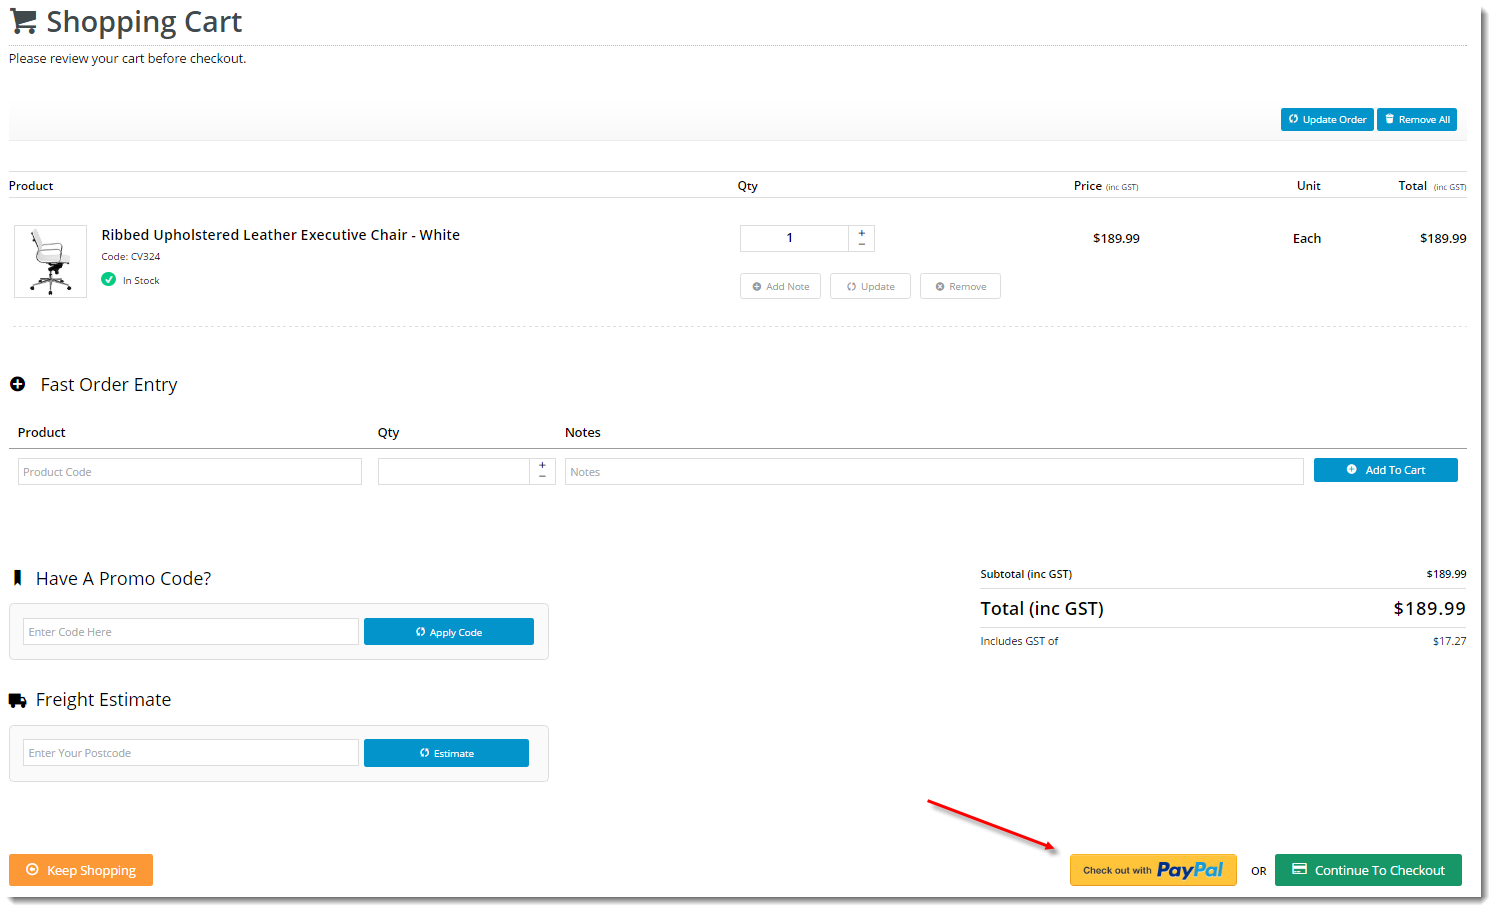
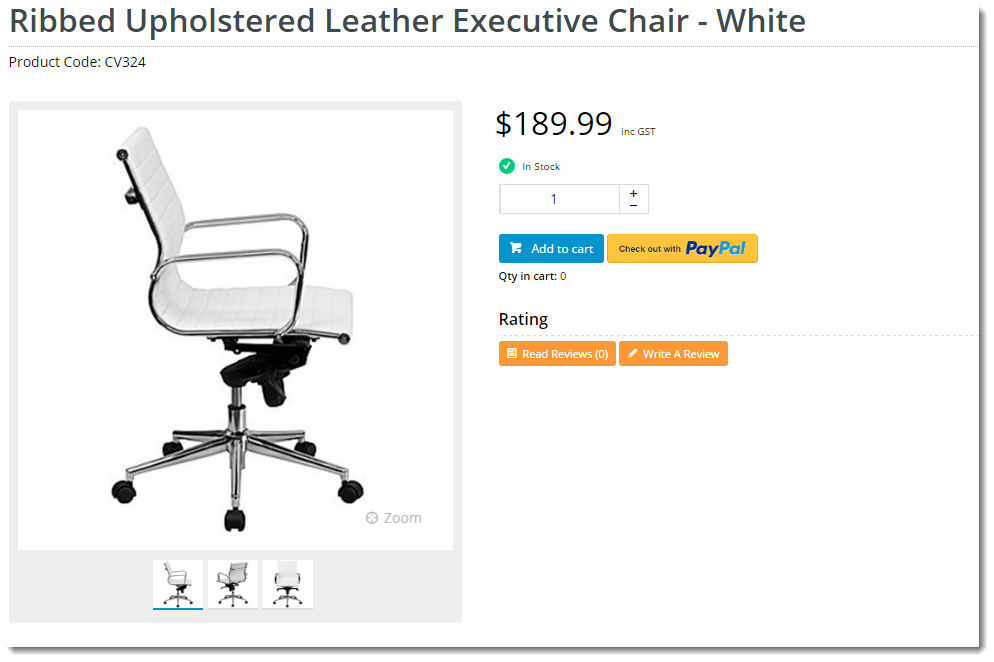
However, you can position PayPal buttons elsewhere for express checkout. When your customer clicks on the button, they can express checkout by bypassing the checkout page. Determine whether you want the button displayed in the Cart and/or on the Product Detail page. Examples of each are shown below.
Cart Product Detail
- In the PayPal Express page (Settings → Feature Management → Payment & Checkout →PayPal Express), toggle the options on/off according to your site requirements.
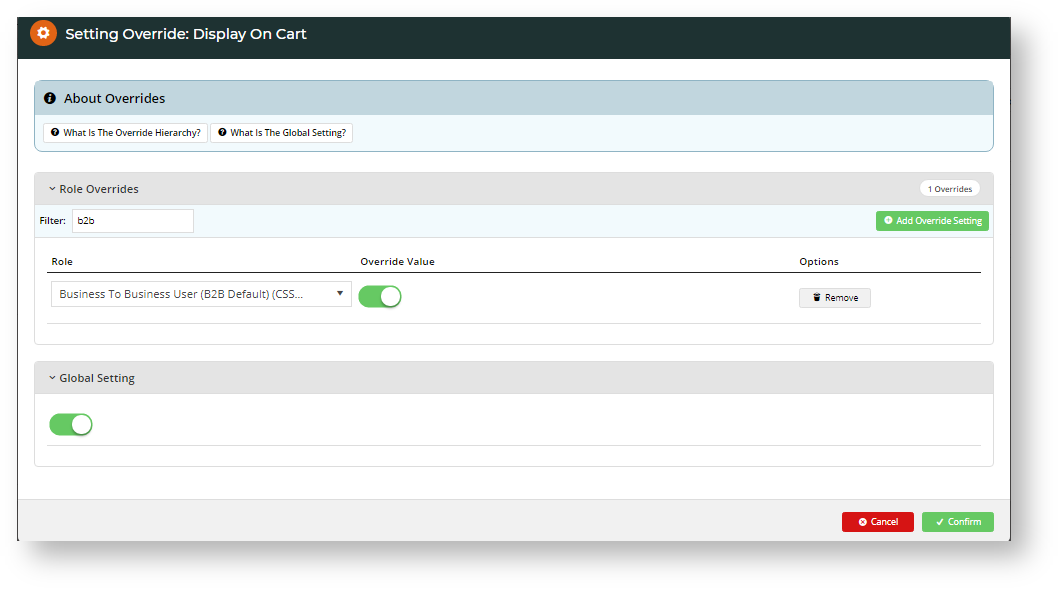
- You can customise display options at the Role level if required. (For example, you might want to prevent B2B users from using PayPal Express.)
- Click the 'Overrides' icon on the option you wish to edit.
- In the Setting Override window, notice your site's Global setting. If enabled, the PayPal button is displayed by default for all roles (except any Overrides). If disabled, the PayPal button will over be displayed for any Overrides.
- Click Add Override Setting.
- In Role, select the required role.
- Toggle the Override Value on or off as required.
- To save, click Confirm. The Overrides counter will display the number of active overrides.
- Click 'Save' or 'Save and Exit' at the top of the page to save your changes.
Congratulations, PayPal Express is now implemented on your website!
B2B Customers
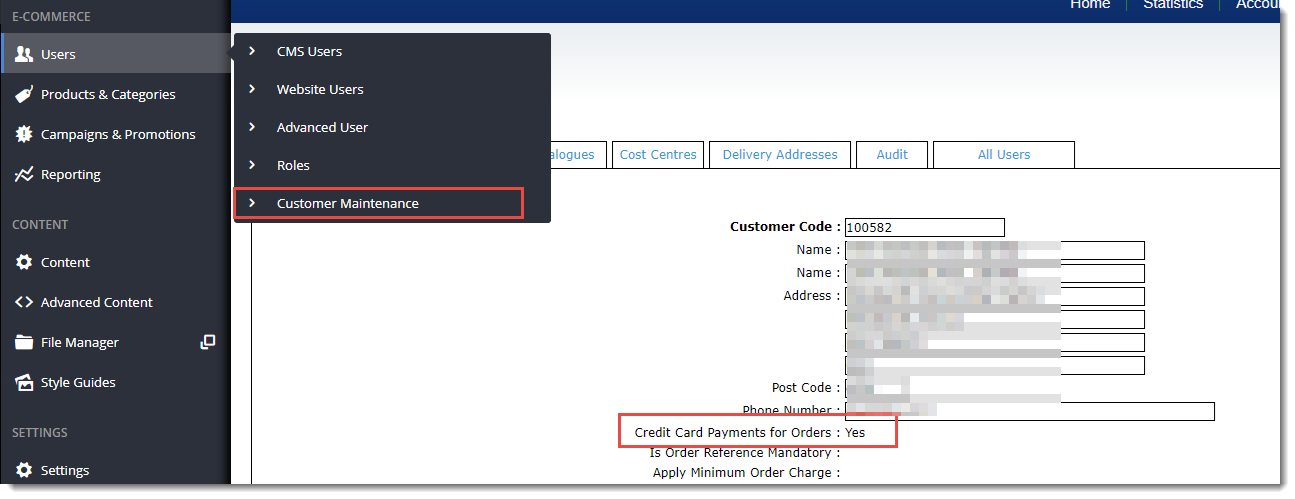
In order to offer PayPal to your B2B customers, you must ensure the 'Credit Card Payments for Orders' flag is set to Yes at the individual customer level. This flag does not affect B2C users.
If the Customer Maintenance page shown below isn't visible to you in the CMS, please let us know.
Tip
Click to expand the FAQ panels at the top of the Override Settings window for more information!
Additional Information
| Minimum Version Requirements |
|
|---|---|
| Prerequisites |
|
| Self Configurable |
|
| Business Function |
|
| BPD Only? |
|
| B2B/B2C/Both |
|
| Ballpark Hours From CV (if opting for CV to complete self config component) |
|
| Ballpark Hours From CV (in addition to any self config required) |
|
| Third Party Costs |
|
| CMS Category |
Related help


