Store Locator Maintenance allows Administrators to add and manage store locations as well as other sites such as warehouses relevant to configuring Click and Collect delivery and pickup modes and calculating product availability. You can easily self-configure locations for your website if your business uses only store locations to dispatch deliveries and pickup. However, including warehouses as Click and Collect dispatch sites and implementing pickup locations other than a User's selected store require consultation with Commerce Vision.
Does your business ship from non-store locations such as warehouses?
Delivery solutions in which orders can be dispatched from non-store locations such as store warehouses and/or distribution warehouses, e.g., as a business preference, stock availability reasons, etc, can be implemented for your site. Such options are suited for companies with fulfilment rules involving multiple stores and one or more distribution centres.
Use of Store Warehouses
Suppose a business has stores and store warehouses and wants shipping to default from the store warehouse when a Website User selects a certain Store. Dispatch from store warehouses has been implemented and enabled for their site. In Store Locator, the store warehouse has been set for the Store. In this case, product availability displayed for delivery will be based on stock levels at the store warehouse rather than the store. Order details will include this warehouse's code as the dispatch location.
Use of Distribution Warehouses
Suppose a business has stores, store warehouses and also regional distribution warehouses and wants shipping to default from the distribution warehouse when a Website User selects a certain Store. Distribution warehouses as alternative dispatch locations have been implemented and enabled for their site. In Store Locator, the distribution warehouse has been set for the Store. In this case, product availability displayed for delivery will be based on stock levels at the distribution warehouse rather than the store or store warehouse. Order details will include this warehouse's code as the dispatch location. Notes - Availability rules ensure that (i) if the business uses store warehouses as well and a User does not select a preferred store, delivery availability will be based on the default store warehouse set against the Customer code; (ii) if a User selects a store and no distribution warehouse has been set for the store, the default dispatch location based on the Customer code will be used.
Dispatch options involving warehouses require customisation and implementation by Commerce Vision. Inclusion of distribution warehouses is available for sites on versions 4.24+.
Step-by-step guide
This guide details how to set up a new Store Location and maintain existing locations for sites on our Best Practice Design (BPD) websites once Store Locator has been enabled and configured.
See the guide to Click & ColIect Delivery Settings to configure delivery modes for your website. If you're implementing the Click and Collect functionality for the first time, contact us to verify your site's availability calculation is correct.
Create a New Store Location
Note - if 'Use Distribution Warehouse for Click and Collect' has been enabled for your site, the 'Distribution Warehouse' field will be available.
- In the CMS, navigate to Settings → Store Locator Maintenance.
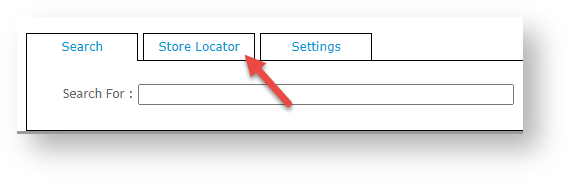
- Select the Store Locator tab. Records of each existing location are displayed.
- Click New.
- Tick Active if this location is to be visible on your site.
- Enter the Store Name, Address, and contact fields. NOTE - the Store Name entered will be displayed to Users on your website.
- In Latitude and Longitude, enter accurate values for this site. TIP - this site may be helpful - http://www.latlong.net/)
- If applicable, in Warehouse Code, enter the code of the store warehouse for this location (as created in the ERP).
- In Shipping Lead Time, enter the number of days required to process and ship an order from this location from when it is submitted.
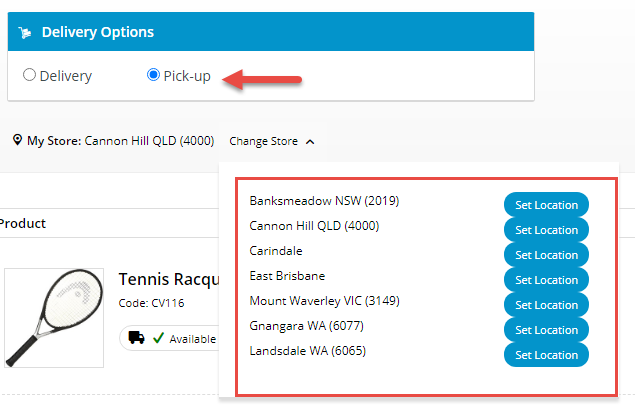
(Optional) Tick Is Pick-up Enabled to enable this location for Click & Collect pickup. If this is ticked, the location will be available as a pickup location for customers. This information will also integrate to the PRONTO 'StoreLocation' table for the Warehouse Code/Store Location.
- (Optional) The Store Name For Pickup Click And Collect provides an alternate pickup location to this store location. The alternate location can be configured to default when a User selects the store. This option requires implementation by Commerce Vision.
- (Optional) The Click And Collect Product Availability Buffer is a product buffer value specific to this warehouse and overrides the value in System Settings. The buffer adds a safety net to the availability logic, e.g., to account for stocktake errors. The value is subtracted from the available quantity.
- (Optional) In Opening Hours HTML, add this store's opening hours within HTML tags for display on your website.
- To save the store location, click OK.
Please note that the Store Pickup functionality is not compatible with Live Freight. If your BPD site uses Live Freight and you are interested in implementing Store Pickup functionality, please contact us to discuss customisation options.
Maintain Warehouse / Store Locations
- In the CMS, navigate to Settings → Store Locator.
- Search for the required store or click Search to display all current records.
- Select the required store record to see the store's details.
- Click Modify.
- Edit the fields as required.
- To save your settings, click OK.
IMPORTANT - Location names and warehouse codes are used in routing to relevant pages, e.g., when a customer clicks on a store location for more information. Routing paths your site uses are saved. They are automatically checked and updated in a scheduled task run nightly, Until the next run, changed location details will result in an error when the route is used, since the stored path does not match them any longer. To ensure routing paths are updated immediately, you can manually run the re-register route procedure.
Re-register Route Procedure Manually
To manually run the re-register routes procedure,
1. In the CMS, navigate to Settings → SEO Generation.
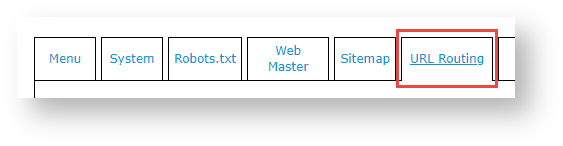
2. Select the URL Routing tab.
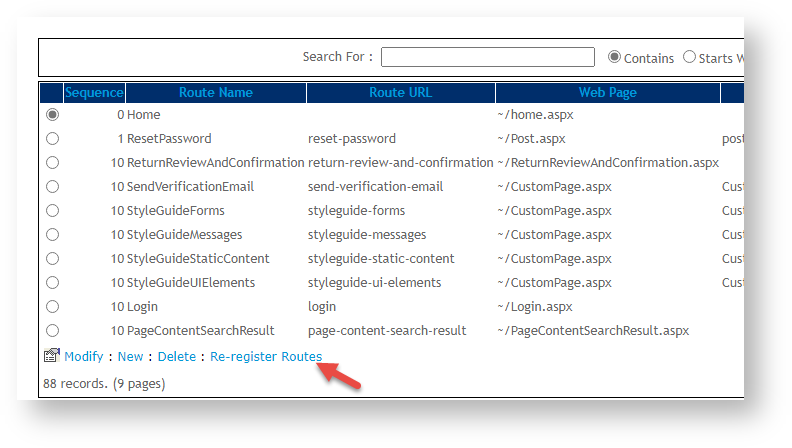
3. Click the Re-register Routes option.
Related help