Overview
Inactive User Management is an automated task that helps you keep your user records current. It helps clean out users who might have abandoned their accounts. First, the task finds users who have not logged in for a period your business sets, e.g., 365 days, and sends them up to two warning emails. Then, if there is no response after the second warning, the user account is deactivated and a 'user deactivation' email sent.
What is a 'Deactivated User'?
disabled and deactivated are different statuses even though users with either status will not be able to login to their account.
- disabled - the user account remains active. They are prevented from logging in as a temporary measure, e.g., they had too many failed attempts at logging in, access has been manually turned off for an account or security reason, etc. Admins can always manually disable/undisable a user account in the CMS. There is no condition to prevent a user from being disabled, e.g., all approvers can be disabled. Learn more: disable a website user
- deactivated - the user account is deemed inactive. They are prevented from logging in as a permanent measure, e.g., the user is no longer is a customer user of your store. Admins can manually deactivate/reactivate a deactivated user but changing a user to deactivated is rare. There are conditions that prevent a user from deactivation, i.e., if the user is the only approver on the account, or have orders awaiting their approval.
A user can be both disabled and deactivated at the same time.
NOTE - A deactivated user's record remains in the database, and their account can be reactivated from the Edit User's page. To remove a user from the database, see: Delete a Website User.)
On this page:
Inactive User Management Settings
CMS administrators can set:
number of days of inactivity before a user is marked as 'inactive' and sent the 'keep me active' email (default: 365 days)
number of days after the first email to send the final email if user does not respond (default: 60 days)
number of hours the 'keep me active' link in an email is valid (default: 48 hours)
number of days of no response after the final warning to mark user account as deactivated and send deactivated email (default: 30 days)
the date and time to start the inactive user management task.
Approver Users
An inactive user cannot be deactivated if they meet one of two conditions:
they are the only approver on the customer account, or
they have orders awaiting their approval.
Such inactive users are automatically added to the'deactivation suspended' list and the account remains active. You can check this list and move a user to the 'deactivate user' list manually. But deactivation will be re-suspended if either condition still applies.
Step-by-step guide
1. Configure inactive user management settings
Set time periods for the task to check for deactivated users and to send email notifications.
- In the CMS, go to Settings → Settings → Feature Management → User → User Accounts.
- Ensure User Accounts is enabled, then click Configure.
- Scroll down to Inactive User Management.
- Toggle ON Enable Inactive User Management. This turns on the feature on your website.
- Set Expiry for Email Link (hours): number of hours before the 'keep me active' links in email notifications expire. Default: 48 hours
- Set Send First Warning Email (days): number of days a user has not logged in before first warning email is sent. Default: 365 days
- Set Send Reminder Email (days): (only if user does not click the 'keep me active' link in first email or failed to log in) number of days after first warning to send final warning. Default: 60 days
- Set User to Deactivated (days): (only if user does not click 'the keep me active' link in final email or failed to log in) number of days after final warning email to send deactivated notification. Default: 30 days
- Click Save. NOTE - If the task schedule has not been set, do that before saving.

2. Set schedule for daily task
This scheduled task checks user records for inactive users, sends the warning emails, deactivates users, and adds inactive approvers who cannot be deleted to the 'suspend deactivation' list.
Enter the date the daily task is to begin and the time each day it will run.
- Scroll down to Scheduled Task Settings.
- Date
- click icon to set date the task will first run.
- Clock
- click icon to set the time each day the task will run.
- Click Save.

3. Manage Inactive Approver Users (optional)
Inactive approvers who are the only approver on a customer account or have orders awaiting their approval cannot be deactivated. Instead the system will add them to the Deactivation Suspended list. The user account remains active.
You can manually set an approver on the Deactivation Suspended list to Reschedule Deactivation. However, they cannot be deactivated if either condition still applies to them.
To view and edit inactive approver users found by the system:
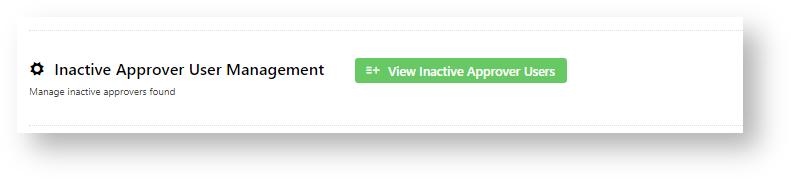
- On the Inactive User Management page, scroll down to Approver User Management.
- Click the View Inactive Approver Users button.
- Use Search to find all inactive Approver Users found by the task.
- To move a user to/from the Deactivation Rescheduled and Deactivation Suspended lists, toggle ON the user, then click Reschedule Deactivation or Suspend Deactivation.

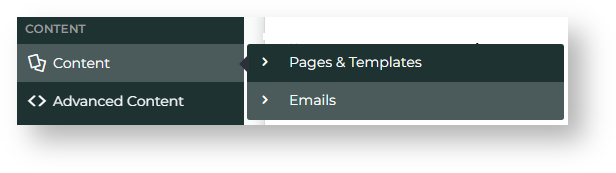
4. Edit 'Keep me active' landing page & email templates (optional)
You can also access these templates in Pages & Templates via the navigation menu.
While in Inactive User Management feature settings, just click the button to go directly to the template you want.
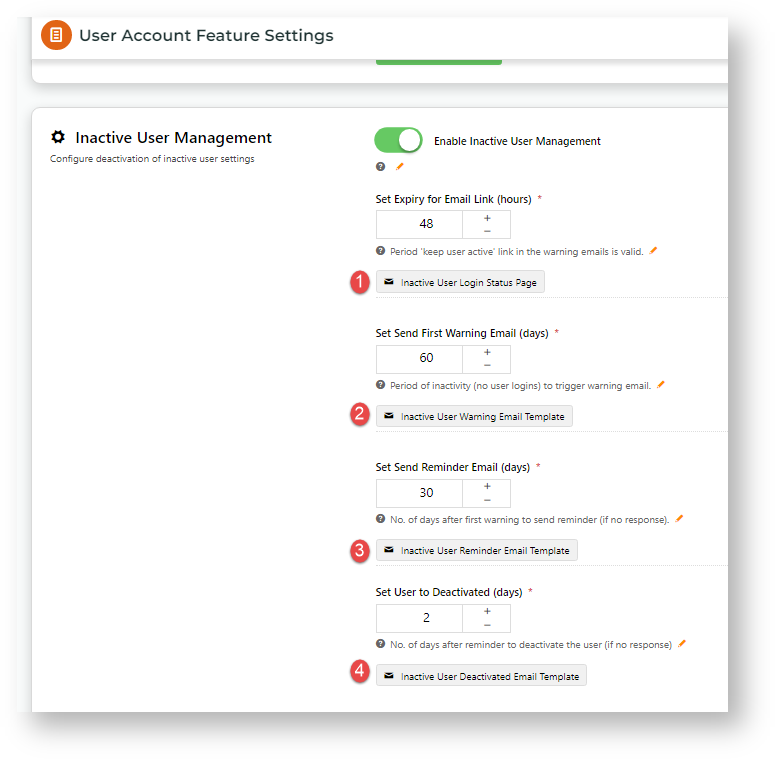
- Inactive User Login Status Template: edit messages displayed to the user when they click the 'keep me active' link (i) when it is active, and (ii) when it has expired. See: Inactive User Link Widget

- First Warning Email Template: edit the first inactive user warning email message: See: Inactive User Warning Widget

- Reminder Warning Email Template: edit the final warning email message. See: Inactive User Reminder Email Widget

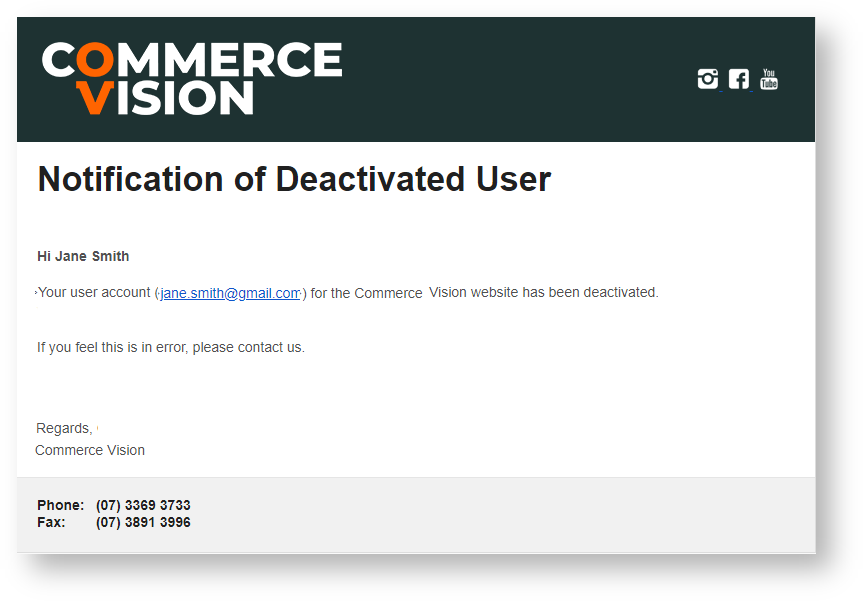
- User Deactivated Email Template: edit the deactivated user email message. See: User Deactivated Notification Email Content Widget
In the CMS, apply the Deactivated filter to the Website Users search to find all deactivated users. 
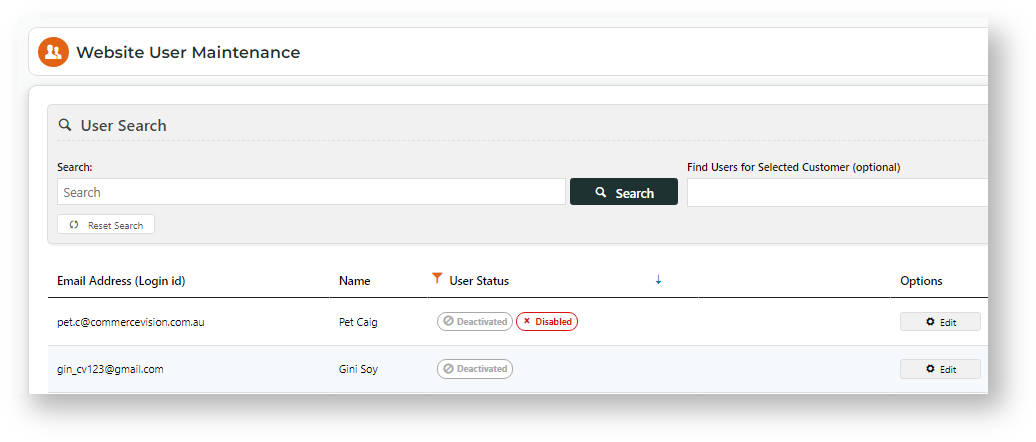
- Go to E-Commerce → Users → Website Users
- In Website User Maintenance, all active users are listed by default.
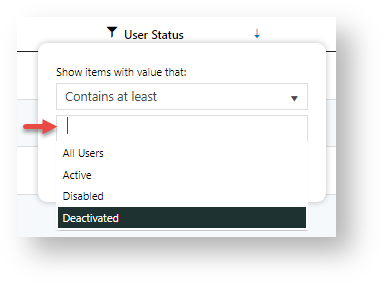
- Click the filter icon
next to the User Status column.
- Click in the empty field, select 'Deactivated' from the dropdown, and click Filter.
- All 'Deactivated' users have the Deactivated icon
in the User Status column.
Reactivate Deactivated User
Available only when the Inactive User Management task is enabled. TIP - You can also manually deactivate/reactivate a deactivated user.
Deactivated users, e.g., those found by the inactive user deactivation task, can be reactivated manually in CMS Website User Maintenance. NOTE - A reactivated user cannot be deactivated again manually in the CMS.
To reactivate a deactivated user:
- In the CMS, use the Website User Search in Website User Maintenance to find the deactivated user.
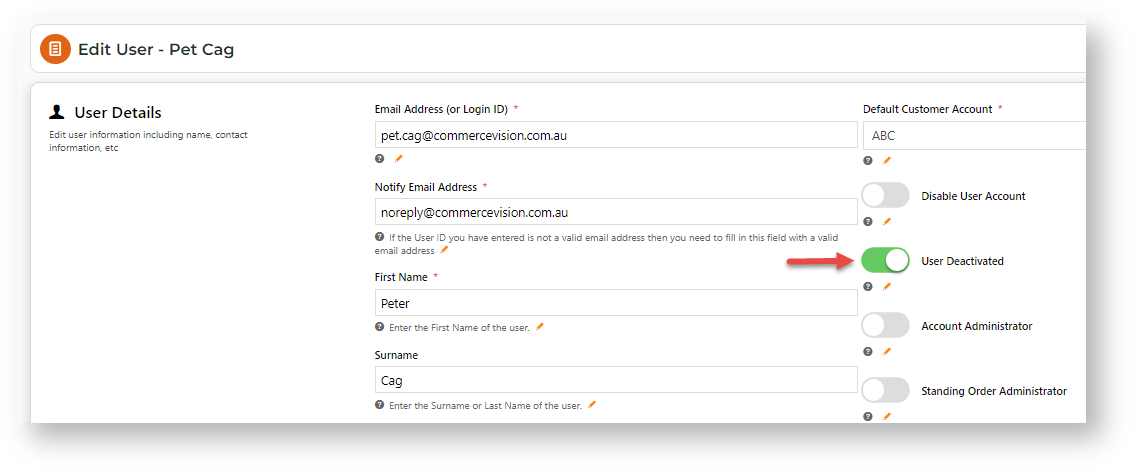
- Click Edit to view the user's details.
- In the Edit User page, toggle OFF User Deactivated. NOTE - This toggle displays only for a deactivated user.
- Confirm you want to reactivate this user.
- To save this change, click Save & Exit.


Manually Reactivate/Deactivate User
Account administrators can manually deactivate or reactivate a user. This function can also be accessed in the CMS if the Advanced User Maintenance page has been added.
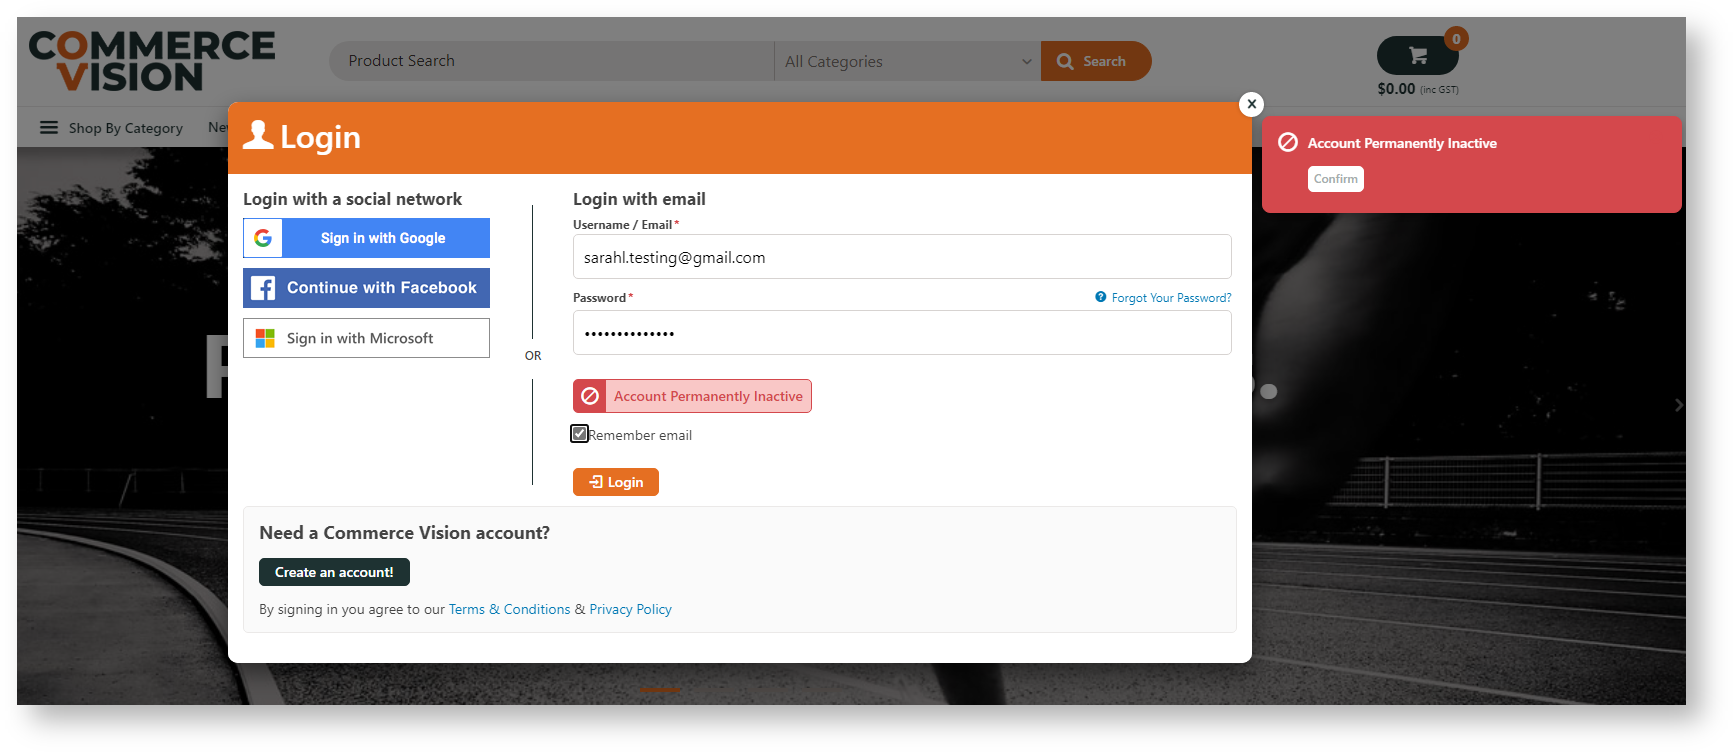
IMPORTANT - Deactivated users are called 'Permanently Inactive Users' in this function.
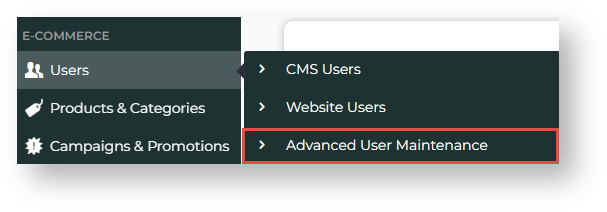
Use Advanced User Maintenance
- While logged into your website or in the CMS, go to Users → Advanced User Maintenance.
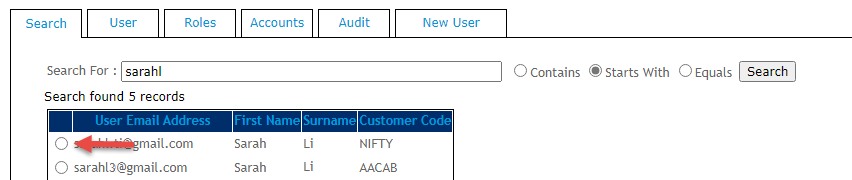
- In Search, enter part or all of a user's name or id. NOTE - Search results will show not only deactivated (permanently inactive users) but all users that match the search criteria.
- Tick Show Permanently Inactive Users.
- Click Search.
- To view a user's details, click the radio button next to the user.
- The user's record is displayed. Check the user's 'Is Permanently Inactive' status.
Manually reactivate a deactivated user
- To reactivate the user, click Modify and untick the checkbox.
- To save the change, click OK.


Additional Information
Minimum Version Requirements |
|
|---|---|
| Prerequisites |
|
| Self Configurable |
|
| Business Function |
|
| BPD Only? |
|
| B2B/B2C/Both |
|
| Third Party Costs |
|
Related help
Related widgets