The integration of data is grouped into tasks based on common PRONTO tables and functions.
Each integration trigger can be set to fire at regular intervals, for both 'Changed' and 'All' data.
Step-by-step guide
To Set Integration Event Timings:
Open the Integrator client.
- Click the 'Settings' icon along the top menu.
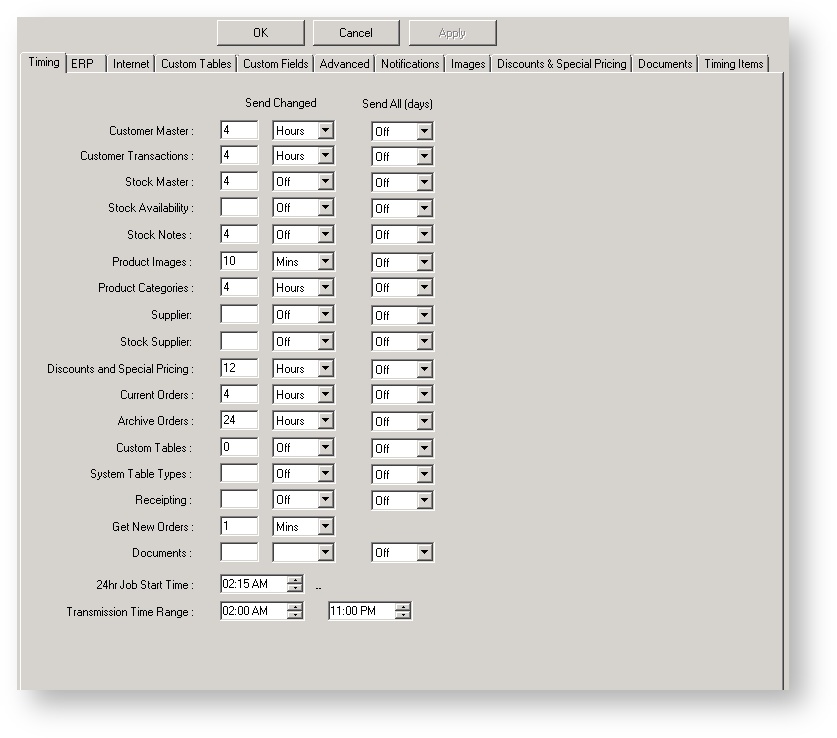
- Ensure the 'Timing' tab is selected.
- Update the values for the various integration events:
- 'Send Changed' can be set in Minutes, Hours, or left Off.
- 'Send All' can be set to fire on certain day of the week (e.g. Wednesdays), every 'X' days, or left Off.
- '24hr Job Start Time' - The time for all daily tasks to begin running (especially helpful for staggering sites & integrator instances, preventing large integration tasks from firing at once).
- 'Transmission Time Range' - The time period during which the Integrator is permitted to communicate with PRONTO. Transmission can be halted during nightly backups, for instance.
- Click 'Apply', then 'OK'.
Stop the Integrator by clicking the 'Stop Site' icon.
Allow the Integrator to stop. The Event Log will record and display when the site has stopped.
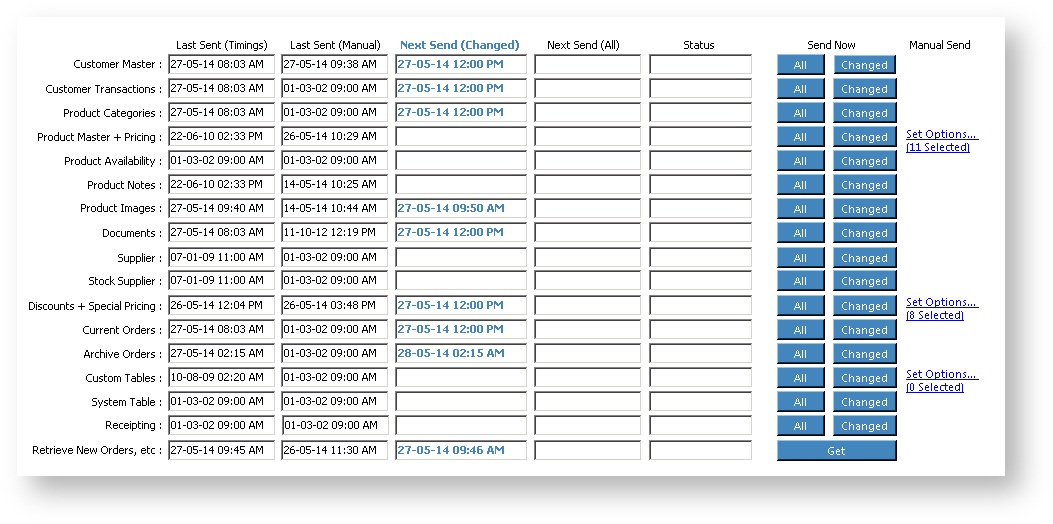
Start the Integrator by clicking the 'Start Site' icon.
- The 'Next Send' columns will now display the next scheduled send times according to the newly updated timings.
Related articles