Overview
Product Notes can be easily maintained in PRONTO for display on the web.Against each product code, a 'Web Note' can be entered, which will integrate to the web and display according to the site layout.
Step-by-step Guides
Note Entry
To Enter Web Notes:
- Login to PRONTO
- Navigate to 'Inventory' --> 'Inventory Maintenance/Enquiry'.
- Find the required product by clicking 'Find' and entering the code into the 'Item Code' field.
- When the correct product screen is displayed, navigate to 'Extra' --> 'Notes' --> 'Web Note'.
- Click 'Entry'.
- Assign a unique sequence number for the note line. This determines the order in which the line appears, relative to the other lines of text.
- Use the Tab or Enter key to move to the next field - 'Notational Text'.
- Type the required note text (there is a 30-character limit in this field).
- Use the Tab or Enter key to move to the next field.
- Continue adding text lines as required. If no further lines are required, exit using the Esc or Home key.
TIP
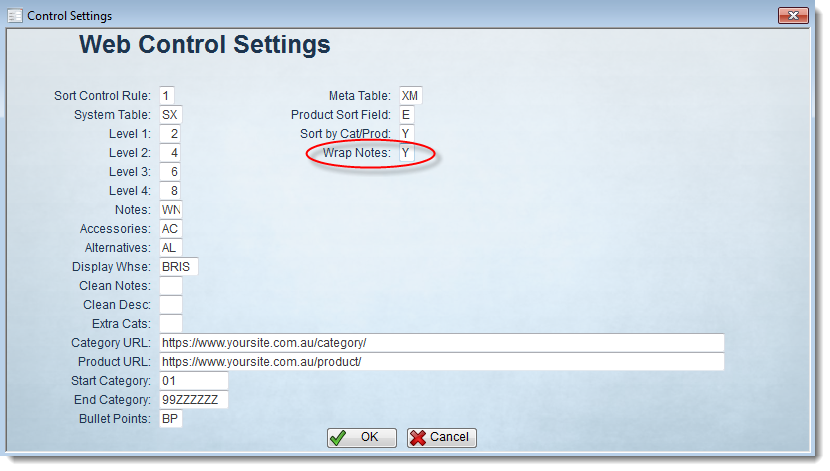
The 'Web Control Settings' panel contains the 'Wrap Notes' flag. Setting the Wrap Notes flag to 'Y' will ensure that each 30-character block of text entered here is joined into one continuous note on the web.
This can be found at 'Inventory' --> 'User Inventory Programs' --> 'Web Product Maintenance' --> 'Control Settings'.
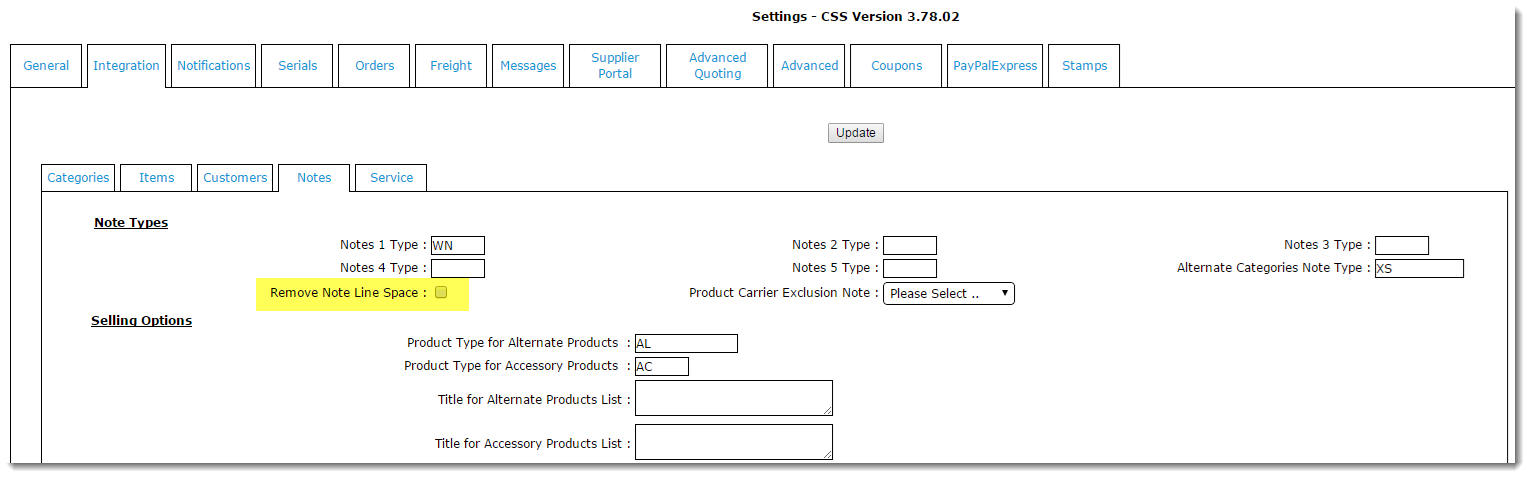
Please be aware when 'Wrap Notes' is set to 'Y', the Notes Integration setting 'Remove Note Line Space' must be unticked (otherwise they negate each other).
This flag can be found in 'Settings' --> 'Integration' tab --> 'Notes' tab:
Note Maintenance
To Edit or Remove Web Notes:
- Follow Steps 1-4 as detailed above.
- Use the arrow keys to highlight the required note line.
- Click 'Correct' to edit, or 'Remove' to delete.
- Repeat Steps 2 and 3 as required.
The display of Web Notes will vary from site to site. Specific PRONTO note types can be mapped to corresponding fields on the web (e.g. Notes 1, Notes 2, etc). This is generally configured during the Implementation phase.
Related articles