A placeholder image is an image displayed when the actual image is missing or otherwise unavailable. Products on your website would typically have product images associated with them. These are displayed in various pages, e.g., product detail, product gallery, product grip and list pages, and in order lines (in order summary and emails). Images can also appear in category lists/grids. Whenever images are unavailable on your site, the placeholder image will be shown.

Placeholder images would have been uploaded for your site during the setup stage.
Preparing the placeholder images
The placeholder image must be saved as .png and in four pixel dimension sizes. This is because the placeholder image size needed will depend on where it is used.
To change the placeholder images for your site, you will need the same image in four pixel dimensions:
- 50 x 50 px
- 250 x 250 px
- 500 x 500 px
- 1000 x 1000 px
Each placeholder image in the Product Images folder and the default image in the Theme folder (500px) must be named 'product-image.png'. The Category placeholder image is the same as that for Product. It should be 500px and must be named 'category-image.png'.
Examples
Here are examples of the file sizes required:

Step-by-step guide
Replacement placeholder images are upploaded via the FileManager.
1. Change the default placeholder images (500px) in Theme
Here's how to change the 500px Product and Category placeholder images in the Theme folder:
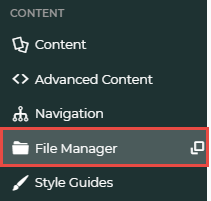
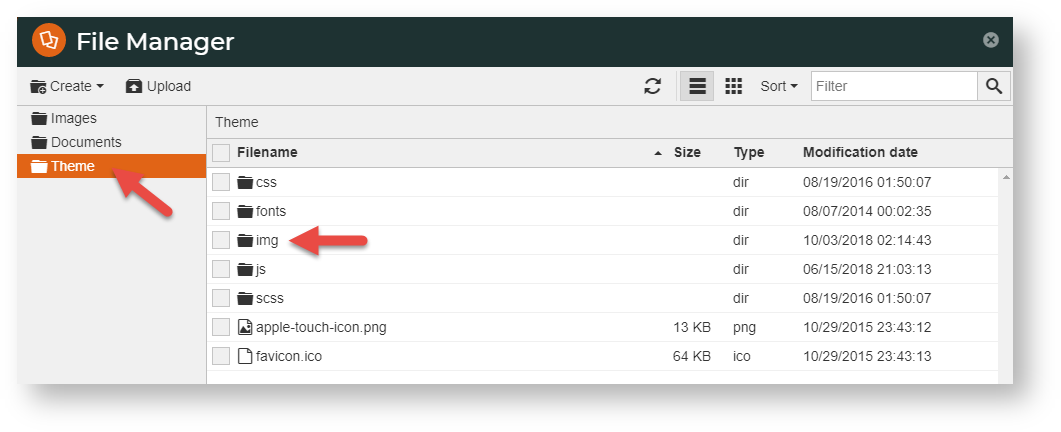
- In the CMS, navigate to Content → File Manager.
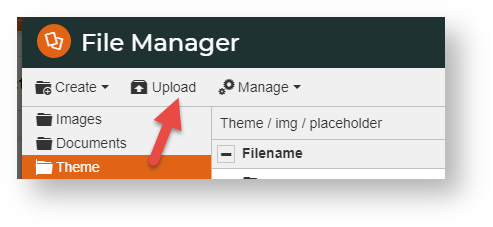
- Click the Theme folder, then the img folder.
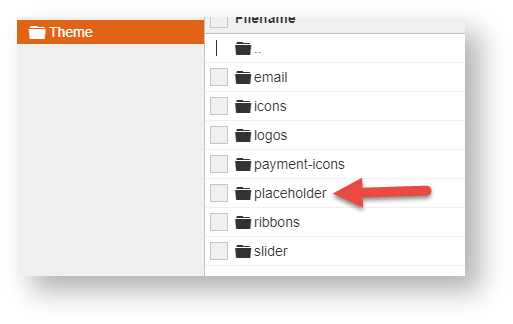
- Click the placeholder folder.
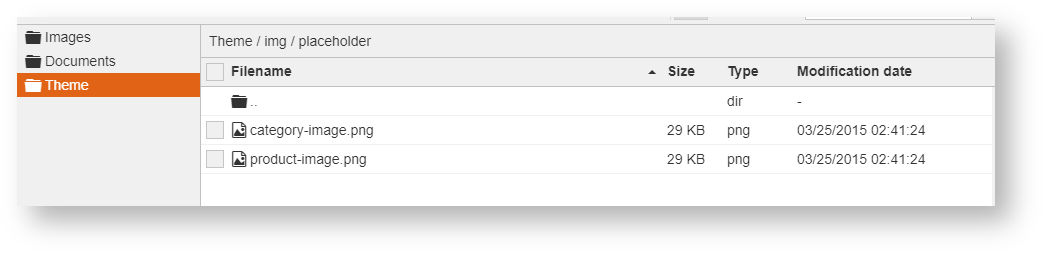
- You will see the Category and Product placeholder images.
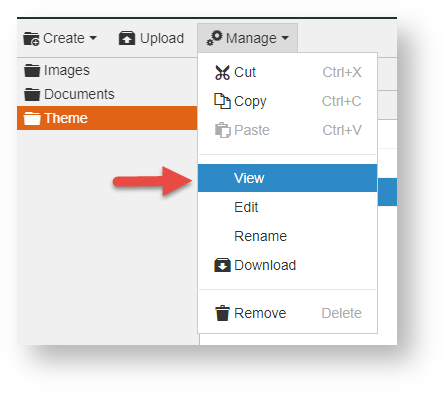
- If you want to view an existing image, select the image, then click Manage, then View.
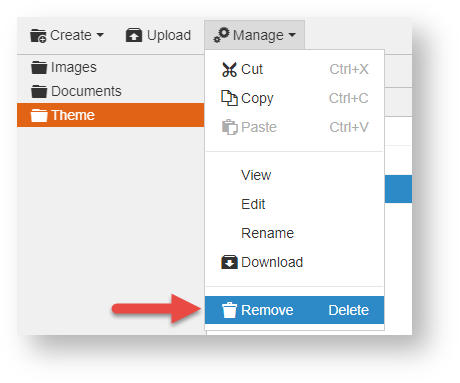
- To delete the image, select the image, then click Manage, then Remove.
- In the popup, confirm you want to delete the image.
- To use a new image, click Upload
- Once the image is in the folder, if it has not been named as the old default file, select the image, click Manage, then Rename. NOTE - Ensure the product placeholder image is named 'product-image.png' and the category placeholder image is 'category-image.png'.
- Refresh cache.
2. Change the default 50x, 250px, 500px and 1000px placeholder images for Products
Here's how to change placeholder images for Products:
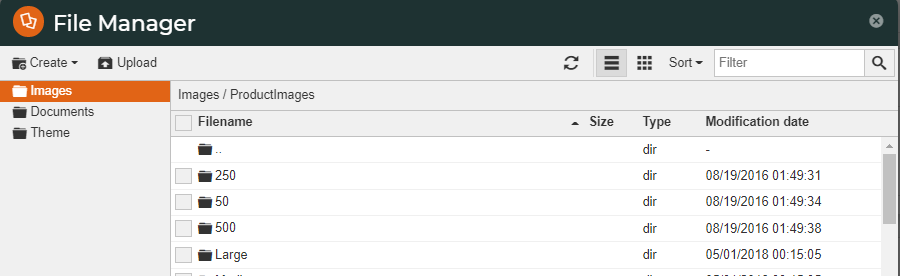
- In the CMS, navigate to Content → File Manager.
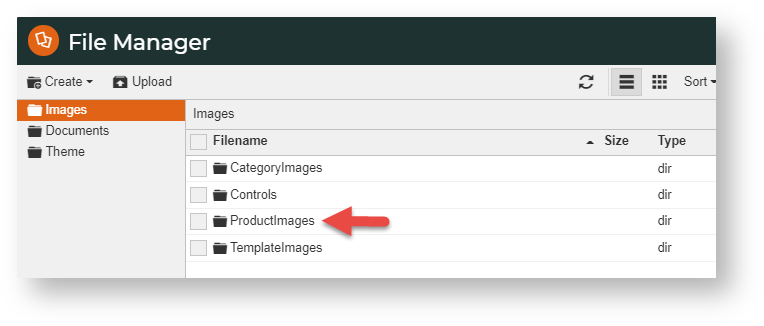
- Click the Images folder, then ProductImages.
- Click into each of the 50, 250, 500 and Large (for 1000px) folders and upload the correct-sized placeholder images.
- If not already done, ensure each is named 'product-image.png'.
- When you have finished, refresh cache.
Related Help