How to Use Product Features
Some products have a LOT of feature metadata. Sure, it's valuable information in some scenarios, but it might not make sense to display all of it on a specific page. For instance, a feature may be great to show shoppers in Product Compare, but it's not something you want cluttering up the Filter on your product list pages.
You can select to display a feature:
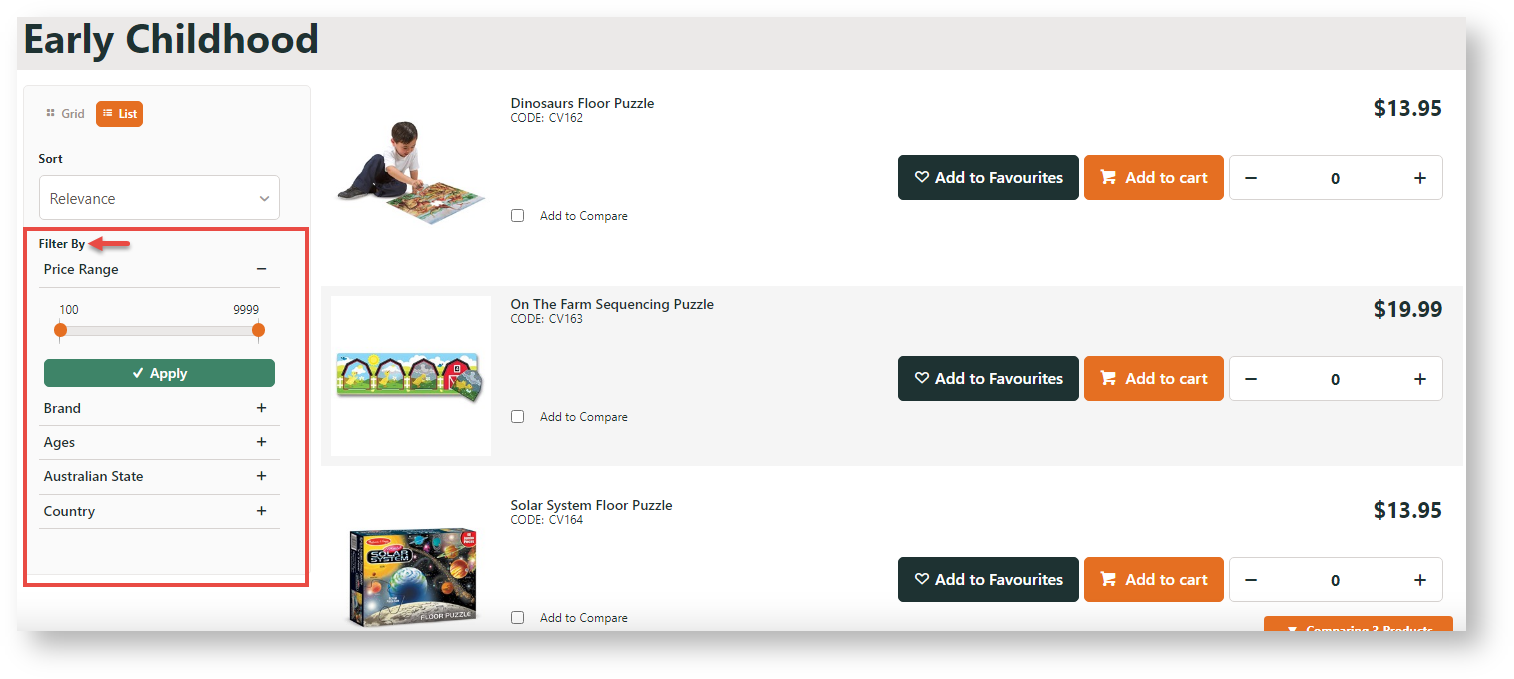
- As a way to filter search results - When the Product List Feature Filter Widget is added to the Product List template, the product search results page will include a features filter, displaying the list of features and values tagged to products found. By applying one or more filters, a shopper can zero in on the most suitable products quickly and easily.
- In Technical Specifications on the Product Detail page as helpful product information:
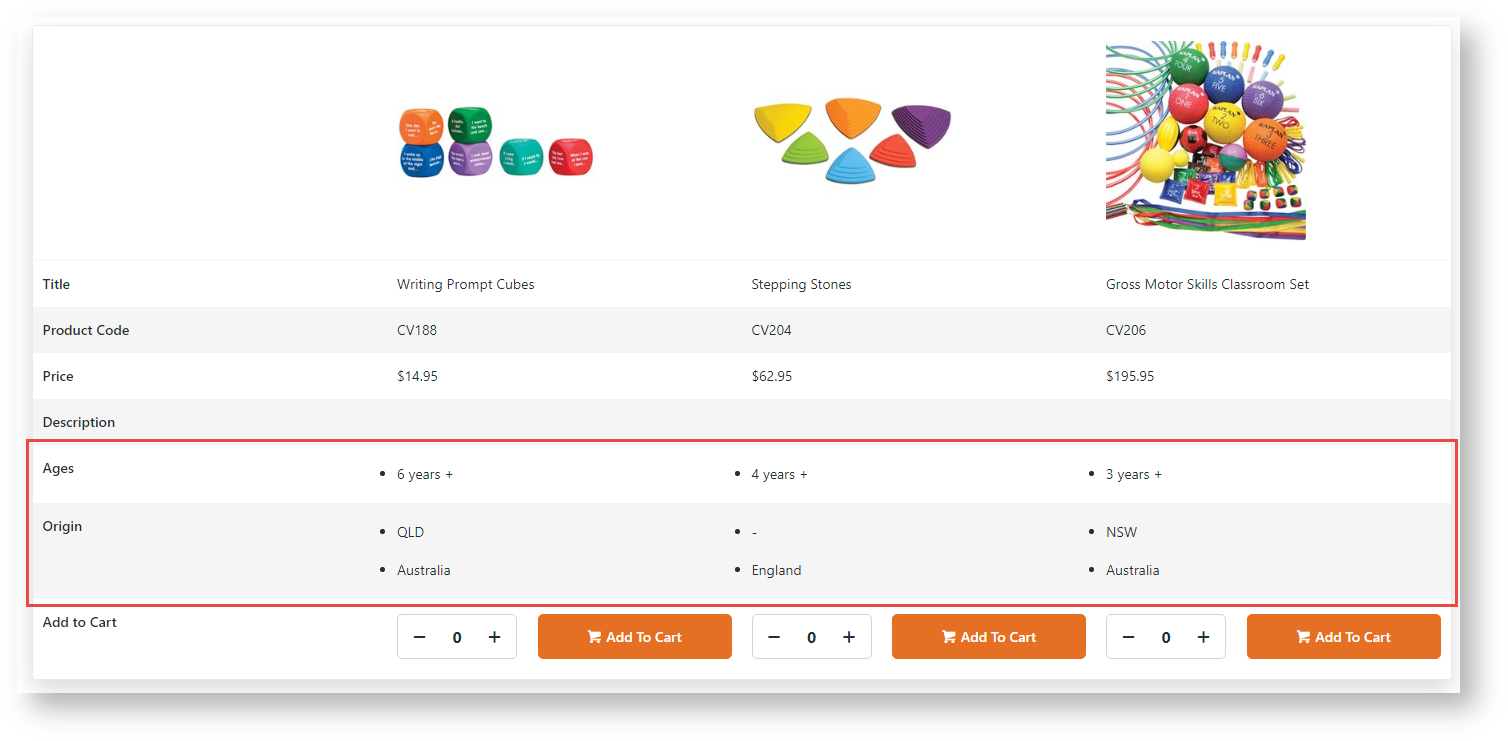
- As additional Product Comparisons data:
In the past, product feature data have always been integrated from the ERP. You can now maintain features in the CMS.
Commerce Vision recommends that applying Product Features to products be done on all products at once rather than in stages. This will minimise exclusion of products without features from searches.
Prerequisites
In order to maintain product features online, here's what needs to be configured:
Enable Product Features
To enable Product Features:
- In the CMS, go to Settings → → Settings → Feature Management → Products & Categories → Product Features.
- Toggle ON Product Features.
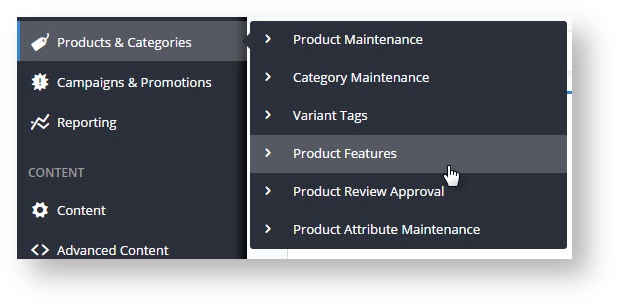
- Once enabled, Product Features appears on the Products & Categories menu.
Create Feature Groups (optional)
This allows the grouping two or more features for display on the Product Comparison page.
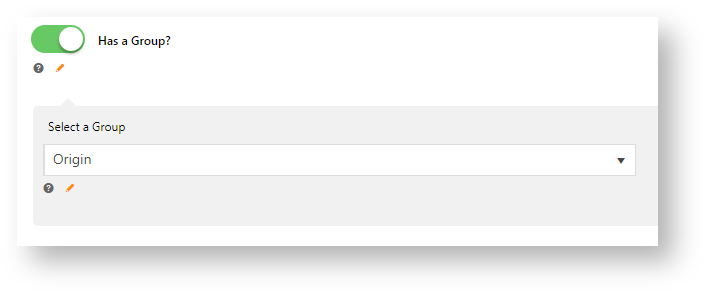
Example: 'Origin' was created as a group to include the 'Country of Origin' and 'Australian State' features.
To create a group:
- Go to Settings → → Settings → Feature Management → Products & Categories → Product Features.
- Click Configure.
- Click Add Group.
- Enter name of the group.
- To save and enter another group, click Save. To exit from this page, click Save & Exit.
Integrator Custom Tables Setting (PRONTO only)
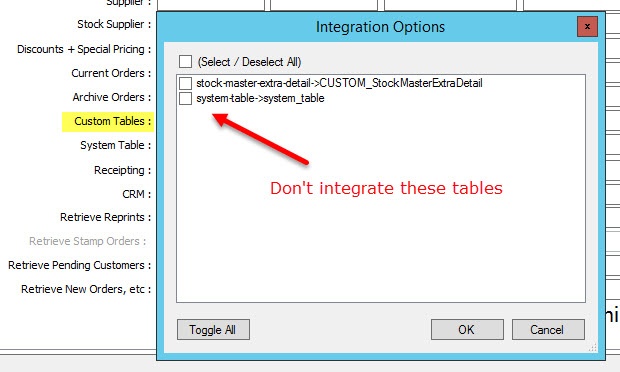
- Open the Integrator client and click the 'Set Options' link for Custom Tables.
- Ensure these tables are not enabled: "stock-master-extra-detail->CUSTOM_STockMasterExtraDetail" and "sytem-table→system_table".
If they are selected, de-select them and click OK.
Once your site is configured as above, you're ready to maintain all of your product feature metadata in the CMS!
Create a Product Feature
A Product Feature is an abstract property that can have two or more values. Some examples are: colour, brand, age group, country of origin, etc. Once created, a product can be tagged with a feature value in Product Maintenance.
- In the CMS, go to to Products & Categories → Product Features.
- Click Add New Feature.
- Enter a suitable name for the feature.
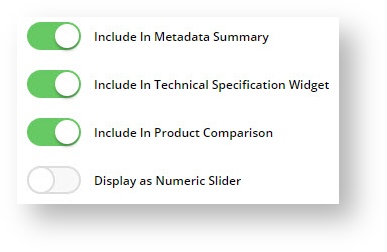
- Toggle ON/OFF the display options as required. See Product Feature Visibility for further information.
- Include in Metadata Summary - add feature as a filter option on the Product List page
- Include in Technical Specification Widget - display on the Product Detail page
- Include in Product Comparison - display as a comparison feature
- Display as Numeric Slider - if feature value is numeric, e.g., price, opt to display values via a numeric slider
- Has a Group? - toggle ON to add this feature to a group for display in Product Comparison- Click Save & Exit.
Assign Features to Products
- In the CMS, go to Products & Categories → Product Maintenance.
- Use Search to find the product to update and click Edit.
- Scroll to the Features section.
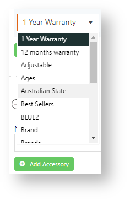
- Click Add Feature and select from the dropdown.
- Enter a value for this feature.
- To add another product feature, click Add Feature and go through steps 4-5.
- Click Save.
Additional Information
| Minimum Version Requirements |
|
|---|---|
| Prerequisites |
|
| Self Configurable |
|
| Business Function |
|
| BPD Only? |
|
| B2B/B2C/Both |
|
| Third Party Costs |
|
Related help
