Overview
Upload product images in the CMS in Product Maintenance. Unlike images uploaded via the Integrator, there are no restrictions on the number of images you can upload and how an image is named. You can also add tags to an image.
File Manager in the CMS can be used to maintain product images. However, you cannot assign images to specific products unless you are replacing an assigned image with another of the same file name.
Important
Product images uploaded via File Manager will not be checked for file size suitability. Therefore you must ensure that the image is not too large for fast downloads for the web.
- The maximum file sizes should be: 250kb for desktop/tablet: 50kb for mobile.
- The pixel dimensions required depend on where the image will be displayed:
Thumbnail folder - 50 x 50 px (for order lines and in emails)
Small folder - 250 x 250 px (for product search results)
Medium folder - 500 x 500 px (for gallery)
Large folder - 1000 x 1000 px (for zoom)Here are examples of the file sizes required:
- File formats currently supported: .png, .jpg/jpeg, .gif, .svg.
'Next-gen' formats currently not supported but may in future releases:the software does not support the following file formats, but may in future releases of our products.
- .webp
- .avif
- .jp2
- .jxr
- For guidance on which to use when, see: image optimisation.
Upload images in Product Maintenance
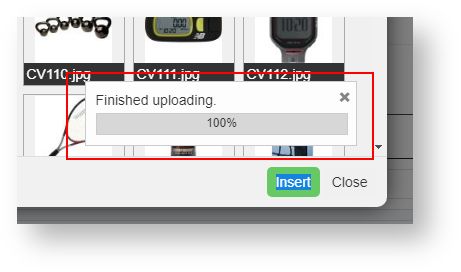
When you upload the image, four copies of the uploaded image will automatically be created and placed in the appropriate folder.
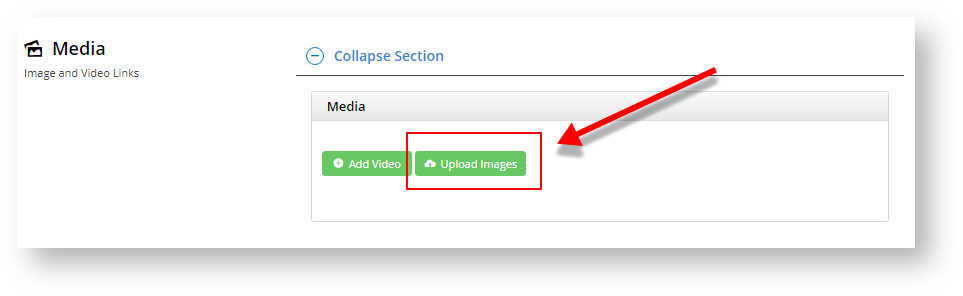
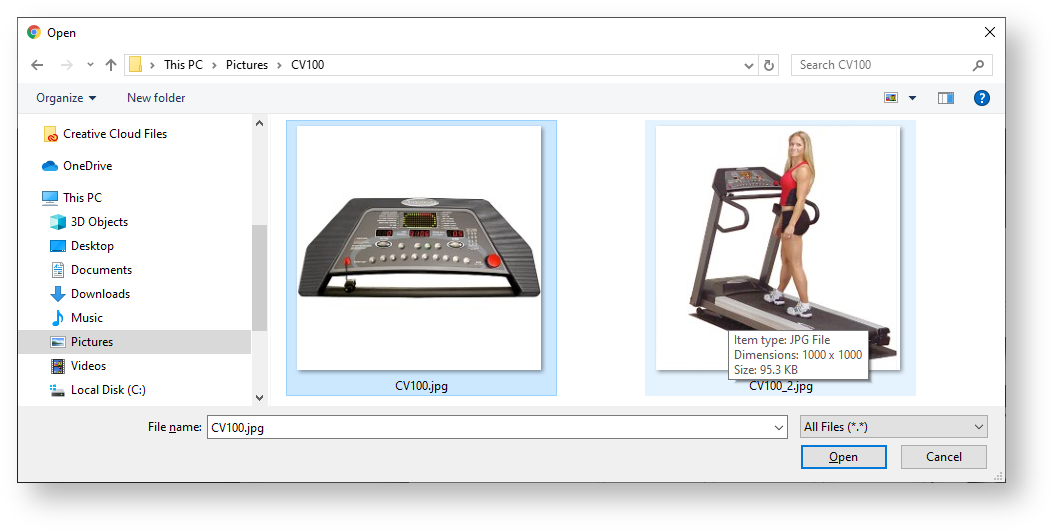
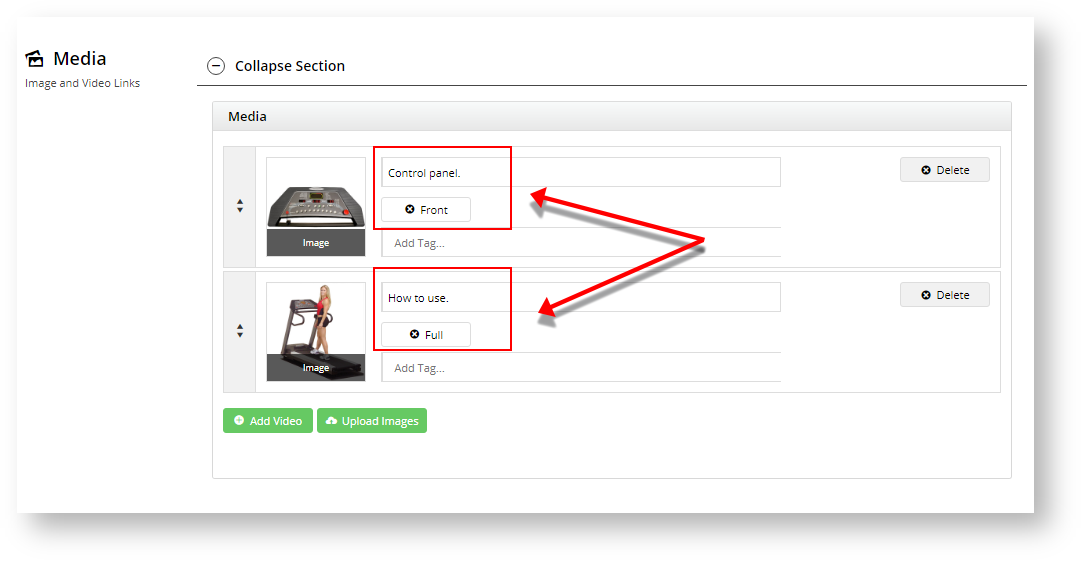
To upload a product image, navigate to Products & Categories → Product Maintenance, then find the product you require. Scroll down to the Product Media section.
Adding Images

Edit images in CMS File Manager
To change or upload a product image in File Manager:
- In the CMS, navigate to Content → File Manager.
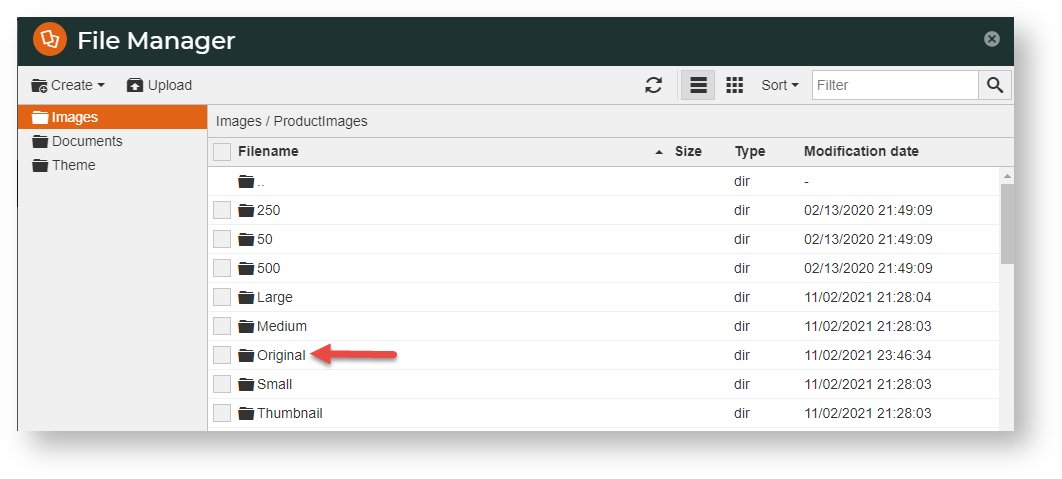
- The File Manager window provides a list of images folders. Click on the ProductImages folder.
- If this image is not yet linked to a particular product, upload it to the Original folder. Then add it to the product via Product Maintenance.
- If you want to edit or change an existing image file that has already been added for a product, select the appropriately folder: Thumbnail, Small, Medium or Large.
- Edit or replace the image file. NOTE - Remember that there are optimal pixel sizes for an image in each folder.

Edit images - You can crop, resize, flip, and enhance the image in File Manager. Select the image, then click Edit.

Additional Information
By default, the CMS-uploaded image at the top of this list will be the first image displayed in any search on your site and in the Product Detail page. If a product has images uploaded via the Integrator and the CMS and you want the first Integrator-uploaded image to display first, please contact Commerce Vision to enable this option. NOTE - this option is available only for versions 4.21.02 and above.
| Minimum Version Requirements |
|
|---|---|
| Prerequisites |
|
| Self Configurable |
|
| Business Function |
|
| BPD Only? |
|
| B2B/B2C/Both |
|
| Third Party Costs |
|
Related help