...
- In the CMS, navigate to Content → Articles.
- Select the Article Type you want your new article to be grouped in.
- Click 'Add New Article'.
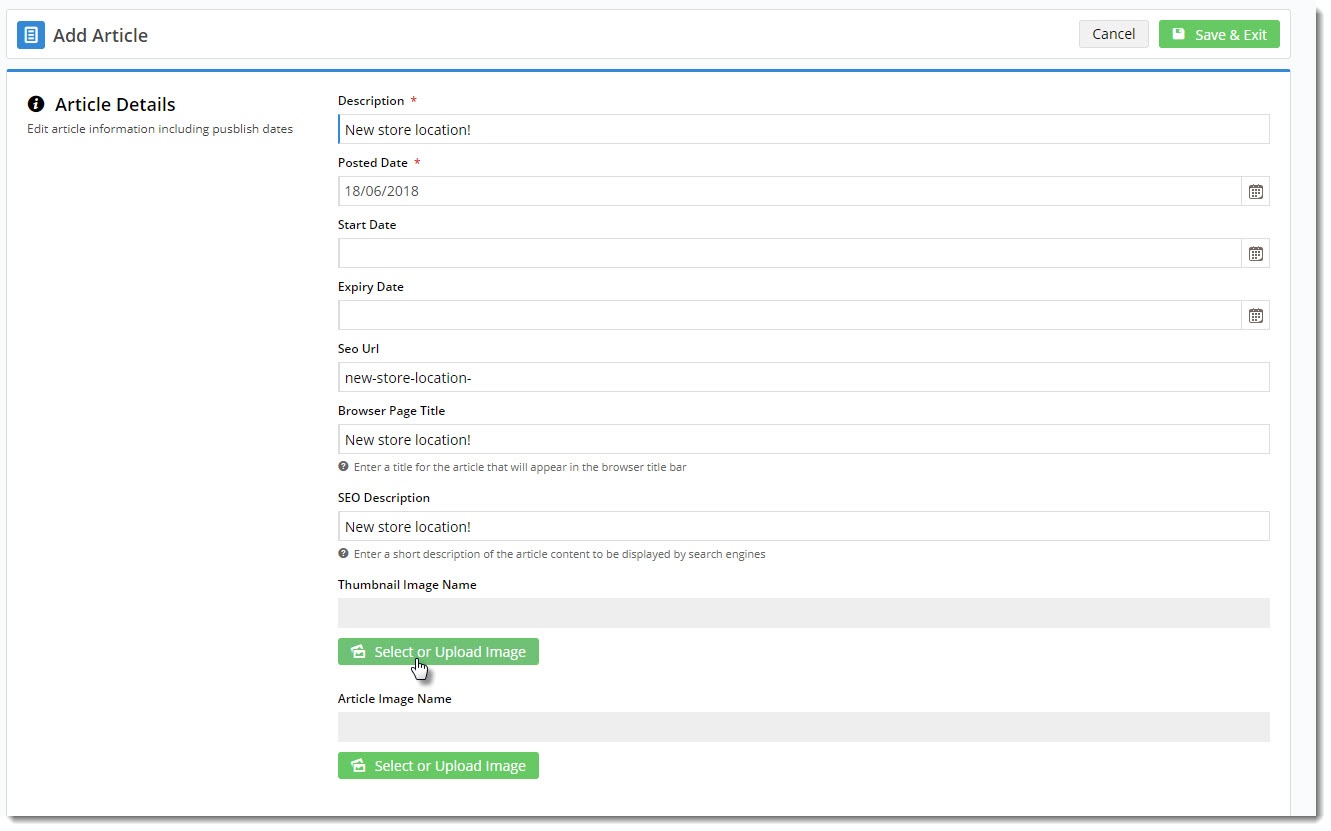
- Enter a Description for your article. This will display as the article's title.
- The article's SEO URL, Browser Page Title, and SEO Description will also be auto-populated with the value you enter here. You can change any of these fields if you wish.
- The Posted Date will auto-populate with today's date. If you wish, you can also enter Start & Expiry dates for articles you'd like to display on a schedule.
- Select or upload a thumbnail image for the article. This will be the small image that displays when the list of articles is viewed.
- Select or upload the main image for the article. This will be the larger image that displays on the article detail page.
- Enter some 'teaser' text in the Summary section. This is the short-form content displayed when viewing a list of articles.
- Enter the main body of the article in the Content section. Use the WYSIWYG editing tools to update font sizes, formats, and colours based on your site's style guide.
- If you want this article to display only display to a certain segment of site users, you can enter Filter values based on: Customer Types, Customer Warehouses, Customer Codes, Bill to Customer CodeesCodes, Email Addresses or Roles.
- If you are using meta-features for your articles, add Features enable you to categorise articles and helps the site user to find relevant articles. Features are not displayed but are metadata linked to an article. Add one or more Feature and Value.
- Click Save & Exit.
Article Widgets
...