...
This guide will outline how to enable and use the zoned layout for an article list.
Step-by-step guide
1. Update the article list widget in use
You will be using either the Article List Widget or the Article List All Widget to render the article list page. Edit for the relevant widget.
Article List All Widget
- In the CMS, navigate to Content → Pages & Templates → Articles.
- Select the Article List Page template.
- Locate the Article List All Widget and click Edit.
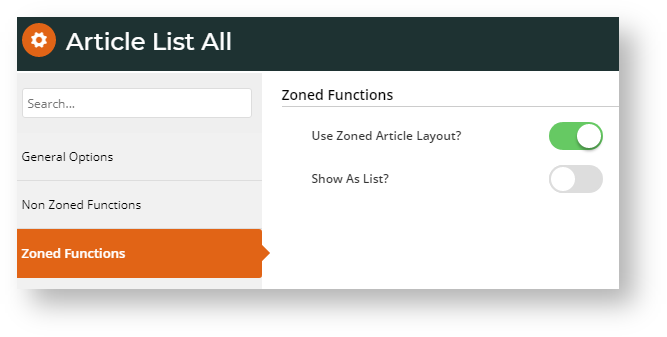
- Select the Zoned Functions tab, and toggle on Use Zoned Article Layout?. If this is enabled, the Article List Item Zoned template is used. (See Step 2 below.)
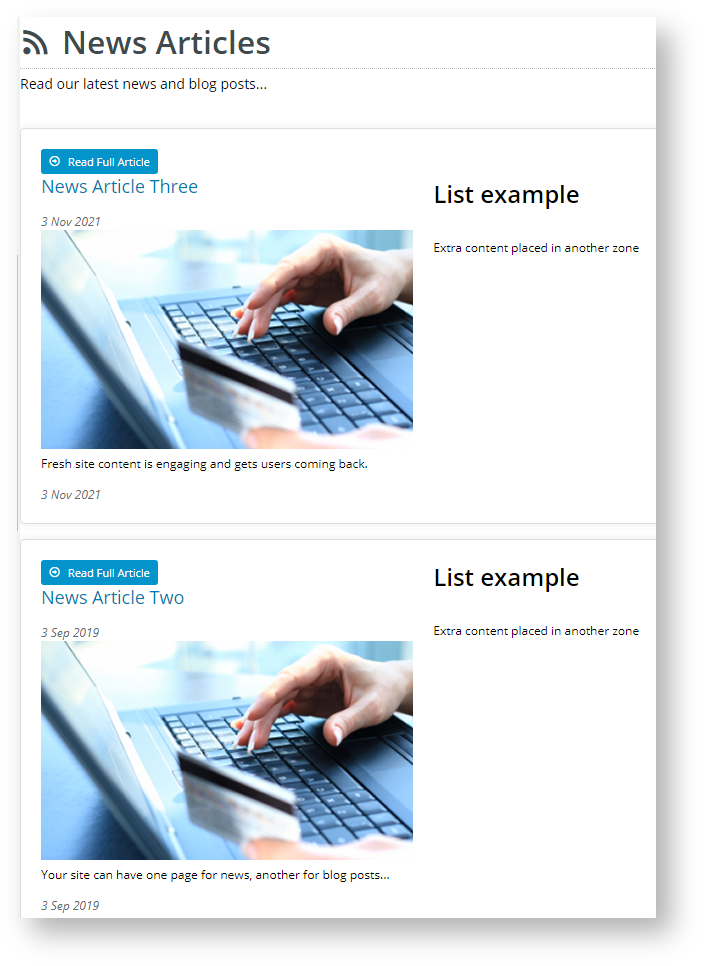
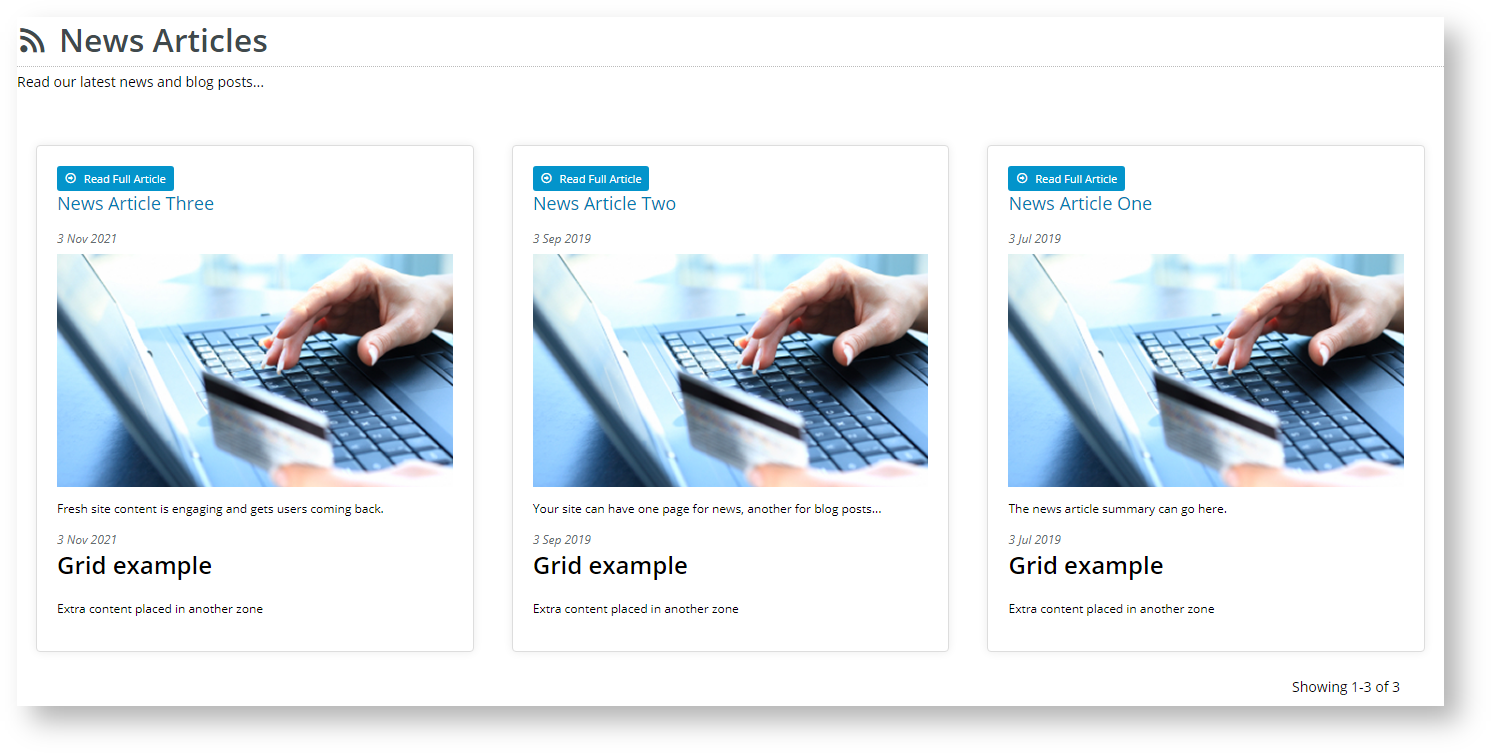
Set your layout preference - toggle on Show As List? to display the articles in a vertical list, or leave the option disabled to display tiles in a grid formation.
Show as List Show as Grid
- Configure other widget options as required. (Refer to Article List All Widget help.)
- To save your settings, click Save.
...
- In the CMS, navigate to Content → Pages & Templates → Articles.
- Select the Article List Page template.
- Locate the Article List Widget and click Edit.
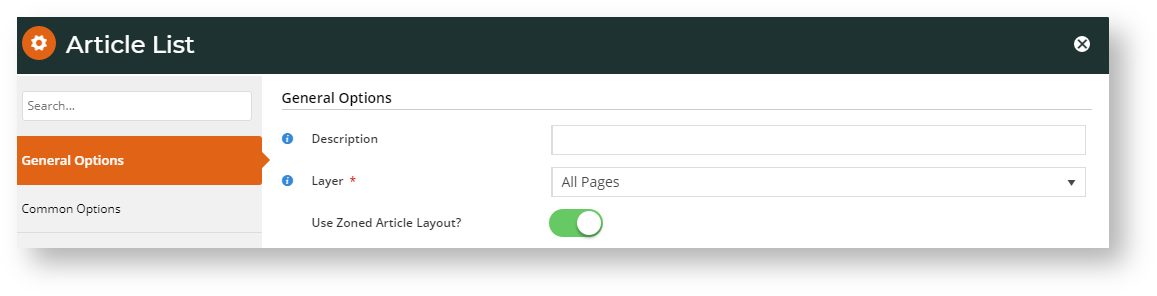
- Toggle on Use Zoned Article Layout?.
- When Use Zoned Article Layout? is enabled, you can change the article list layout by clicking Change in the Layout panel.

- Change the layout as you require. Refer to Layout Creator for detailed help.
- Once you have returned to the Article List Page Template screen, move, add, delete and edit widget options as required. (See Article List Widget help.)
- To save these settings, click Save.
...