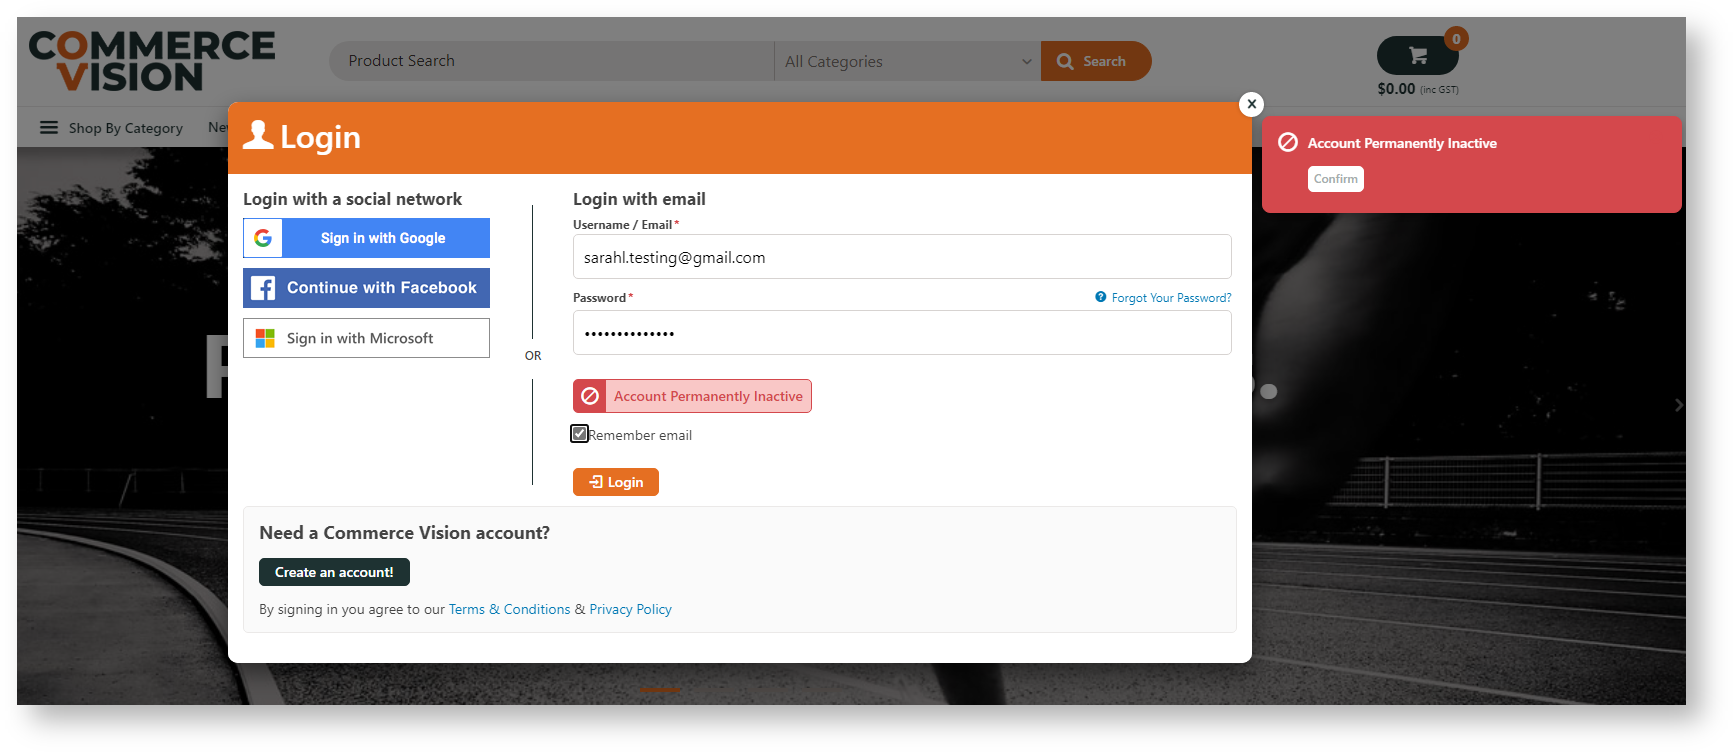
What deactivation settings can be configured?
CMS administrators can configure:
- the inactive period (default: 365 days) before the first warning is sent
- the number of days after the first warning to send the final warning
- the number of hours the activation link to login in each warning email is valid
- the number of days after the final warning to deactivate the account
- the date to start the inactive user task and what time it will run daily.
Step-by-step guide
Configure Inactive User Management
Set when the warning emails and permanent deactivation are triggered.
- In the CMS, go to Settings → Settings → Feature Management → User → User Accounts.
- Ensure User Accounts is enabled, then click Configure.
- Scroll down to Inactive User Management.
- Toggle ON Enable Inactive User Management. This enables the feature on your website.
- Inactive User Activation Link Expiry in Hours: number of hours after a warning email is sent before the link expires. Default: 48 hours
- Inactive Warning Email in Days: number of days a user has not logged in before first warning email is sent. Default: 365 days
- Inactive Reminder Email in Days: (if a user does not click on the 'remain active' link in first warning email or has not since logged into their account) number of days after first warning before final warning email is sent. Default: 60 days
- Deactivate Email in Days: (if a user does not click on activation link in final warning email or logs into their account) number of days after final warning email is sent for account to be deactivated. Default: 30 days
- Click Save. NOTE - If the task schedule has not been set, do that before saving.
Configure Scheduled Task
Set how often the task for this feature is run.
- Scroll down to Scheduled Task Settings.
- Date- click icon to set date.
- Clock- click icon to set time.
- Click Save.
Manage Inactive Approver Users
Inactive users who failed to login within the set period or respond to the warning emails but are the only approver on an account or have orders awaiting their approval cannot be automatically deactivated. Instead the system adds them to the Inactive Approver Users list with deactivation suspended. You can manually flag such a user to be deactivated the next time the task is run.
To view and manage inactive approver users found by the system:
- On the Inactive User Management page, scroll down to Approver User Management.
- Click the Approver User Management button.
- All Approver Users who cannot be deactivated are listed here, initially with deactivation suspended.
- To switch to/from marking a user to be deactivated, toggle ON the user, then click Add to Reschedule List or Suspend Deactivation.
Here, the user has been rescheduled for deactivation.with changes
Edit landing page and email templates
The landing page after a 'remain active' link is clicked and the deactivation email messages can be edited. Just click on the button under each field to go to the template you want to edit.
- Inactive User Landing Page Template: edit messages displayed to the user when (i) the link was clicked within the valid period, and (ii) when it was clicked after expiring. See: Activate Inactive User Widget
- First Warning Email Template: edit the first warning message to inactive user: See: Inactive User Warning Widget
- Reminder Warning Email Template: edit the final warning message to inactive user. See: Inactive User Reminder Email Widget
- Deactivation Final Email Template: edit the deactivated user template. See: Deactivation Final Email Widget
You can also access these templates via the navigation menu.
Additional Information
Minimum Version Requirements |
|
|---|---|
| Prerequisites |
|
| Self Configurable |
|
| Business Function |
|
| BPD Only? |
|
| B2B/B2C/Both |
|
| Third Party Costs |
|
Related help
Related widgets
There is no content with the specified labels


