Overview
In many scenarios, products can be sold to the consumer in varying units. For example, copy paper might be sold by the ream, the carton, or the pallet. Some merchants will create 3 unique product codes to cater for these options.However, from version 3.82+, the functionality exists in BPD to use just 1 product code, while offering a Unit of Measure selector when adding to cart.
The Unit of Measure enhancement is a role-based function. So you can have B2C customers purchasing products in their retail packaging, while offering B2B customers the option of buying in bulk.
When the sales unit is changed by the user, the price of the product will update accordingly.
| Default Unit of Measure | Alternate Unit of Measure |
|---|---|
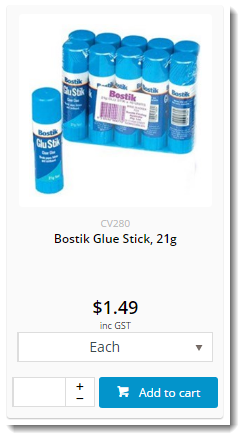 | 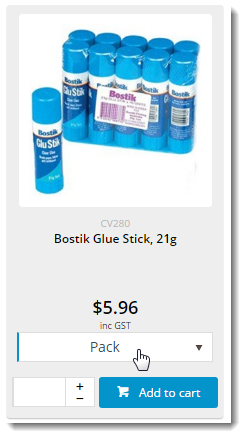 |
For UOM Selection to work correctly on the web, it goes without saying that product data in your PRONTO ERP must be correct as well.
At a minimum, ERP product data should include:
- Unit Descriptoin
- Alternate Unit Description
- Conversion Factor
Step-by-step guides
1. Enable UOM Selection at the Role level:
- Login to the CMS.
- Navigate to Users --> Roles.
- Select the required role.
- Select the Functions tab.
- Click 'Modify'.
- Tick the 'Allow UOM Selection On Products' option.
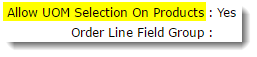
- Ensure the 'Use Alternate Product Units' option is NOT ticked.
- Click 'OK' to save.
2. Enable the Display of the Unit Selector
First, ensure you're using the zoned layout for product lists:
- Login to the CMS.
- Navigate to Content --> Standard Pages.
- Select the Product List template.
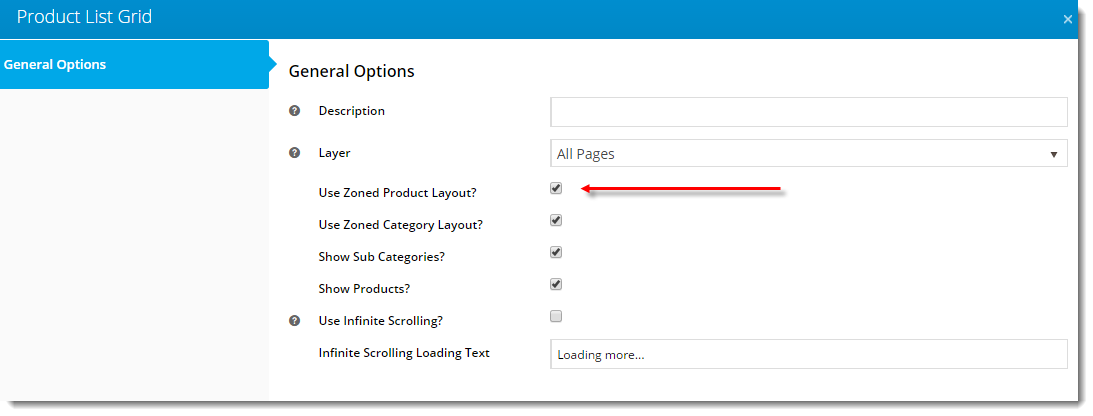
- Edit the Product List Grid widget.
- Ensure 'Use Zoned Product Layout?' is enabled.
Next, add the new widget to the zoned product list template:
- Navigate to Content --> Standard Pages.
- Select the Product List Item Zoned template.
- Add the 'Product List Unit Of Measure' widget to the appropriate zone (this is dependant on your site design, but zone Column2Bottom is a good starting point).

Lastly, create a custom widget and add it to the product detail page:
- Navigate to Advanced Content --> Custom Widgets.
- Click 'Add New Widget'.
- Give the widget a Name and Description (e.g. UOM Selector).
- Leave the Cache Mode set to 'None'.
- Paste the code from the code block below into the 'Source Code' field.
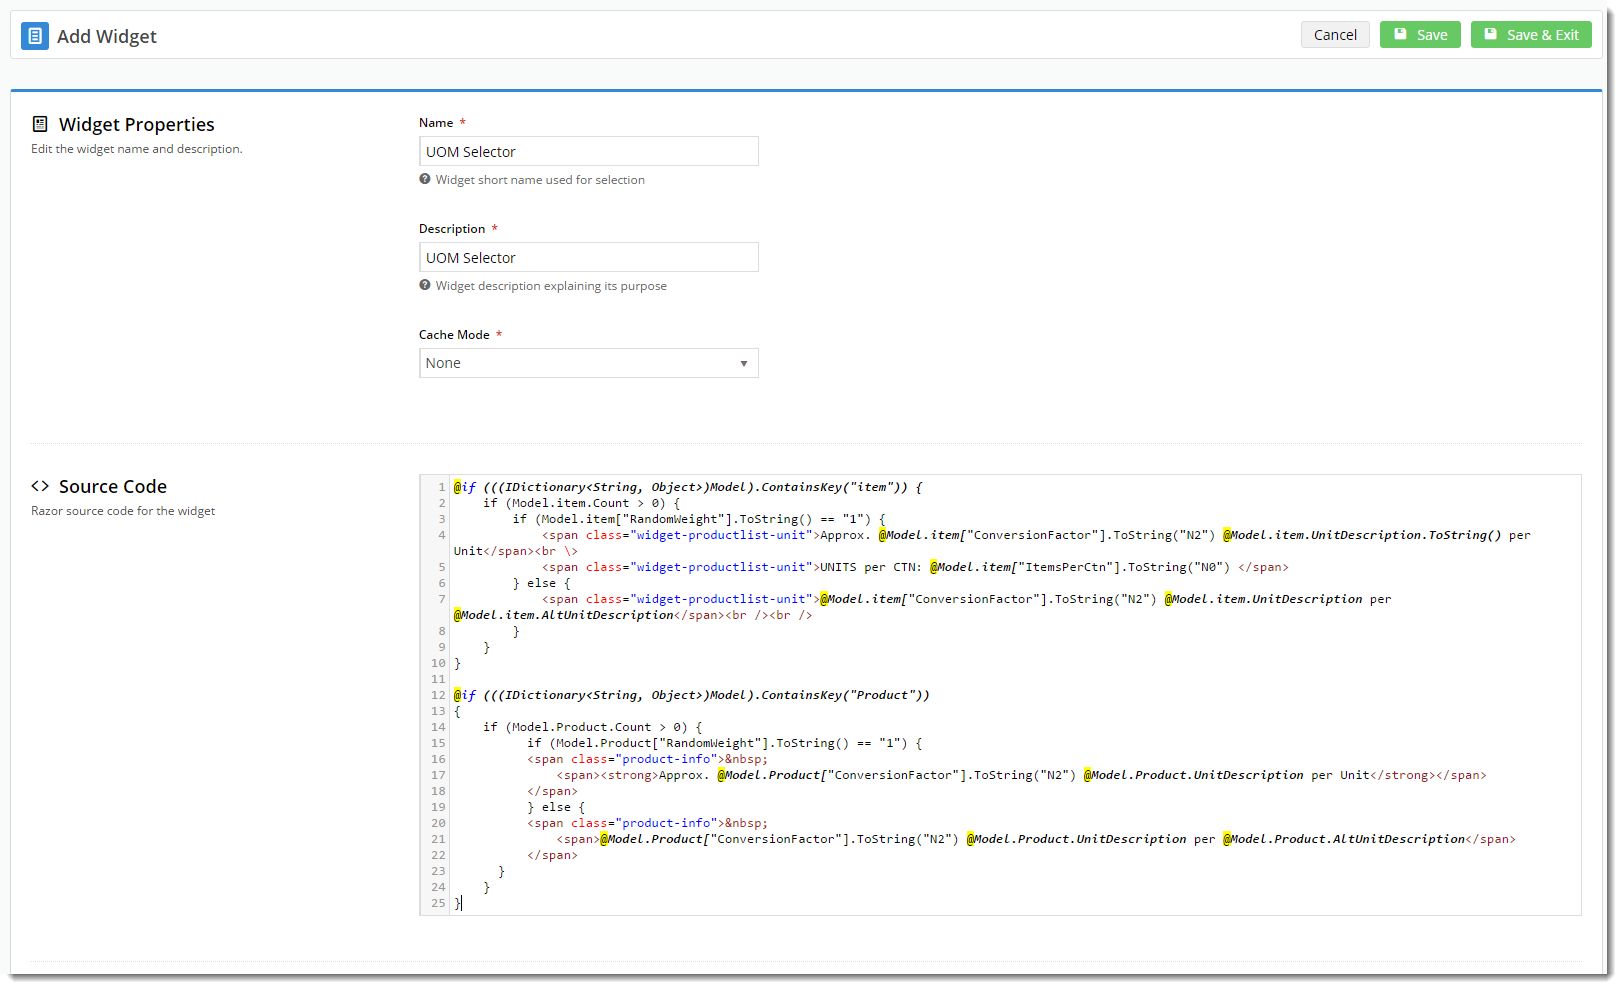
- Click 'Save & Exit'.
- Navigate to Content --> Standard Pages.
- Select the Product Detail template.
- In the zone MainRight, click Add Widget.
- Search 'CUS' to bring up the list of your custom widgets.
Select the one you just created and click Add Widget.
Please note - this functionality is not available for use in Fast Order Entry.
Related articles