Overview
Google Sign-In is a secure (OAuth 2.0) login method that aims to reduce friction and "login fatigue" for your users. From version 3.96+, you can allow your customers to sign into your BPD site with their Google account — the same account they already use with Gmail, Play, Google+, and other Google services.This article will guide you through the implementation of Google Sign-In for your site.
Prerequisites
Before continuing, you'll need the 'Third Party Login' feature enabled in the CMS. Contact us to switch this on for you.
Create a Client ID
To enable Google Sign-In, you'll need a Google API Console project & Client ID.
Follow the steps below, or use Google's guide to get started - https://developers.google.com/identity/sign-in/web/devconsole-project
- Go to https://console.developers.google.com/project/_/apiui/apis/library and login to your Google account.
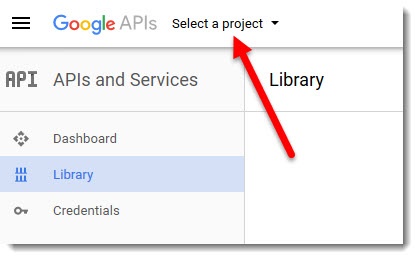
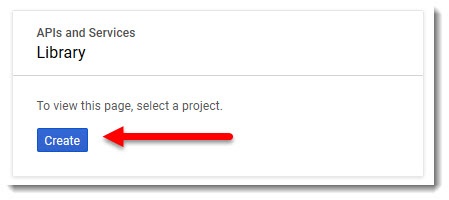
- Select your API project from the dropdown, or create a new one.
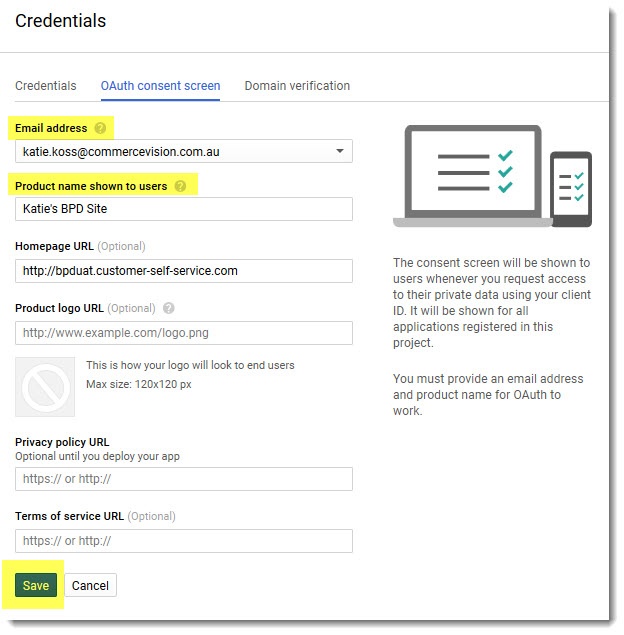
or- Select the Credentials menu, and the OAuth consent screen tab.
- Select the email address, enter your product (website) name, and Save. You can populate optional fields now too, if you choose.
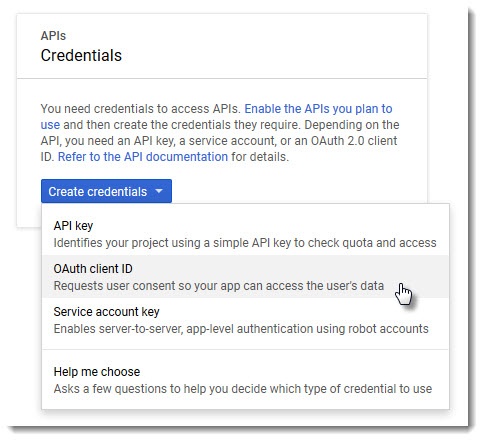
- From the Create credentials dropdown, select OAuth client ID.
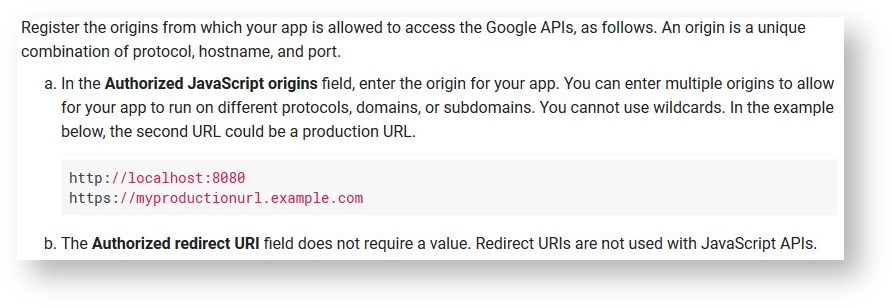
- Select Web application and enter your site name and JavaScript origins. See below for further info.
- Click Create, and you now have a Client ID! Copy this down somewhere.
Configure Google Sign-In
Now it's time to set up your website.
- In the CMS, navigate to Settings → Feature Settings.
- Edit the Third Party Login feature.
- Toggle the following options on/off as required:
- Use Registration Page - this directs users to additional registration fields after they login to Google.
- Allow Linking To Existing Users - this allows a user to login with Google, then link that login to an existing account (if they have one). This retains all of the user's order history, favourites, etc, while still allowing quick Google sign-in.
- Copy and paste your Google Client ID into the Sign-In Client ID field.
- Copy and paste the following into the Token Info Endpoint field: https://www.googleapis.com/oauth2/v3/tokeninfo?id_token={0}
- Toggle the Google feature on to enable, then Save!

