Giving your customers another way to pay for purchases can make shopping easier for them. It can also translate to increased sales for you. BPD websites have the ability to offer interest-free Buy Now, Pay Later options to your customers. Along the same lines as old fashioned Lay-by, the customer pays for their purchase in instalments over a period of time. The difference with Buy Now, Pay Later is that they get their goods now, rather than waiting until the purchase is paid off.


What's the difference?
While they all operate on a similar principle, there are some differences between the three options:
| Who | How it works | Fees and limits |
|---|---|---|
| zipMoney |
| Customers:
|
| zipPay |
| Customers:
|
| Afterpay |
| Customers:
Merchants:
|
Enable the feature
The Buy Now, Pay Later feature must be enabled in the CMS before you can commence set-up. You must also ensure your site is running the correct version for the payment option you're interested in.
- zipMoney - version 3.99+
- zipPay - version 3.99+
- Afterpay - version 3.95+
Contact our friendly Support Team for assistance with any of the above.
Configure the settings
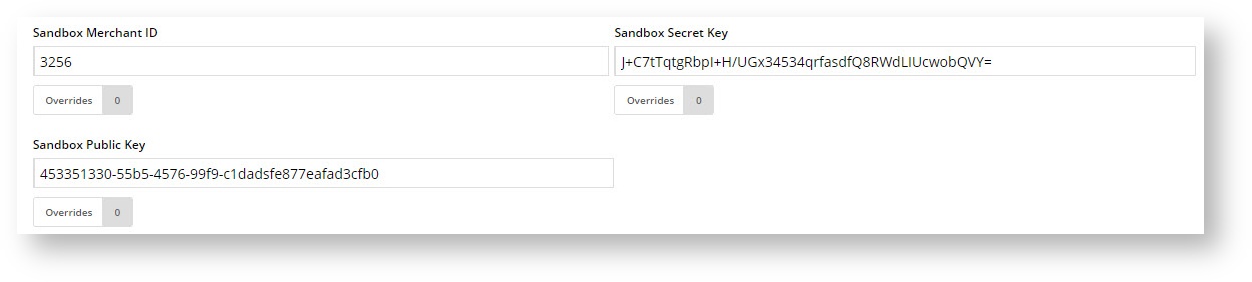
Once the feature is enabled, you can configure the settings. You'll need an account with your chosen payment provider, so be sure to have your account information handy, specifically your Merchant IDs, public and secret keys.
- In the CMS, navigate to Settings → Feature Settings.
- Edit the Buy Now, Pay Later feature.
- Use the dropdown menu to select the prodvider you'll be using.
- Select the Mode:
- Disabled - not in use
- Sandbox - for testing on your stage site
- Production - for the live site
- Enter your Merchant IDs and Secret Keys in the relevant fields (Production / Sandbox).
- Set the following options:
- Event Logging - toggle this ON (recommended)
- Auto-Integrate Pending Orders (zipMoney & Afterpay only) - integrates orders to the ERP prior to receiving a response from the payment provider.
- Display Buy Now, Pay Later content in Product Detail page - toggle on / off as required.
- If configuring Afterpay → Save & Exit. If configuring zipMoney / zipPay → continue.
- Disable Further Checkout Attempts with Provider for an Order if Declined - toggle on / off as required.
- Min Price of Products to Show Content - if showing Buy Now Pay Later on the product detail page, the product price must meet this minimum value.
- Max Price of Products to Show Content - if showing Buy Now Pay Later on the product detail page, the product price must fall below this value.
- Min Order Total to be Available - the order total must meet this minimum amount in order for Buy Now Pay Later to be offered at checkout.
- Max Order Total to be Avaialble - the order total must fall below this value in order for Buy Now Pay Later to be offered at checkout.
- Save or Save and Exit.


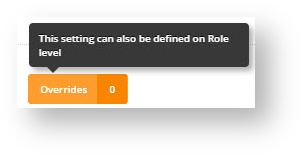
About Overrides
You can override any of the feature settings (except event logging) based on the user's role.
For example, you may wish to display the zipPay info content on the Product Detail page for B2C users, but not B2B. In this case, you could set an override.
- Select the 'Overrides' icon next to the setting you want to affect.
- A popup will open, with your current Global setting displayed at the bottom. Click Add Override Setting in the Role Overrides section.
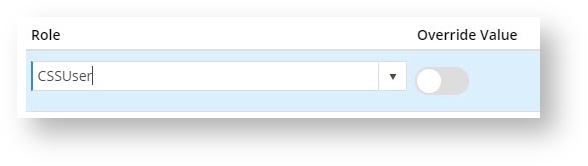
- Enter the role name into the lookup and select the role from the options presented.
- Set the role override value for this setting.
- Repeat steps 2-4 if you wish to override the global behaviour for other roles.
- Click Confirm to close the window.
- Don't forget to click Save on the feature settings page to save changes!