Overview
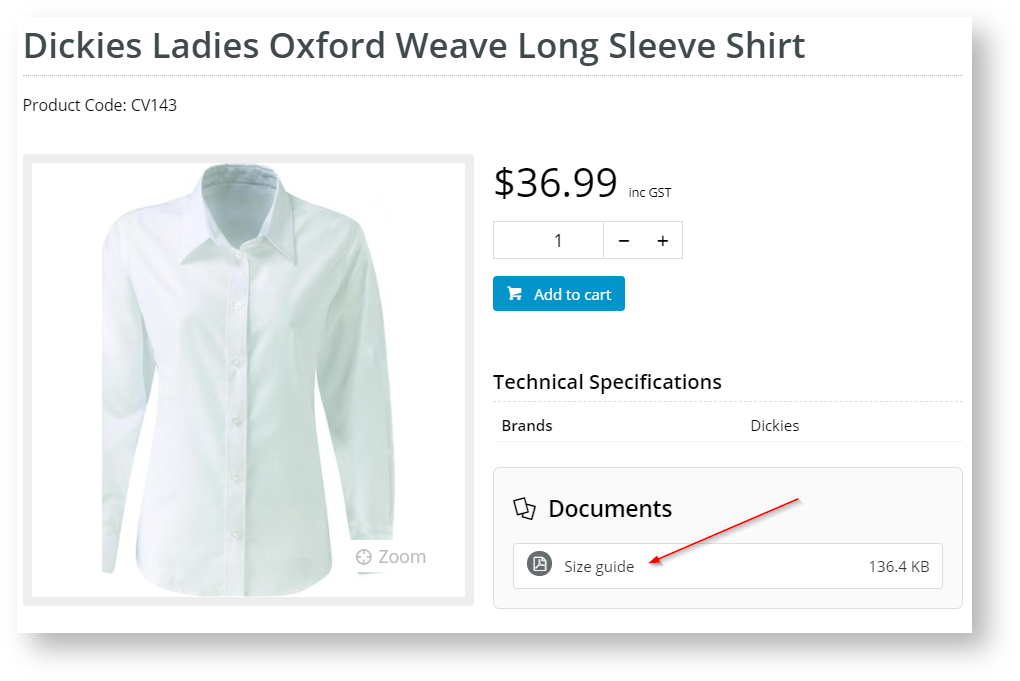
If the nature of your business means you've got multiple products that share the same PDF document (perhaps a size guide or material safety data sheet), our Product Document Import feature will allow you to assign one file to many different product codes.
This will not only save you data storage, but also means you can update the document just once in the event of a change - instead of creating and uploading a separate file for every affected product individually.
For example, let's say you sell apparel on your website. You've got one size guide for women's shirts, another for men's shirts, and one for kid's shirts.
Ideally, you'd want to upload the PDF of the Women's Shirts Size Guide just once, then associate every women's shirt with that file so that users could access it from the product page as they shop. Product Document Import allows you to do just that.
Step-by-step guide
If your PDF file(s) haven't already been uploaded to the CMS, do that first.
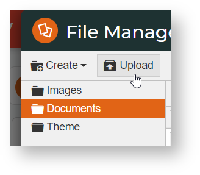
Go to File Manager, select the Documents folder and navigate to the correct sub-folder if required. Click Upload, browse to your document(s) and select to upload.Next, get your CSV file ready. You can download an example template on the import page, or there's also one here - product-document-example.csv.
Your file needs 4 columns:
- Column A - ProductCode: This is the product code you're editing documents for in this import.
- Column B - Label: This is the label text the user will click on to access the PDF. Example: "Size guide"
- Column C - Path: This is the path to the document on your website. You need the folder path + file name. Example: "/Documents/Size-Guide-Womens.pdf"
- Column D - Tag: This should be any tag(s) you want to associate with this product and PDF combination. You can use tags as a filtering device in the Product Documents widget on your product page.
If you have more than one tag for a product document, separate with a comma. Example: shirts, womens
Save your file in .csv format.
In the CMS, navigate to Products & Categories → Product Document Import.
In the Default Tag dropdown, you can select one of your existing tags to use for this import.
If you choose not to nominate a default, you'll need to make sure the 'Tag' column is populated for every item on your spreadsheet.
Select the Import Type you're after:
- Append - Adds documents to the products on the CSV file, but does not affect existing product docs
- Overwrite - Replaces existing documents on products in the file with the new documents specified. It will only do this where the tag on the existing document matches what is on your CSV file (or the default tag if none is specified on the spreadsheet).
- Delete - Removes all existing specified documents. Here you can choose to delete by tag (where there is a match), or by file path (where there is a match)
Click 'Select files' to browse to your saved CSV. Once you select the file, the import will begin automatically.
Once complete, the Import Log will show whether all data was updated successfully, or any errors were encountered.
Additional Information
| Minimum Version Requirements | **.**.** |
|---|---|
| Prerequisites | -- |
| Self Configurable | Yes / No |
| Business Function | Marketing Finance IT OPPs |
| BPD Only? | Yes / No |
| B2B/B2C/Both | Both |
| Ballpark Hours From CV (if opting for CV to complete self config component) | Contact CV Support |
| Ballpark Hours From CV (in addition to any self config required) | Contact CV Support |
| Third Party Costs | n/a or Fees apply |
| CMS Category | CMS Category |
Related articles


