Banners are larger-sized image ads placed on pages or templates. On the Home Page for example, you may want to draw attention to a promotiional campaign, new products, or communicate important changed shipping conditions. A banner can also be a hero image, e.g., to present a visual summary of products on a category page or an overview of a blog or article.
Banners are usually displayed above the fold, in the centre, or may even take up most of the page. A banner is usually an image and can include text and links to other pages on your site or external websites. It can be a single image or a series of images in a slideshow format (also called an image carousel ). Adding video banners can be implemented with Commerce Vision consultation.

On this page:
Banners on your Commerce Vision site
1. Enable and configure Banners
Before you can create and edit banners, the Banners feature must have been enabled. Banners displays as a submenu item in the Content menu.
To enable Banners:
- Go to Settings → Feature Management → Content.
.
- Ensure Banners is toggled ON.
- Click Configure.
- In Banner Feature Settings, you can maintain Banner Types and allow filters. Filters gives the option of showing a banner only to subgroup of Users.
- To save your settings, click Save & Exit.

2. Create a Banner Type
A 'banner type' is one or more banners grouped together. Keep in mind a banner type targets a specific type of content, e.g., a slider banner for your home page. When you add a banner feature to a page, you will be asked to select the relevant banner type.
This step creates a banner type. Banner types is accessed via Feature Management Settings or the Banners Maintenance screen.
If you already have the Banner Type set up and just want to add a new banner to an existing Banner Type, go to Step 3.
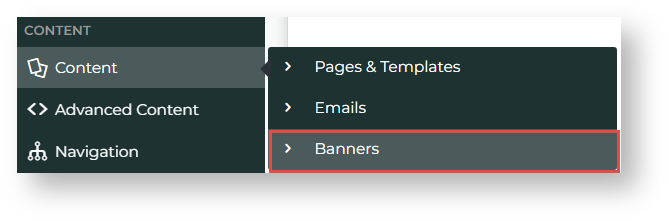
- In the CMS, go to Content → Banners.
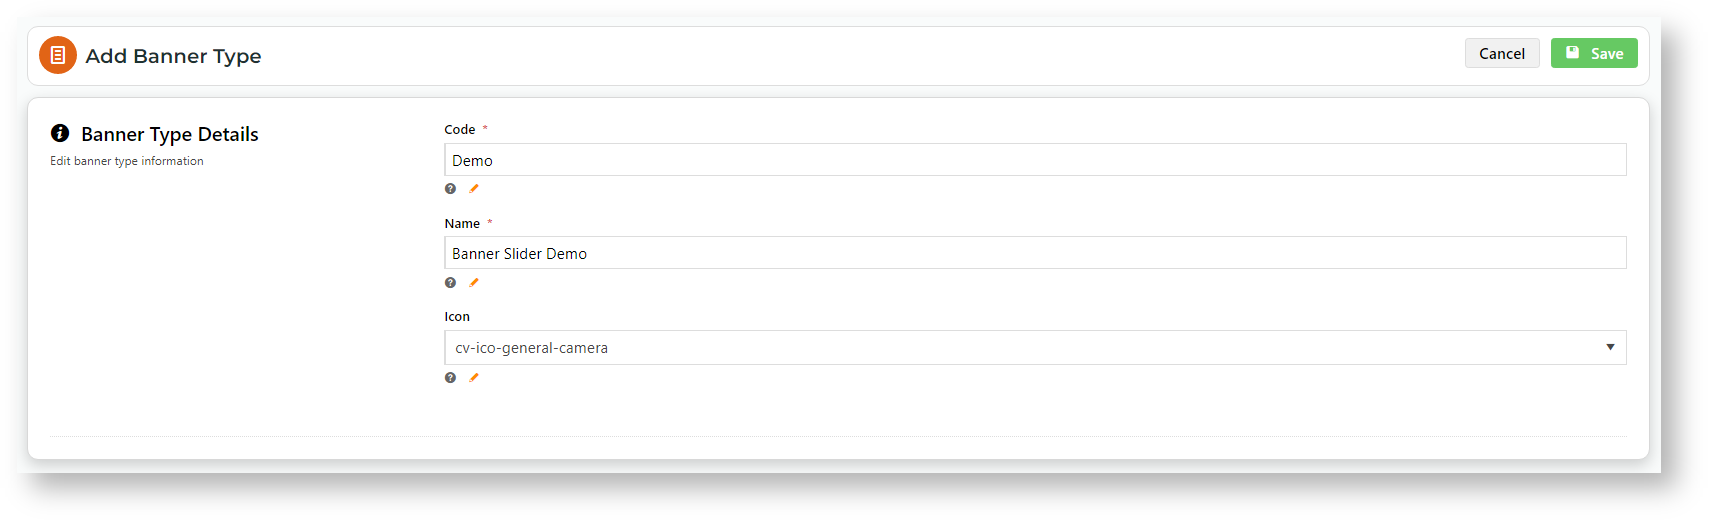
- Click Add New Banner Type.
- Enter a unique Code and Name for the new type, and assign an Icon if you wish.
- Click Save.
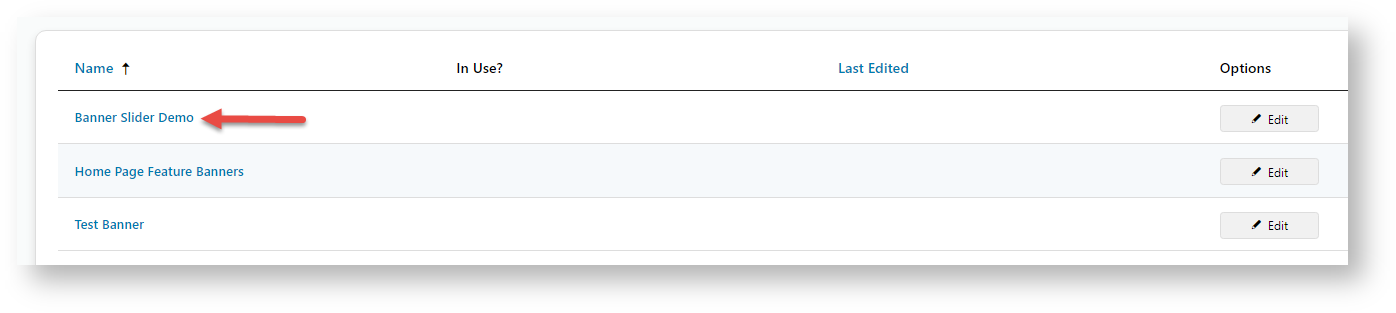
- Your new banner type will appear in the Banner Type Maintenance list. You can edit or delete banner types from this page. TIP - Once the banner type is in use, the Name cannot be changed.
Related help