Overview
Your Own Freight Carrier allows a customer to use their own freight account when placing orders. When enabled, entering their own freight account will be available during checkout along with freight options offered by your store. When selected, the user can enter their freight account number.

Want to edit the 'Own Carrier' prompt?
The prompt 'Select from your own list of own carriers' can be edited in the Freight Options Widget.
Step-by-step guide
To add the Own Freight option:
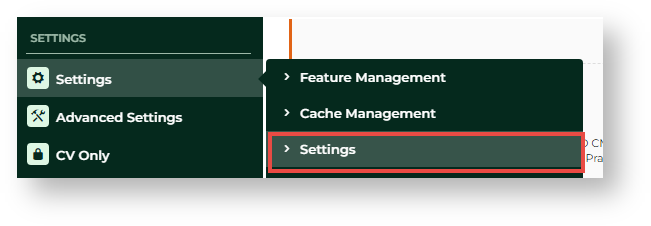
- In the CMS, go to Settings → Settings → Settings.
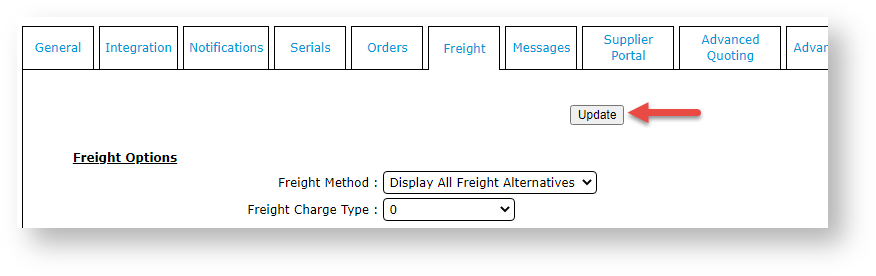
- Click the Freight tab.
If the 'own freight carrier' option already exists, continue to step 4. If not, add it now.
1. Click the Standard Freight tab.
2. Click New.
3. In Code, enter the carrier's code.
4. In Description, enter a name for the carrier.
5. Enter values for other fields as you require.
6. To save the carrier, click OK.
The 'Own Freight Carrier' option is now in the list.
- In Carrier code for own courier (mandatory if using), enter the Code of 'own carrier'.
- To save this setting, click Update. The 'own carrier' has successfully been added if you see the carrier's Description next to the Carrier code for own courier (mandatory if using) field.

- In Multiple Freight Own Carriers Mode, select Free Form Entry.
- Scroll back up the screen and click Update.


Related Resources