Overview
Banners encourage instant engagement with your website users, so why use that valuable space on a page just for one highlight or call to action?
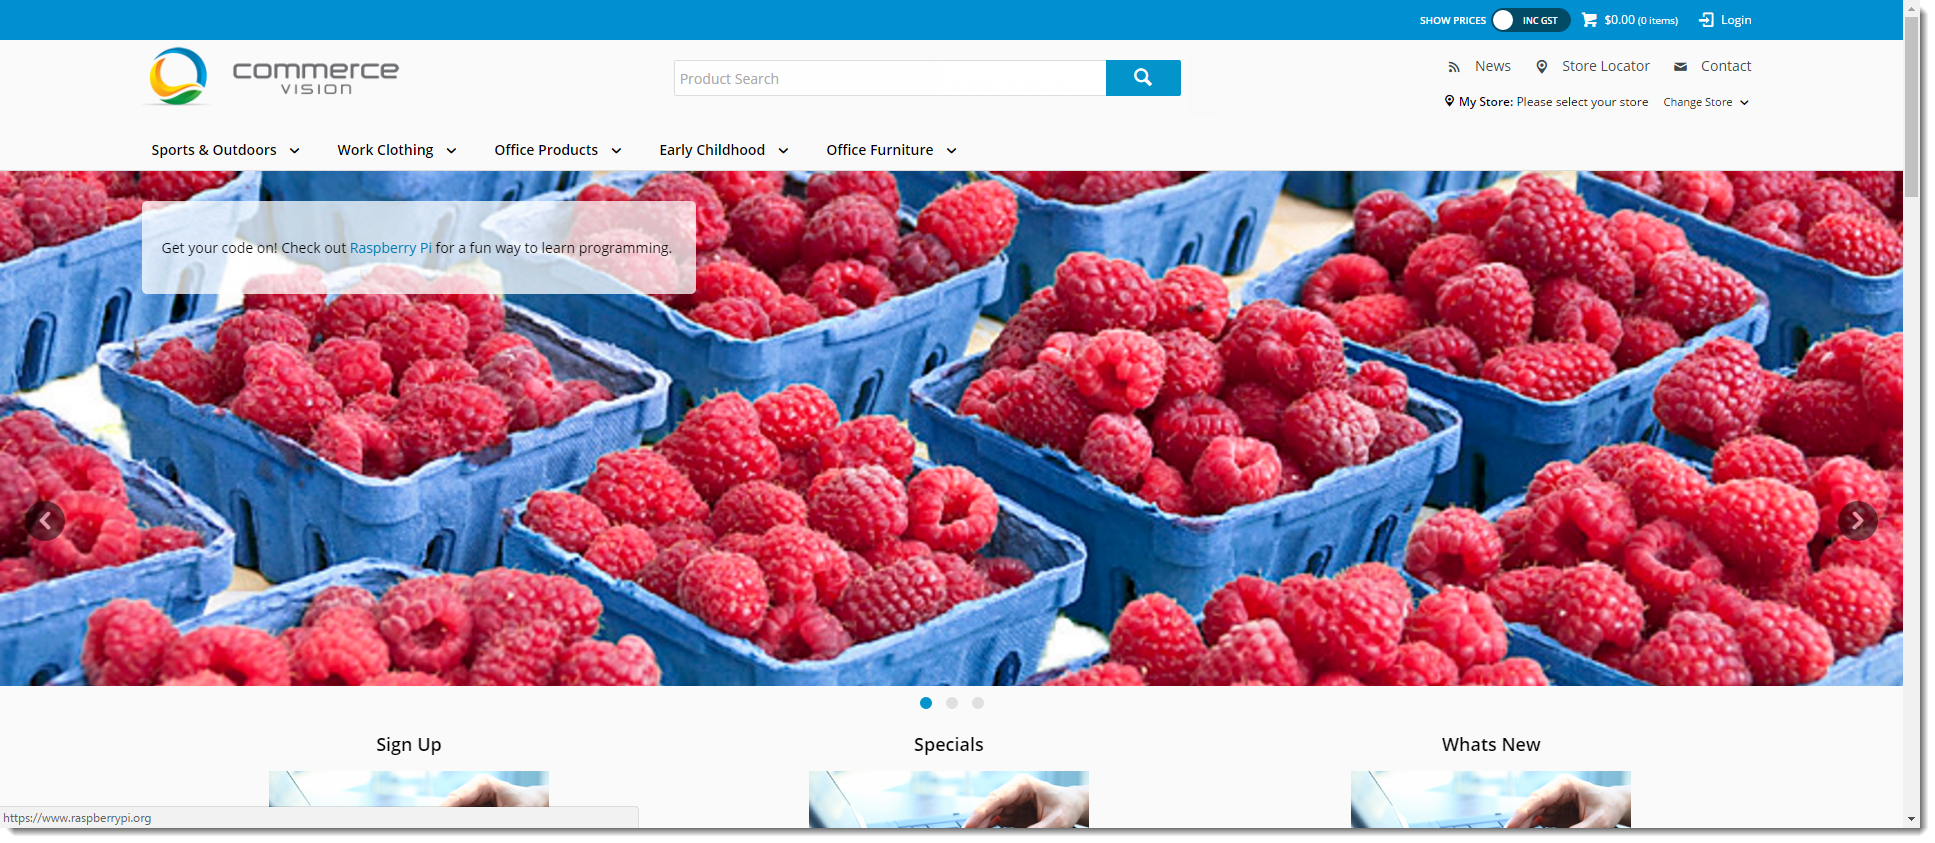
Example of a banner in a slideshow. Basic features - (1) Clickable links to each banner. Also tells the user which banner in the sequence they are viewing. (2) Clickable 'next banner' icon. The other end has a clickable 'previous banner' link. (3) Clickable link to another page on your site.

Video example: four banners in a slider format
 Banner_Slider_Format_Example.mp4
On this page:
This guide takes you through the process of placing multiple banners in a slider format on your website.
1. Enable and configure Banners
Before you can create and edit banners, the Banners feature must have been enabled. Banners displays as a submenu item in the Content menu.
To enable Banners:
- Go to Settings → Feature Management → Content.
.
- Ensure Banners is toggled ON.
- Click Configure.
- In Banner Feature Settings, you can maintain Banner Types and allow filters. Filters gives the option of showing a banner only to subgroup of Users.
- To save your settings, click Save & Exit.

2. Create a Banner Type
A 'banner type' is one or more banners grouped together. Keep in mind a banner type targets a specific type of content, e.g., a slider banner for your home page. When you add a banner feature to a page, you will be asked to select the relevant banner type.
This step creates a banner type. Banner types is accessed via Feature Management Settings or the Banners Maintenance screen.
If you already have the Banner Type set up and just want to add a new banner to an existing Banner Type, go to Step 3.
- In the CMS, go to Content → Banners.
- Click Add New Banner Type.
- Enter a unique Code and Name for the new type, and assign an Icon if you wish.
- Click Save.
- Your new banner type will appear in the Banner Type Maintenance list. You can edit or delete banner types from this page. TIP - Once the banner type is in use, the Name cannot be changed.


3. Upload Banner Images, Videos
Upload the images and/or video for each banner for the banner type. Enter the Banner Details: You'll see the newly added banner listed on the Maintenance page, with a coloured tile to indicate whether it's Active, Scheduled, or Expired. Repeat Steps 3-9 for the remaining images in your slider. You can drag and drop banners to re-sequence them if required.
Description - Short description to identify the image or video
Banner Link - The URL, /category, or /product page linked to
Banner Link Open in New Window - toggle ON for linked page to open in new window
Start Date - (optional) Date banner becomes visible on your site
Expiry Date - (optional) Date banner is automatically removed from your site
Example: same image for all devices


To upload one video for all device types, click Select Video for All Devices.
Example of Overlay
NOTE - Toggle ON Customer filters apply to user's current Customer only? if users with multiple customer accounts should see a banner only if they are in a particular Customer account.


4. Place Banner Slider Widget
Now all you have to do is place the widget where you'd like the slider to appear.
In this example, we'll add it to our site's Theme, but restrict its appearance to the Home Page via the Layer.
- In the CMS, navigate to Content → Theme Layout (or Standard / Custom Pages, as the case may be).
- Locate the appropriate zone for your banner slider, according to the page layout. In this case, we'll choose the 'Feature' zone.
- Click Add Widget.
- Search for Banner Slider and click Add Widget.
- Edit the newly added widget and configure the options. Don't forget to set the Banner Type Filter to the one you created earlier!
Full widget documentation is available here.- Click Save.

Presto! Your banner slider is ready. Load your site in a new browser to view your handiwork.
Related help