Prerequisites
Microsoft AD Sign In must be implemented by Commerce Vision. For 4.30+
Overview
Single sign-in using Microsoft Azure Active Directory allows your Website Users to authenticate and sign in with their Microsoft credentials. Access can be restricted, forced or granted by email address domain name. On the login page/popup, along with the userid/password method, sign in with Microsoft is available. If the user selects this, your site's settings will determine whether they can login. Unless restricted, the user can access their basic profile data. If they are already signed into their Microsoft account at this time, they will be logged in without having to approve it,

Step-by-step guide
This guides you through the configurations for Microsoft Azure Sign-In for your site.
Before you begin: you have access to the Application (Client) ID and Directory (Tenant) ID, if applicable and these have not been entered.
Configure Microsoft Sign-in in the CMS
- In the CMS, go to Settings → Settings → Feature Management → User.
- Click Configure.
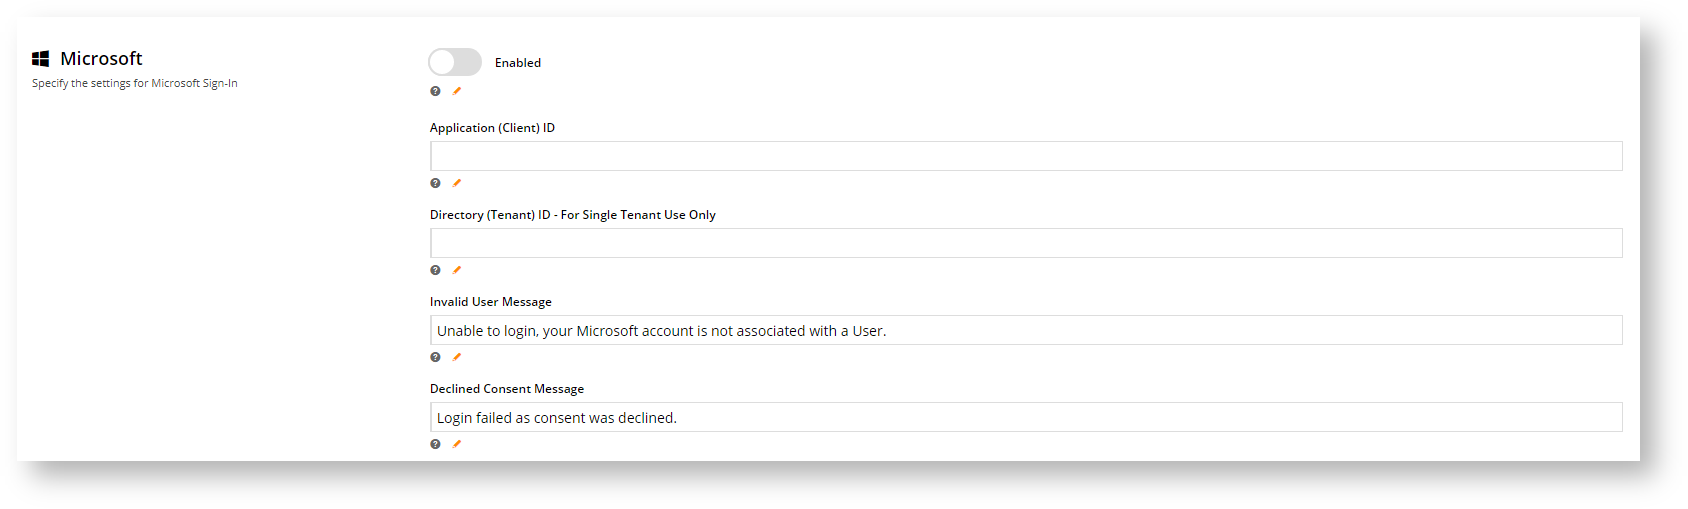
Scroll down to the Microsoft section.
To enable this feature on your site, toggle ON Enabled.
In Application (Client) ID, enter the application ID key, if it's not already there.
In Directory (Tenant) ID -For Single Tenant Use Only, enter the key if your application is for 'Single Tenant' (single directory), otherwise leave empty.
The Invalid User Message appears when the Microsoft User account cannot be linked to a registered User. If needed, change the message to suit.
The Declined Consent Message appears if the User cancels the authentication process before completing the sign in. They will be returned to the login page. If needed, change the message to suit.
- To specify domain-based rules, toggle ON Enable Domain Restrictions.
- To force users from specific domains to use Microsoft Sign In, enter each domain, then press Enter or Tab.
- To allow only certain domains to use Microsoft sign in, in Allowed Microsoft Sign In Domains, enter each domain, then press Enter or Tab.
- In Microsoft Sign In Not Allowed Message, edit the message displayed to the user when they are not permitted to use Microsoft Sign In.
- In Username/password Login Not Allowed Message, edit the message displayed to the user when they must use Microsoft Sign In.
To save your settings, click Save or Save & Exit.
- Reset the dictionary to ensure changes are made live.
- IMPORTANT - If using Microsoft Start App, restart the application.
- Check Microsoft sign-in is now available on your website.


Related Resources