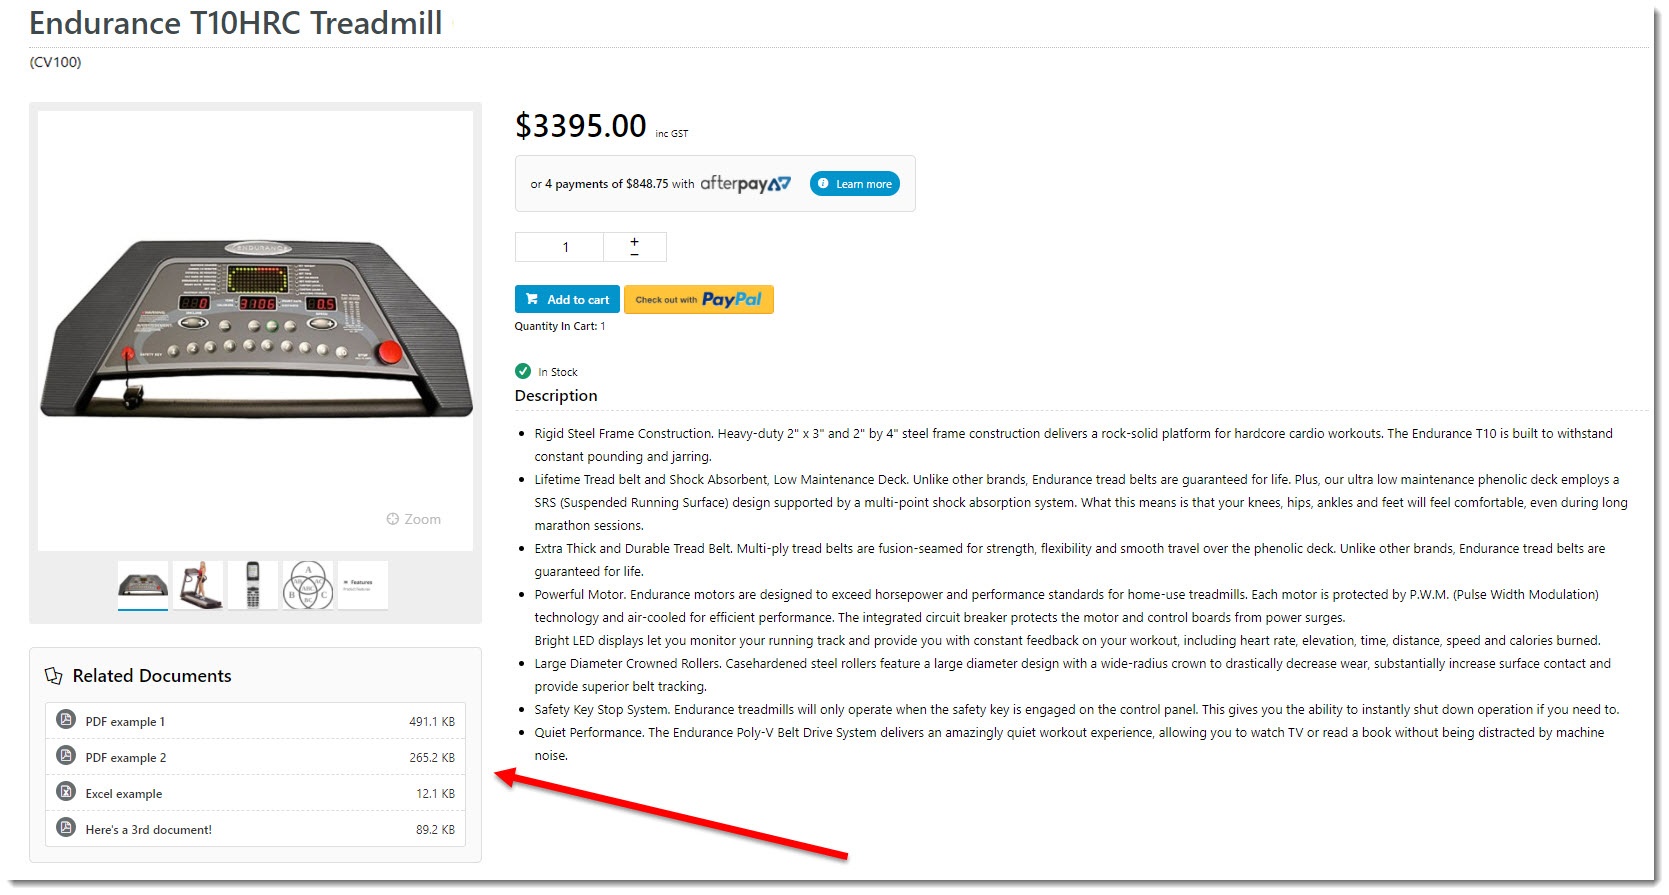
Offer your customers more in-depth product information with a document download! You can now upload a variety of file types in the CMS, giving your customers the ability to download tech specs, shiny brochures, or safety data sheets. And all without cluttering up that sleek product detail page you've so carefully crafted. This article will show you how.
Prerequisites
In order to take advantage of this functionality, your site must be running version 4.00.00+ and the Product Documents feature must be enabled. Please contact our friendly Support Team if you need assistance with this.
1. Define File Types
The Feature Settings page in the CMS is where the permitted file types are specified. You can update the comma-separated list to add or remove file formats as required.
To edit this list, go to Settings → Feature Settings, then Edit the Product Documents feature.
The full list of allowable file types is as follows:
- jpg
- jpeg
- png
- gif
- html
- htm
- txt
- doc
- docx
- zip
- xls
- xlsx
- csv
Don't forget to Save your changes!

2. Upload and Tag Documents
With the feature on and your file types specified, it's time to upload some product documents.
- Navigate to Products & Categories → Product Maintenance.
- Search for the product you require, and click Edit.
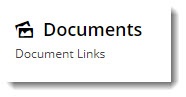
- Scroll down to the Documents section (it should be below 'Media'. If it's not there, the feature hasn't been enabled - contact us).
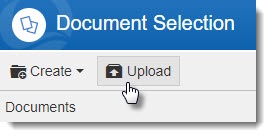
- Click Add Files. A file manager window will pop up.
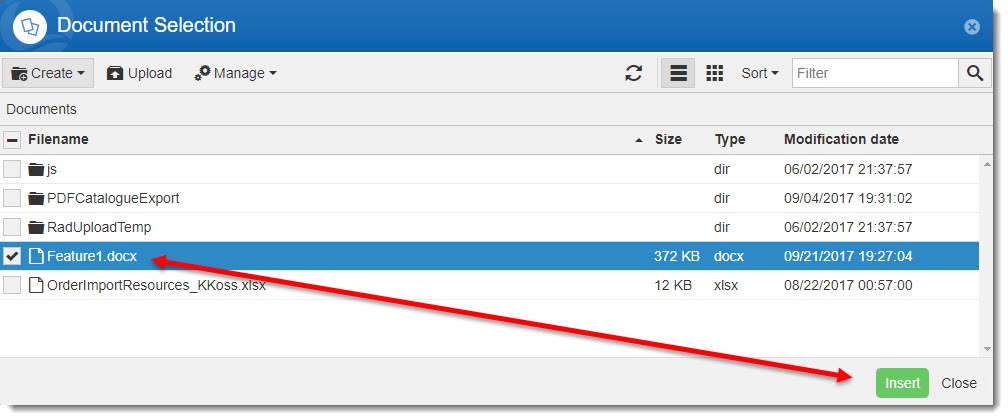
- Select your document from the list, or click Upload to browse to a local file.
- With the document selected, click Insert.
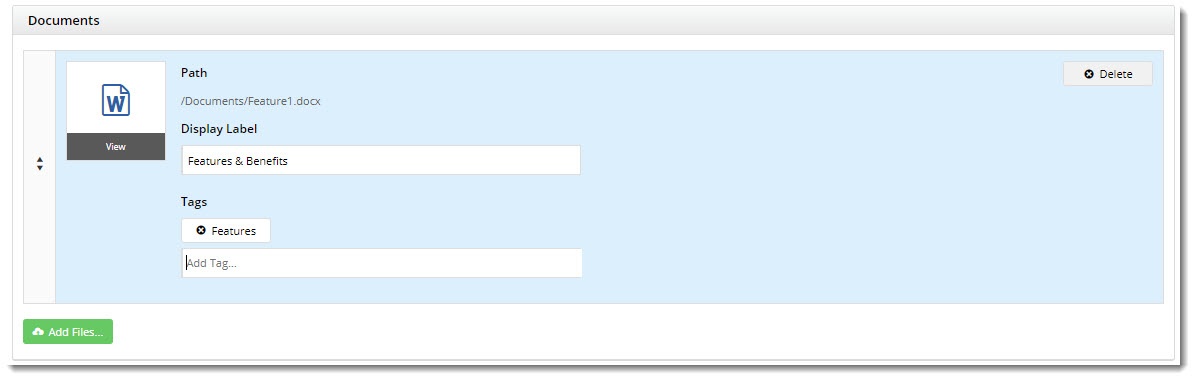
- Now that the document has been added, update the Display Label (the name shown to users). By default, the file name will be displayed.
- Here, you can also add Tags to the document. This is handy if you want a widget on the Product detail page to show ONLY documents with a particular tag. (You can see I added a 'Features' tag below - we'll use that later).
- Repeat these steps for any other documents you wish to add to this product.
- Click Save / Save and Exit.
3. Add the Widget
Now you'll need a widget on the product detail page to actually display these handy documents.
- In the CMS, navigate to Content → Standard Pages.
- Select the Product Detail page template.
- Based on your page layout, find the zone you'd like the Documents displayed in and click Add Widget. (We placed ours just under the image gallery.)
- Search for and select the Product Documents widget, and click Add Widget. Drag the widget to the correct spot in the zone, if needed.
- Click Edit to update the widget options:
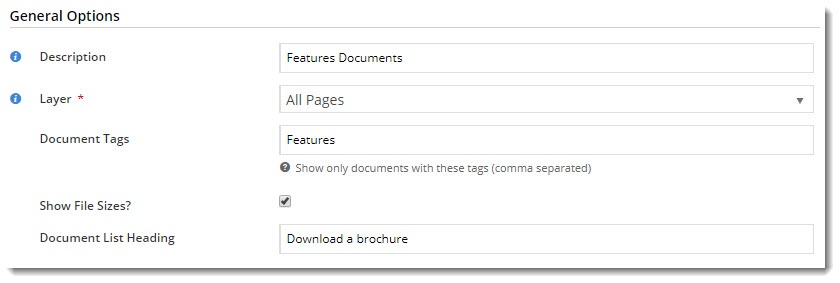
- Document Tags - leave blank to display all documents, or enter tag(s) that match your uploaded file(s).
For example, I entered a 'Features' tag here, so this widget will only display documents with that tag. I can add another Product Documents widget to show Technical Specs docs separately, if I wish.- Show File Sizes? - displays the size of each file to the right of it. This is a great courtesy to show your mobile users, who might not want to download large files on the go.
- Document List Heading - the title displayed at the top of the widget.
- Click Save.
And that's it! Load your product page in another tab or browser and admire your handiwork. ![]()
Related articles