With BPD, your site's news article list can be presented in a variety of layouts. Similar to a product list, article summary tiles can be presented in a grid, list, or slider format. Users select a tile to drill down into the detailed article page view.
Using the standard layout, the fields on these article tiles can be customised to an extent, but for greater flexibility, a zoned layout allows you to include custom fields, filter content by layer, and rearrange widgets on the template.
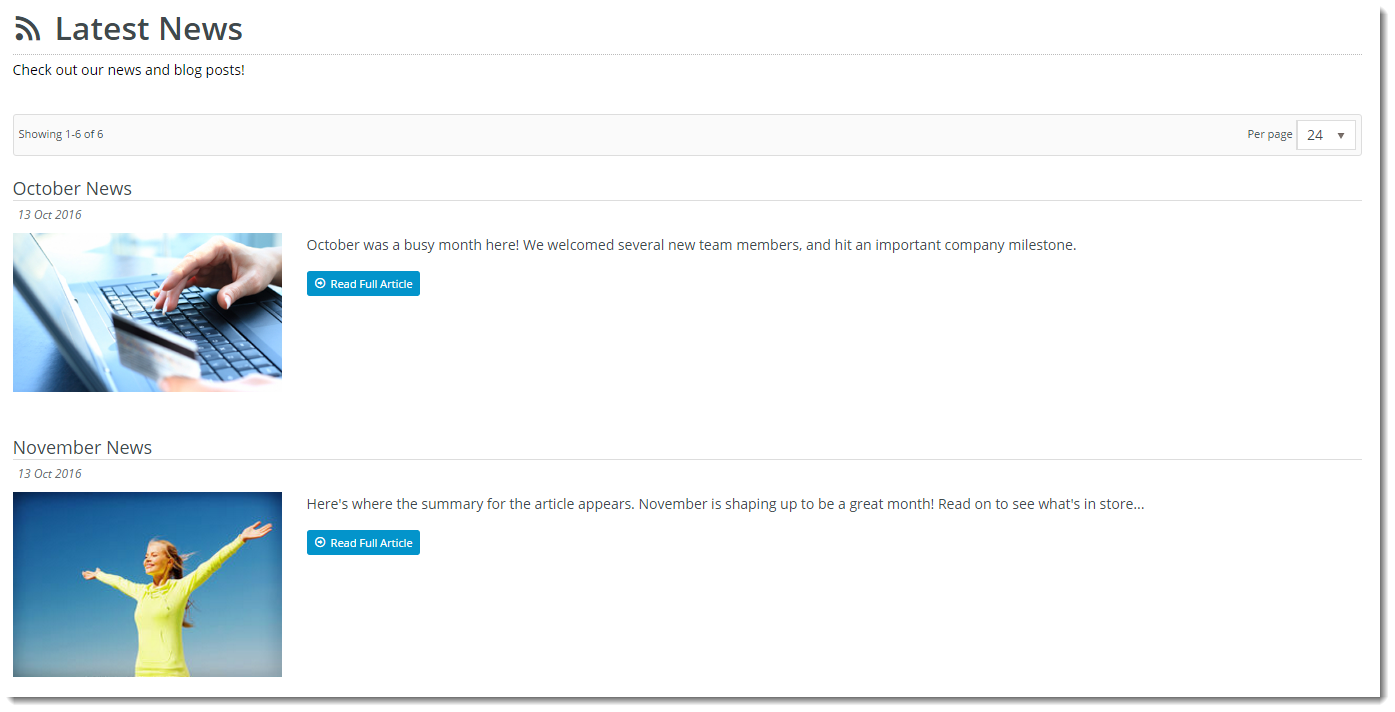
| Zoned Layout | Non-Zoned Layout |
|---|---|
|
|

This guide will outline how to enable the zoned layout for your article list.
Step-by-step guide
1. Update the Article List All widget to use Zoned Layout.
- Navigate to Content → Standard Pages.
- Select the 'Article List Page' template.
- Locate the 'Article List All' widget and click 'Edit'.
- Select the 'Zoned Functions' tab, and tick the option to 'Use Zoned Article Layout?'.
- Set your layout preference - tick 'Show As List?' to display the articles in a vertical list, or leave the option unticked to display tiles in a grid formation.
- Configure other widget options as required. Full widget documentation can be found here - Article List All Widget.
- Click 'Save'.
2. Customise the Article List Item Zoned template:
- Navigate to Content → Standard Pages.
- Select the 'Article List Item Zoned' template.
- The default widgets will be present on the template.

- Drag and drop widgets to re-order them, or add and delete widgets as needed.
- Refresh your article list page (in another browser or incognito window) to see the changes reflected.
If you wish to display your articles in a slider format (rather than a static list), simply replace the Article List All widget with the Article Slider widget on the Article List Page template. However, the Article Slider will only support the standard fields - zoned layout is not available.
Related articles