Banners are larger-sized image ads placed on pages or templates. On the Home Page for example, you may want to draw attention to a promotiional campaign, new products, or communicate important changed shipping conditions. A banner can also be a hero image, e.g., to present a visual summary of products on a category page or an overview of a blog or article.
Banners are usually displayed above the fold, in the centre, or may even take up most of the page. A banner is usually an image and can include text and links to other pages on your site or external websites. It can be a single image or a series of images in a slideshow format (also called an image carousel ). Adding video banners can be implemented with Commerce Vision consultation.

Banners on your Commerce Vision site
1. Enable and configure Banners
Before you can create and edit banners, the Banners feature must have been enabled. Banners displays as a submenu item in the Content menu.
To enable Banners:
- Go to Settings → Feature Management → Content.
.
- Ensure Banners is toggled ON.
- Click Configure.
- In Banner Feature Settings, you can maintain Banner Types and allow filters. Filters gives the option of showing a banner only to subgroup of Users.
- To save your settings, click Save & Exit.

2. Create a Banner Type
A 'banner type' is one or more banners grouped together. Keep in mind a banner type targets a specific type of content, e.g., a slider banner for your home page. When you add a banner feature to a page, you will be asked to select the relevant banner type.
This step creates a banner type. Banner types is accessed via Feature Management Settings or the Banners Maintenance screen.
If you already have the Banner Type set up and just want to add a new banner to an existing Banner Type, go to Step 3.
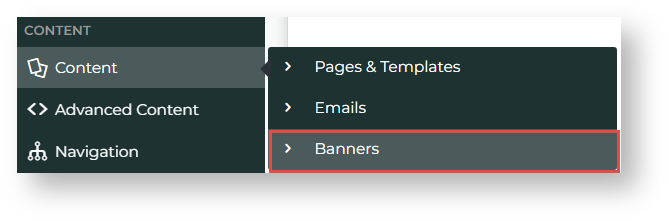
- In the CMS, go to Content → Banners.
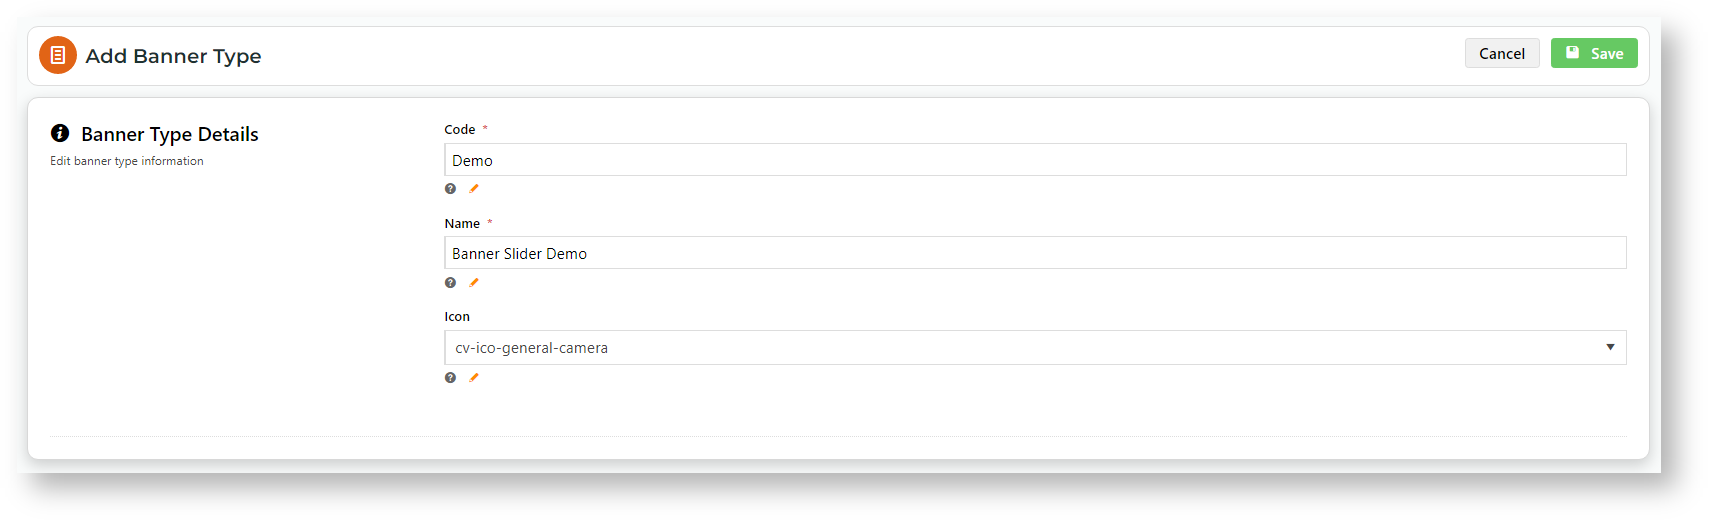
- Click Add New Banner Type.
- Enter a unique Code and Name for the new type, and assign an Icon if you wish.
- Click Save.
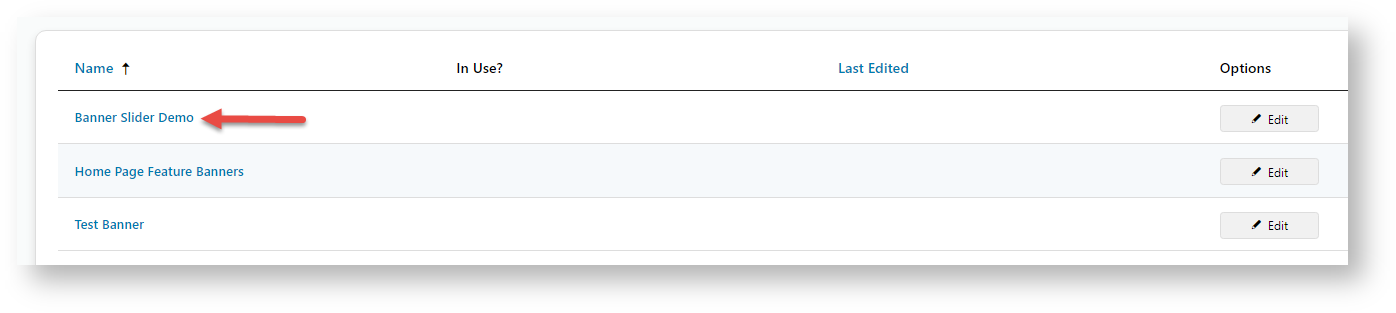
- Your new banner type will appear in the Banner Type Maintenance list. You can edit or delete banner types from this page. TIP - Once the banner type is in use, the Name cannot be changed.
Related help