Contents
Overview
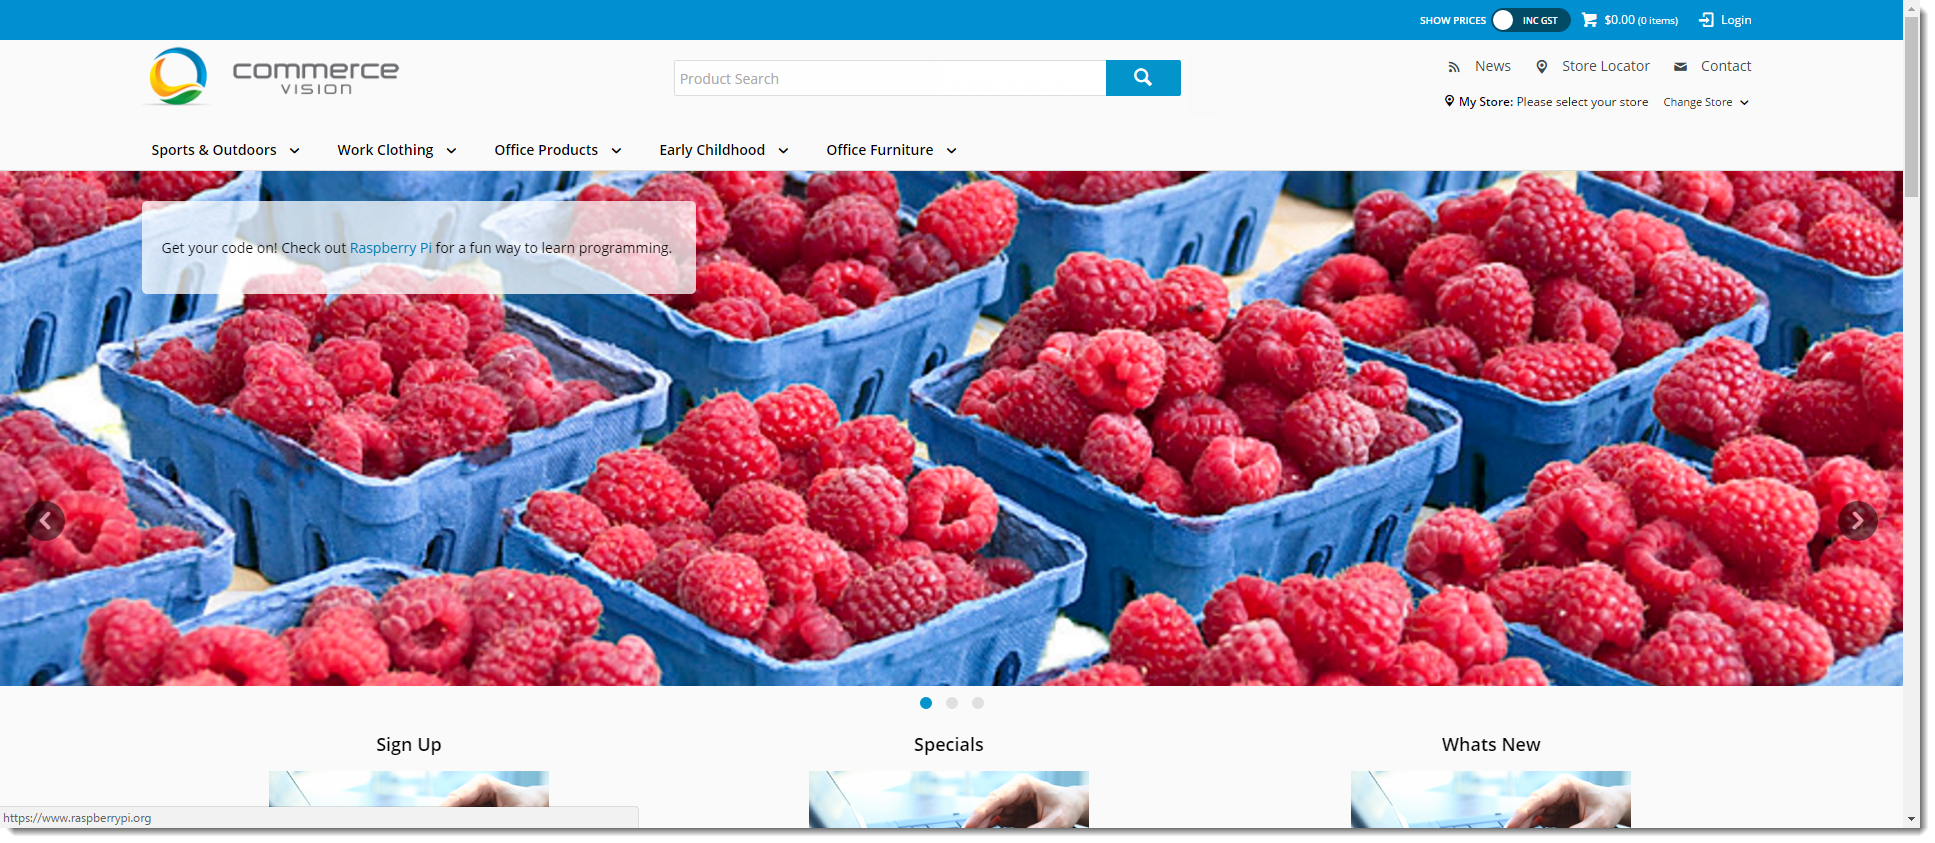
Large banner images are a common feature of many home pages, allowing a hero image (or several) to catch the user's eye and direct them to a promotion, highlighted products, or call to action.Loading several banners gives your users the option to scroll through, with each image linked to its own content.
This article will guide you through the process of placing multiple banners on your site in a slider format.
1. Create a Banner Type
- First, you'll want a 'type' for your banners. This allows you to target the content your banner widget displays.
- In the CMS, navigate to Settings → Website Features.
- Edit the Banners feature.
- Click 'Maintain Banner Types'.
- Click 'Add New Banner Type'.
- Enter a Code and Name for the new type, and assign an Icon if you wish.
- Click 'Save'.
- Your new banner type will appear in the Banner Type Maintenance list. You can edit or delete from this page as required.
2. Upload Banner Images
Now that you have a banner type, you can add some images!
- In the CMS, navigate to Content → Banners.
- Select the Banner Type you just created.
- Click 'Add New Banner'.
Enter the Details for the banner:
Description A short description to identify the image Banner Link The URL, /category, or /product page the image links to Start Date The date the banner becomes active (and therefore, visible) Expiry Date The date the banner expires and is automatically removed from view Display For - All devices - Desktop only - Mobile only - Click 'Select or Upload Image'.
- Select a previously added image, or click 'Upload' to browse to a file in your directory.
- Highlight the image and click 'Select'.
- Enter Overlay content if required. This will appear on a transparent panel atop your image.
- Click 'Save & Exit'.
- You'll see the newly added banner listed on the Maintenance page.
- Repeat Steps 3-9 for the remaining images in your slider. You can drag and drop banners to re-sequence them if required.
3. Place Banner Slider Widget
Now all you have to do is place the widget where you'd like the slider to appear.
In this example, we'll add it to our site's Theme, but restrict its appearance to the Home Page via the Layer.
- In the CMS, navigate to Content → Theme Layout (or Standard / Custom Pages, as the case may be).
- Locate the appropriate zone for your banner slider, according to the page layout. In this case, we'll choose the 'Feature' zone.
- Click 'Add Widget'.
- Search for 'Banner Slider' and click Add Widget.
- Edit the newly added widget and configure the options. Don't forget to set the Banner Type Filter to the one you created earlier!
Full widget documentation is available here.- Click 'Save'.
Presto! Your banner slider is ready. Load your site in a new browser to view your handiwork.
Not on our Best Practice Design framework yet? Refer to our guide for classic sites here - Home Page Banners - Classic.
Related articles


