Layers are a powerful way to target your website content based on role, customer code, or marketing flag, to name a few.
But did you know you can now apply layers based specifically on a User or Group of Users?
Yes - you can have content on your website that displays only to a pre-defined group of users. And these groups don't have to be related by role, region, or account code. You can create groups made up of any users you choose.
Got a special promotion on accounting software? Create a User Group consisting of all your Finance users, and show them a promotional banner or campaign slider!
It's another tool in your personalisation kit. Read on to find out how to do it.

In this guide
Prerequisites
You'll need the feature 'Additional Layer Filters' enabled for your site. Contact us to switch this on for you.
Configuring the feature
With the Additional Layer Filters feature enabled, you just need to make sure the setting to enable 'User Group Filtering' is on.
- In the CMS, navigate to Settings → Feature Settings.
- Edit the Additional Layer Filters feature.
- Toggle 'User Group Filtering' on.
- Save & Exit.

Creating a User Group
Now that your feature is up and running, it's time to create a user group.
- In the CMS, navigate to Users → User Groups.
- Click 'Add New User Group'.
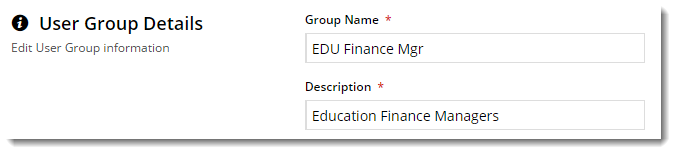
- Give your group a Name and Description and click Save.
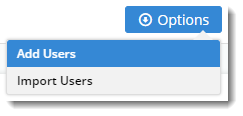
- An Options button should now appear near the Save button. Hover over it and select Add Users (we'll talk about importing later).
- In the Add User input box, start typing a user email address. Suggestions will be offered.
- Either select from suggestions, or finish typing the address. When you hit Enter, the user will be added (you can also use the 'Add' button).
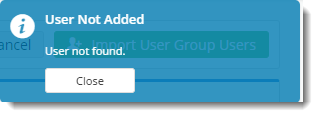
- If the email address does not match a user, a 'User not added' message will be returned.
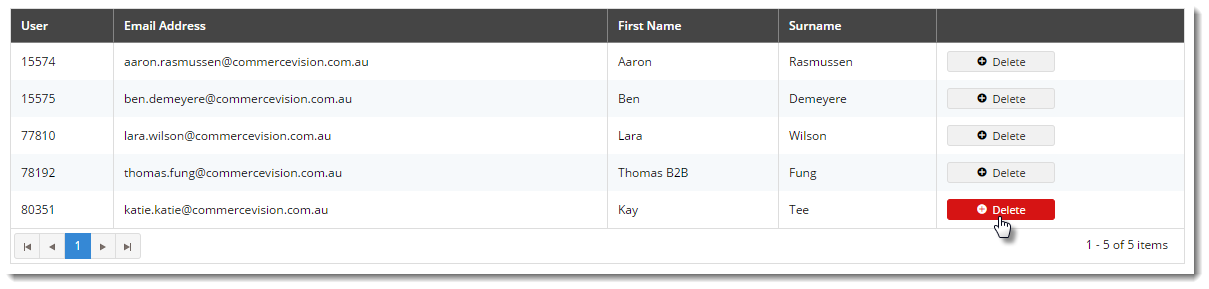
- Repeat for remaining users to be added.
- If you make a mistake, remove the user with the Delete option.

Adding a User Group to a Layer
Now let's assign our User Group to a Layer.
- Navigate to Advanced Content → Layers.
- Edit an existing Layer, or Add New Layer.
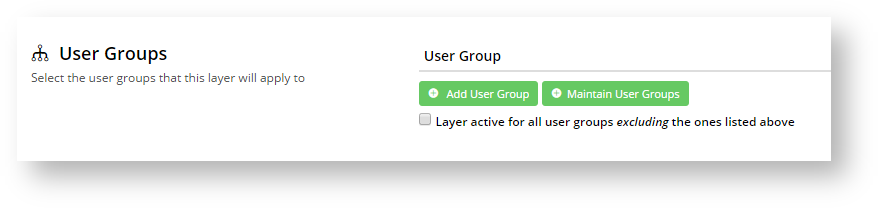
- Scroll to the User Groups section.
- Click Add User Group (or if you haven't yet created your group, click 'Maintain User Groups' and follow the steps above for "Creating a User Group").
- A dropdown list will appear, containing all existing Groups. Select the one you require.
- Consider the setting "Layer active for all user groups excluding the ones listed above" - tick this if you want the group(s) you just added to act as an exclude (rather than include).
- Click Save & Exit (if you were creating a brand new layer, first scroll back up and enter required Layer info such as Name, Description, Authentication Status).
Now all you need to do is decide what content you're filtering for these users. Locate the widget in question, and apply the Layer associated with your User Group!
Importing Users to a Group
If you've got a lot of users to add to a group, it's probably way easier to import them from a spreadsheet, rather than add them one by one. Here's how.
- Navigate to Users → User Groups.
- Find your group in the list and click Users. (We're assuming you've already created your Group; if you haven't, follow the steps above for "Creating a User Group").
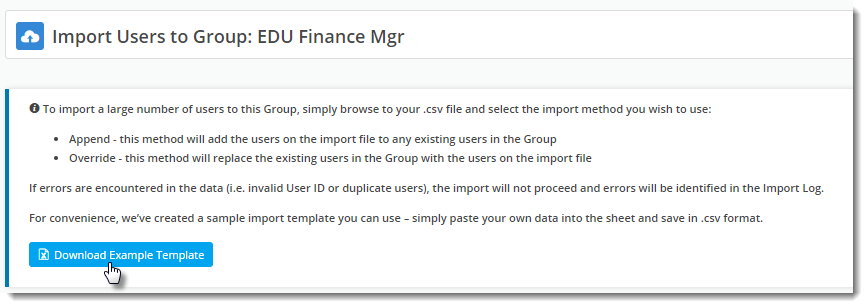
- Click 'Import User Group Users'.
- Click the Download Example Template button to get a pre-formatted CSV file.
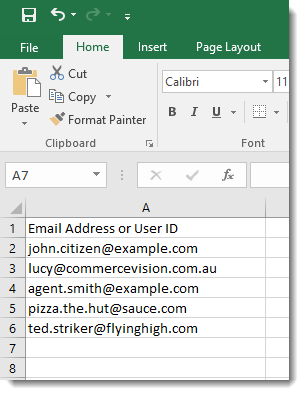
(Admittedly, the format is pretty simple - 1 column with a header, consisting of the user's email address or numeric User ID)- Copy and Paste your own data into the spreadsheet and save it somewhere you can access it.
- Now, decide whether you want to add these users to any existing members of the group (Append), or replace any existing members with the ones on your list (Override).
- Click 'Select files' and browse to your saved CSV.
The import will start automatically once your file is selected. Failure or Success messages will be returned, along with feedback in the Import Log.
If your import fails, correct your data (errors noted in the log) and try again.


Related Articles