Overview
Guest Checkout functionality allows users to checkout without logging in or creating a user account. Most commonly used for a B2C audience, the feature allows the user to input all delivery and payment info at checkout. They can choose to create an account during this time, or remain a guest. Guest Checkout is available from version 3.81 onward.

Step-by-step guide
Guest Checkout can be enabled for your B2C site quickly and easily via the CMS. Simply follow the steps below.
- Login to the CMS.
- Navigate to Settings --> Website Features.
- Click the grey minus icon to enable Guest Checkout.
- Verify that the icon changes to a green tick, and an 'Edit' button appears for the feature.

- Click 'Edit'.
- Select the role(s) that should utilise the Guest Checkout template (most common application is the 'Public', pre-login role). Guest Checkout should not be enabled for B2B, Accounts, or Administrator roles.
- Click 'Save' to save changes and stay on the page, or 'Save and Exit' to save changes and return to the Features index.

Congratulations, Guest Checkout is now enabled!
Email Customisation
When a user checks out as a guest, they are given the option to create an account at the same time. The system searches for their email address and if not found, creates a login based on the data supplied.
If the guest user's email address IS found, the user is sent an email advising that they already have an account.
To customise this email template:
- Login to the CMS.
- Navigate to Content –> Emails.
- Select the 'User Exists Email' template.
- Locate the 'User Registration' widget and click 'Edit'.
- Ensure the widget option to 'Show User Exists Message' is ticked. If not, tick it and click 'Save'.
- Click the 'Test Email' button to send yourself a copy.

- Review the content of the email and determine whether changes are required.
- The default widgets will be listed in each of the zones on the template.
- Drag and drop widgets to reorder them in the layout.
- Click 'Edit' on any of the widgets to configure options as required.
- Click the 'Test Email' button to send another copy for review.

Template Customisation
Once Guest Checkout has been turned on, you may wish to customise the look and feel. The Guest Checkout Template becomes available in the Content menu once the function is enabled.
To edit the template:
- Login to the CMS.
- Navigate to Content --> Standard Pages.
- Select the 'Guest Checkout Template'.

- The default widgets will be listed in each of the zones.
- Drag and drop widgets to reposition them in the layout if required.

- To customise the text on the Guest Checkout button, add the 'Guest Checkout Expand Button' widget to the Zone Guest Checkout.
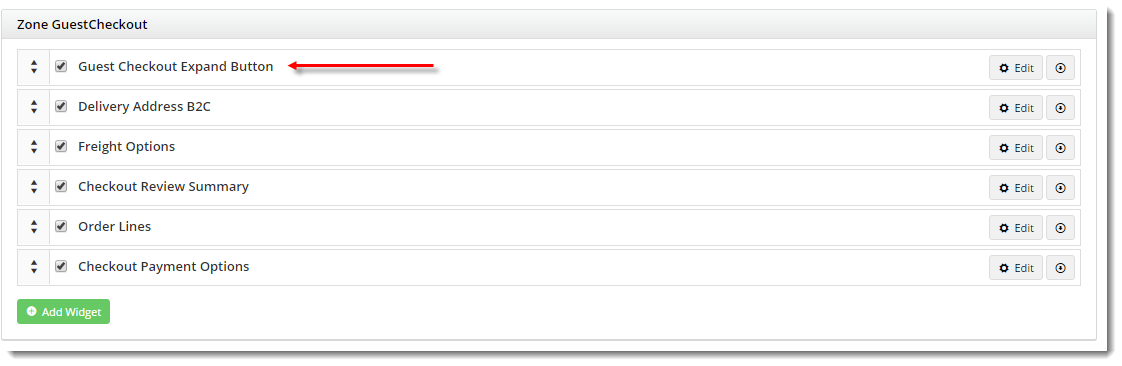
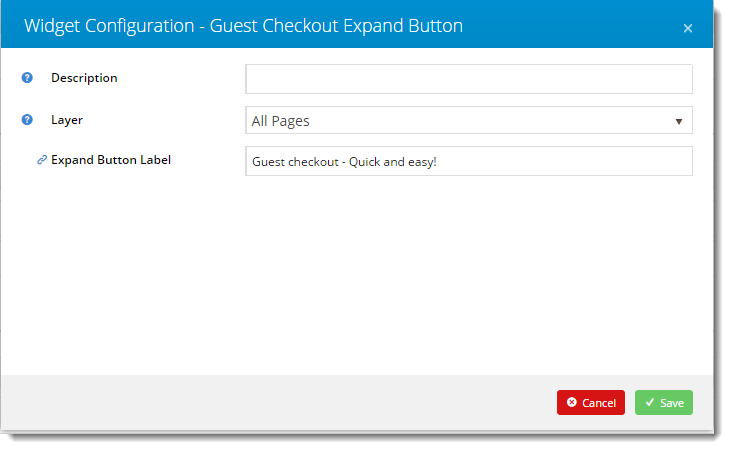
- Click 'Edit' on the widget to update the text, then click 'Save'.
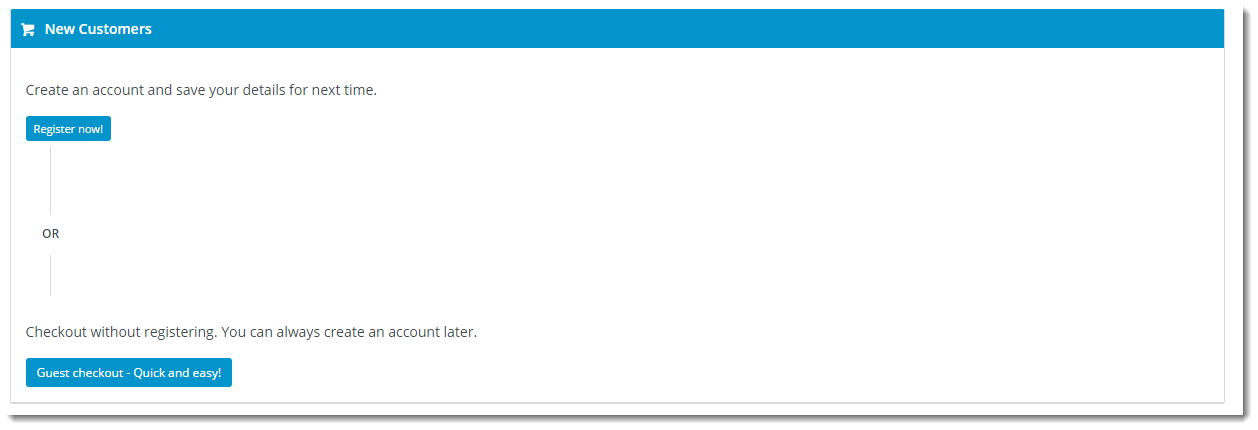
The Guest Checkout template also contains 2 zones - Options Left and Options Right - which can be used to customise the layout in conjunction with the 'Guest Checkout Expand Button'.
In the example below, a link to the Registration page has been placed in the Left zone. Then the Guest Checkout button has been placed in the Right zone.
The actual Guest Checkout fields (Delivery Address, Freight Options, Payment) remain in the Zone Guest Checkout, and are only revealed when the button is clicked.
To replicate this layout:
- Login to the CMS.
- Navigate to Content --> Standard Pages.
- Select the Guest Checkout template.
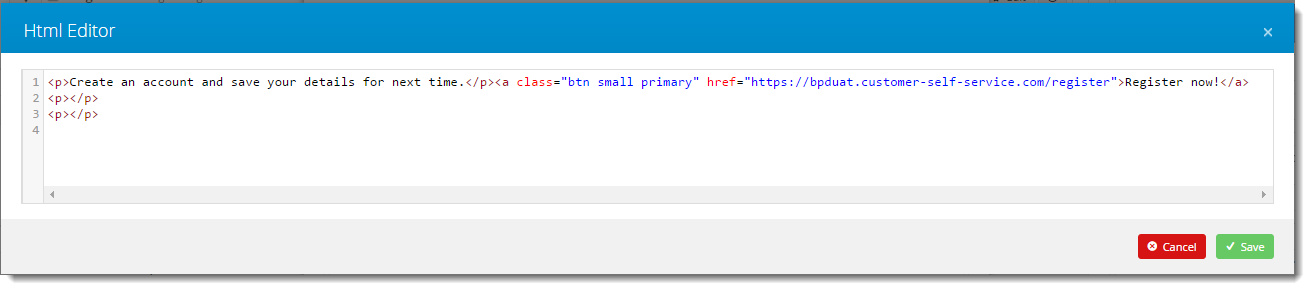
- In the Zone Options Left, add a widget for your content - for example, an HTML Snippet.
- Click 'Edit' on the widget to configure. In this example we used html to insert text and a button link.

- Style the button by inserting the required class into the html. Refer to your site's style guide.
- Click 'Save'.
- In the Zone Options Right, add the 'Guest Checkout Expand Button' widget.
- Click 'Edit' on the widget to customise the button text.
- Click 'Save'.
- Add another 'HTML Snippet' widget to the Zone Options Right if you wish to display text or other content with the Guest Checkout Button.

Related articles