Overview
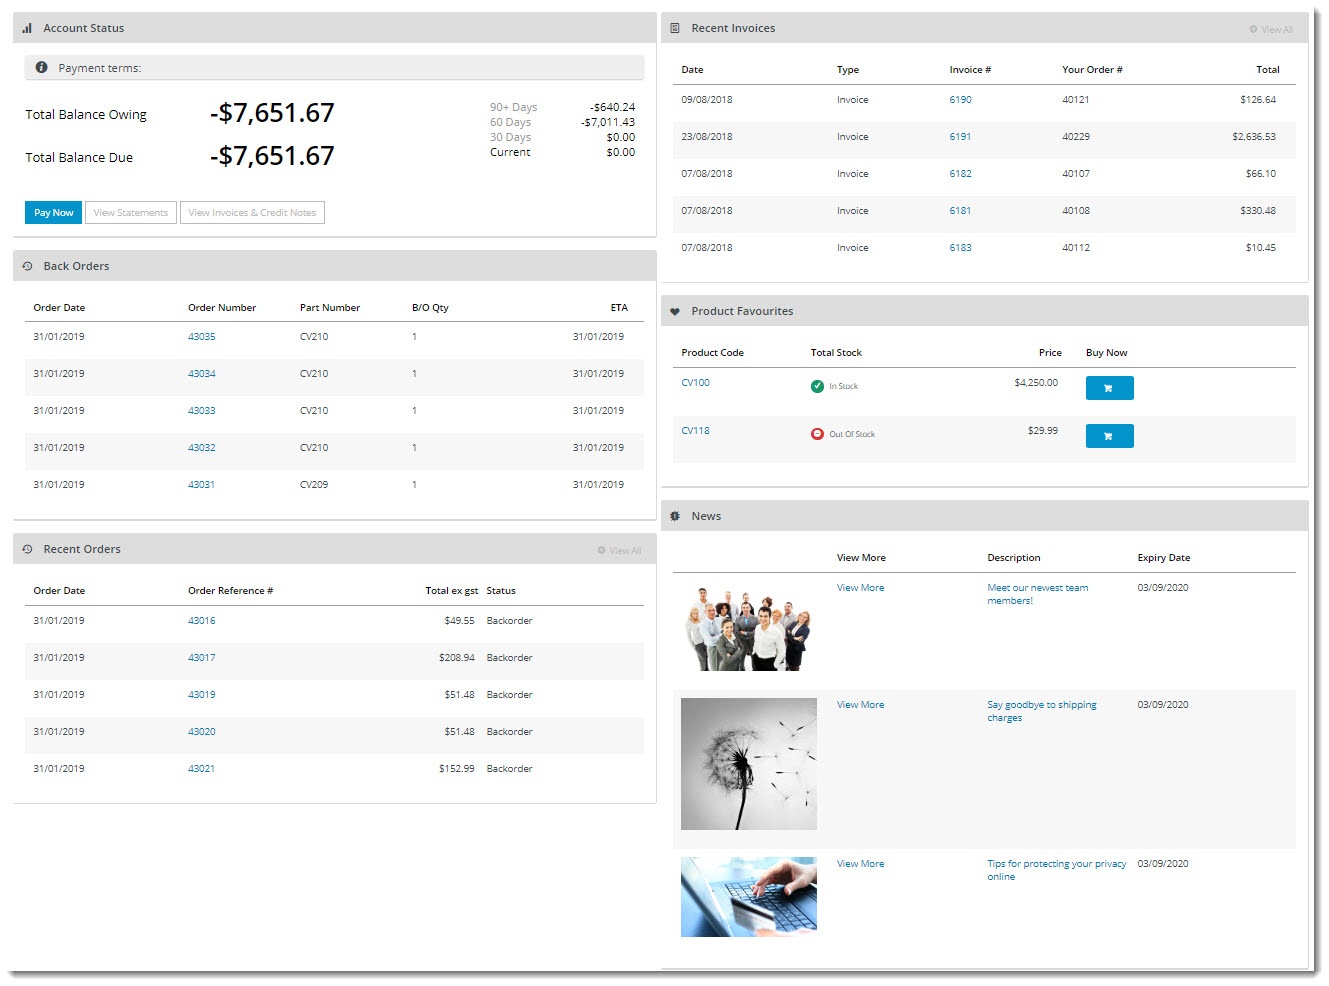
Five standard dashboard widgets are available for use out-of-the-box:
Step-by-step
Simply place them on your Dashboard page template and customise the options to suit your customers' needs.
- Control the visibility for each widget to create different dashboards for different types of users by utilising our 'Layers' technology.
- Use the Page Preview feature to see what the new dashboard will look like before you send it Live!
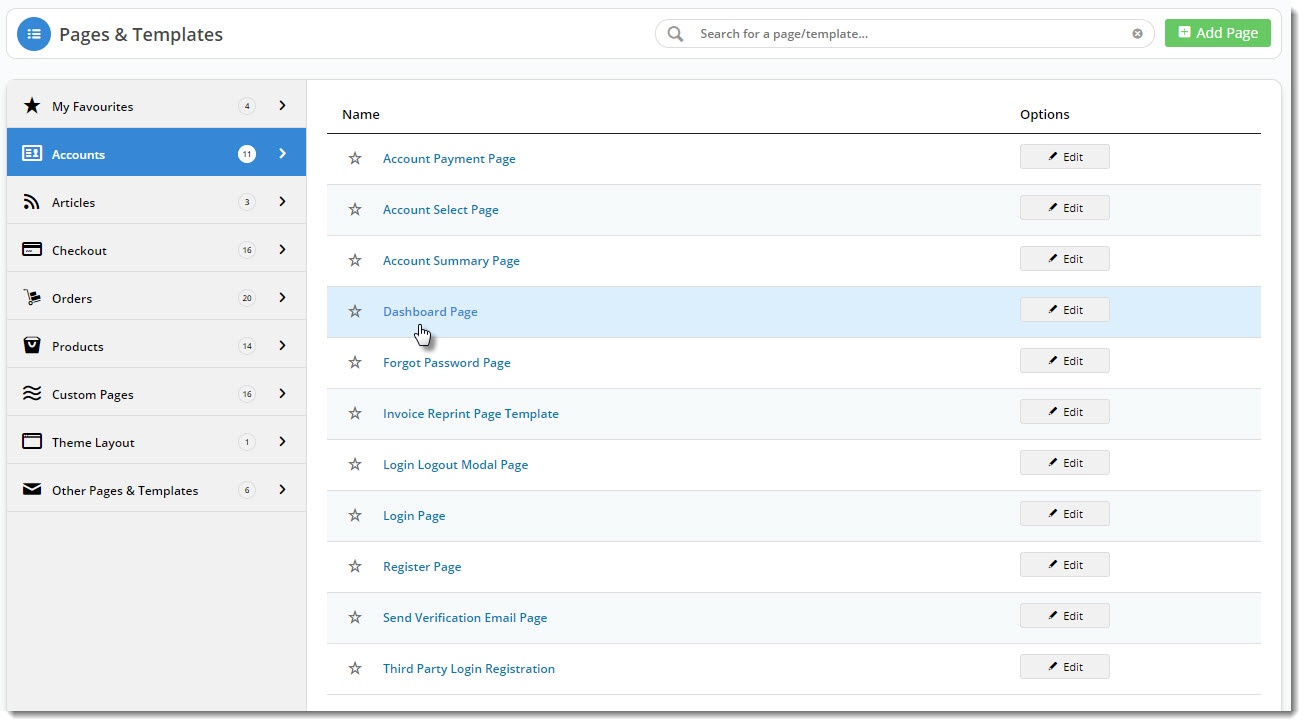
- In the CMS, navigate to Content → Pages & Templates.
- Search for the Dashboard Page template, or select the Accounts tab and find it there.
- Edit the template to see the widgets currently in use.
- Find the zone you wish to add the new widget to and click Add Widget.
- Search for and select the dashboard widget you're after, and add it to the template.
- Configure the options as required. The article links above will take you to the documentation for each individual widget.
- Save your changes.
| Minimum Version Requirements |
|
|---|---|
| Prerequisites |
|
| Self Configurable |
|
| Business Function |
|
| BPD Only? |
|
| B2B/B2C/Both |
|
| Ballpark Hours From CV (if opting for CV to complete self config component) |
|
| Ballpark Hours From CV (in addition to any self config required) |
|
| Third Party Costs |
|
| CMS Category |
|
Related help
Content by label
There is no content with the specified labels