Step-by-step guide
The process of adding a features filter involves configuration steps in various screens. TIP - Before you start, think about the Features and Values that are meaningful for the targeted article list filter.
1. Add Features and Values for Article
When creating an article, you will see a Features section in the 'Edit Article' screen. (See Article Maintenance for details.) You can add as many features (Names) and corresponding values (Values) as you require.
Use case
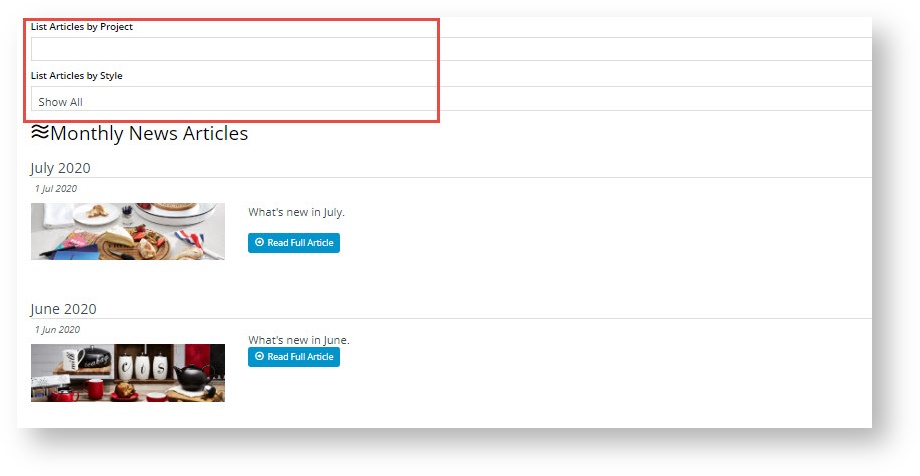
For our example, we want to create a feature filter so visitors can quickly find articles that suggest design and decorative products for various rooms in their homes. We name the first feature 'Project' with various rooms as values: 'Bedroom', 'Loungeroom', 'Kitchen' etc. The second feature 'Style' allows the users to narrow the results further, with values such as 'Modern', 'Traditional', 'Contemporary', etc.
2. Enable the Feature Filter in the Article List widget
Next, we need to enable Feature Filter so that the filter appears in the Article List page.
Choose from one of two filter modes available: client side, and server side.
- Client side mode: processes the filter data in the client web browser. This mode is faster and suited for smaller number of articles. Note - only works when the pagination feature is turned OFF, i.e. when all articles are listed on one page.
- Server side mode: processes the filter data by accessing the database server and returning information from the relevant table. This mode is more efficient when filtering larger numbers of articles. Note - suited if the pagination feature is ON.
Configuring each mode is slightly different.
(i) Set up Client side filtering
Warning
For Client side filtering, ensure the Items Meta Data Filter Widget is not active in the Article List template. This is only used for server side filtering.
- In the Article List template used (either 'Article List Page' or 'Article List Item Zoned'), find the widget that renders the Article List (either the Article List or Article List All widget).
- In General Options, toggle on Enable Client Side Meta Data Filter?. Note - In the Article List widget, the fields are located at the bottom of the screen.
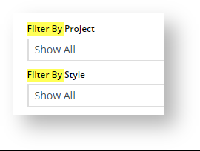
- The Meta Data Filter Label displays the filter label's text. Change from the default 'Filter By' if you wish.
- to save these settings, click Save.
(ii) Set up Server side filtering
Configuring the server side mode requires adding the 'Items Meta Data Filter widget' in the article list widget used.
- In the Article List template used (either 'Article List Page' or 'Article List Item Zoned'), click Add Widget in the relevant zone.
- Find the 'Meta Data Filter Widget' and click Add Widget.
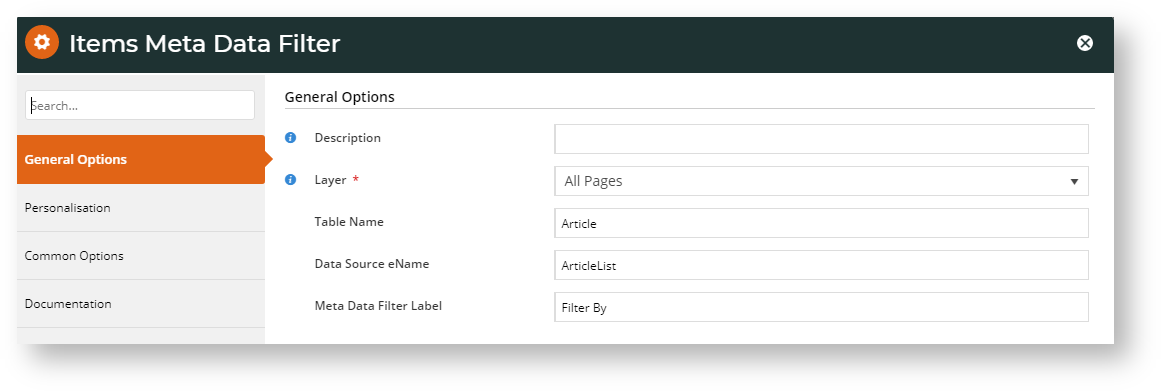
- Enter information in the fields:
Description: enter a meaningful description of the filter function.
Layer: add audience filtering if required. (See Layers help for details.)
Table Name: set the table name to be filtered against; for most sites, use the default 'Article'
Data Source Name: set the data source for filtering; for most sites, use the default 'ArticleList'
Meta Data Filter Label: Displays the filter label's text. Change from the default: 'Filter By' if you wish.- To save the widget settings, click Save.
Add Article List Pagination widget
Unlike Client side filtering, Server side filtering will work with pagination. If there are many items in the Article List, you can add the Article List Pagination widget and related widgets, e.g., the Article List Results Per Page widget, to display articles on multiple pages. (See help for each widget for configuration guidance.)
Additional Information
You may require some style sheet updates in order to keep consistent with your website's style guide. If this is the case, please contact us for assistance.
Minimum Version Requirements |
|
|---|---|
| Prerequisites |
|
| Self Configurable |
|
| Business Function |
|
| BPD Only? |
|
| B2B/B2C/Both |
|
| Third Party Costs |
|
Related help
Related widgets


