Report Generator lets users customise and run CSS reports they have access to. If a report is also enabled for Report Subscription, it can be scheduled for reruns and emailed to select recipients on a daily, weekly or monthly basis.
Report design notes
- The Report Generator and Report Scheduling features must first be enabled for your website by CV Support.
- Only Admin Users can design reports. Therefore, Admin Users determine the search by, grouping and sorting features of a report and have access to the Report Generator Widget, where they can edit field names and text displayed in the Report Generator screen.
Step-by-step guide
A User can only generate and subscribe to a report if they belong to the report user group nominated for the report when it was designed.
To generate a report:
- Log in to your website and click Dashboard.
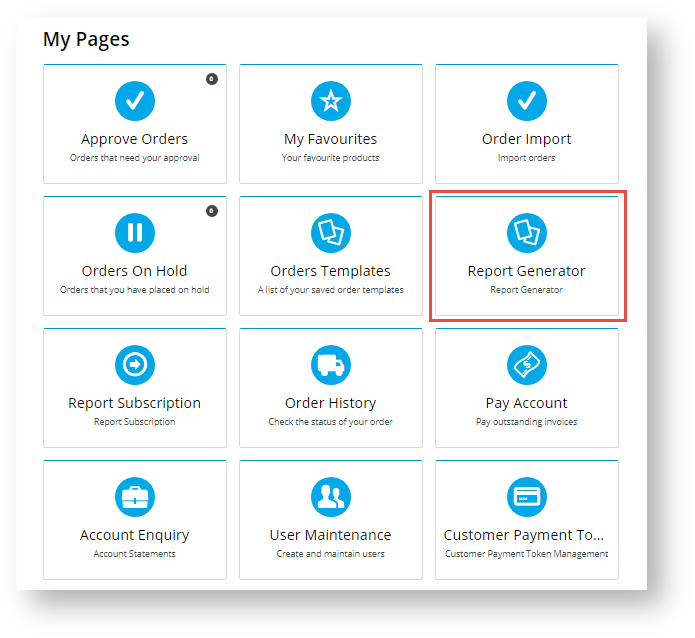
- In your Dashboard, scroll down to the 'My Pages' section and click Report Generator.
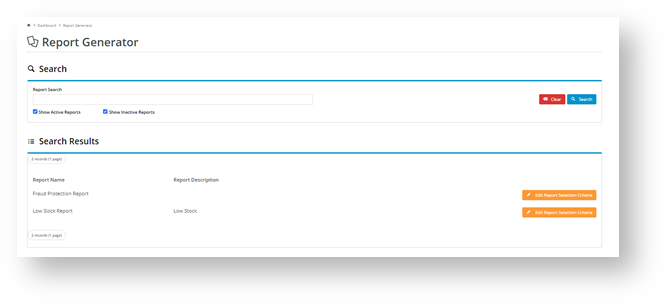
- By default, the Reports list displays all active reports you have access to. Find the report you wish to generate. You can search by name or scroll down the list. If you want to find an inactive report or view all reports in the system, tick the 'Show Inactive Reports' checkbox and click the Search button.
- For the selected report, click the Edit Selection Report Criteria button. The Report Selection Criteria section is displayed.
- In Report Name, edit the name so it is more meaningful for your purposes. Note - a generated report can only be edited and managed by the user who generated it.
- The Search section contains the report's fields. Note - The availability of 'Search', 'Group By' and 'Sort By' for customisation will be different for each report, depending on how it has been designed. If options are available, select preferences as you require.
- To generate the report, click the Generate button. The report will be downloaded to your computer as a CSV file unless the PDF option has been set up for your website.
- Open the file to view it.
- (optional) If available, once the report is generated, the Subscribe button appears. If you want to schedule for report updates to be emailed to you or other users on a daily, weekly or monthly basis, click Subscribe. See Report Subscription help for details.

- If you did not select to subscribe (Step 9), click Close when you have finished with the 'Report Generator' facility.